Loading... 2098 view(s)
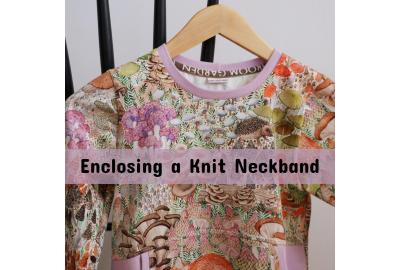
Enclosing a Neckband on Your Knit Garment
Looking for unique ways to elevate your handmade garments? I love the added detail that enclosing the neckband on your knit top gives. It’s a fun way to add extra design elements, use a little scrap of precious fabric or highlight a special selvedge edge. It is also a quick way for the wearer to easily tell which is the back. Using this technique also encourages the seam allowance to lie flat without topstitching the whole neckband.
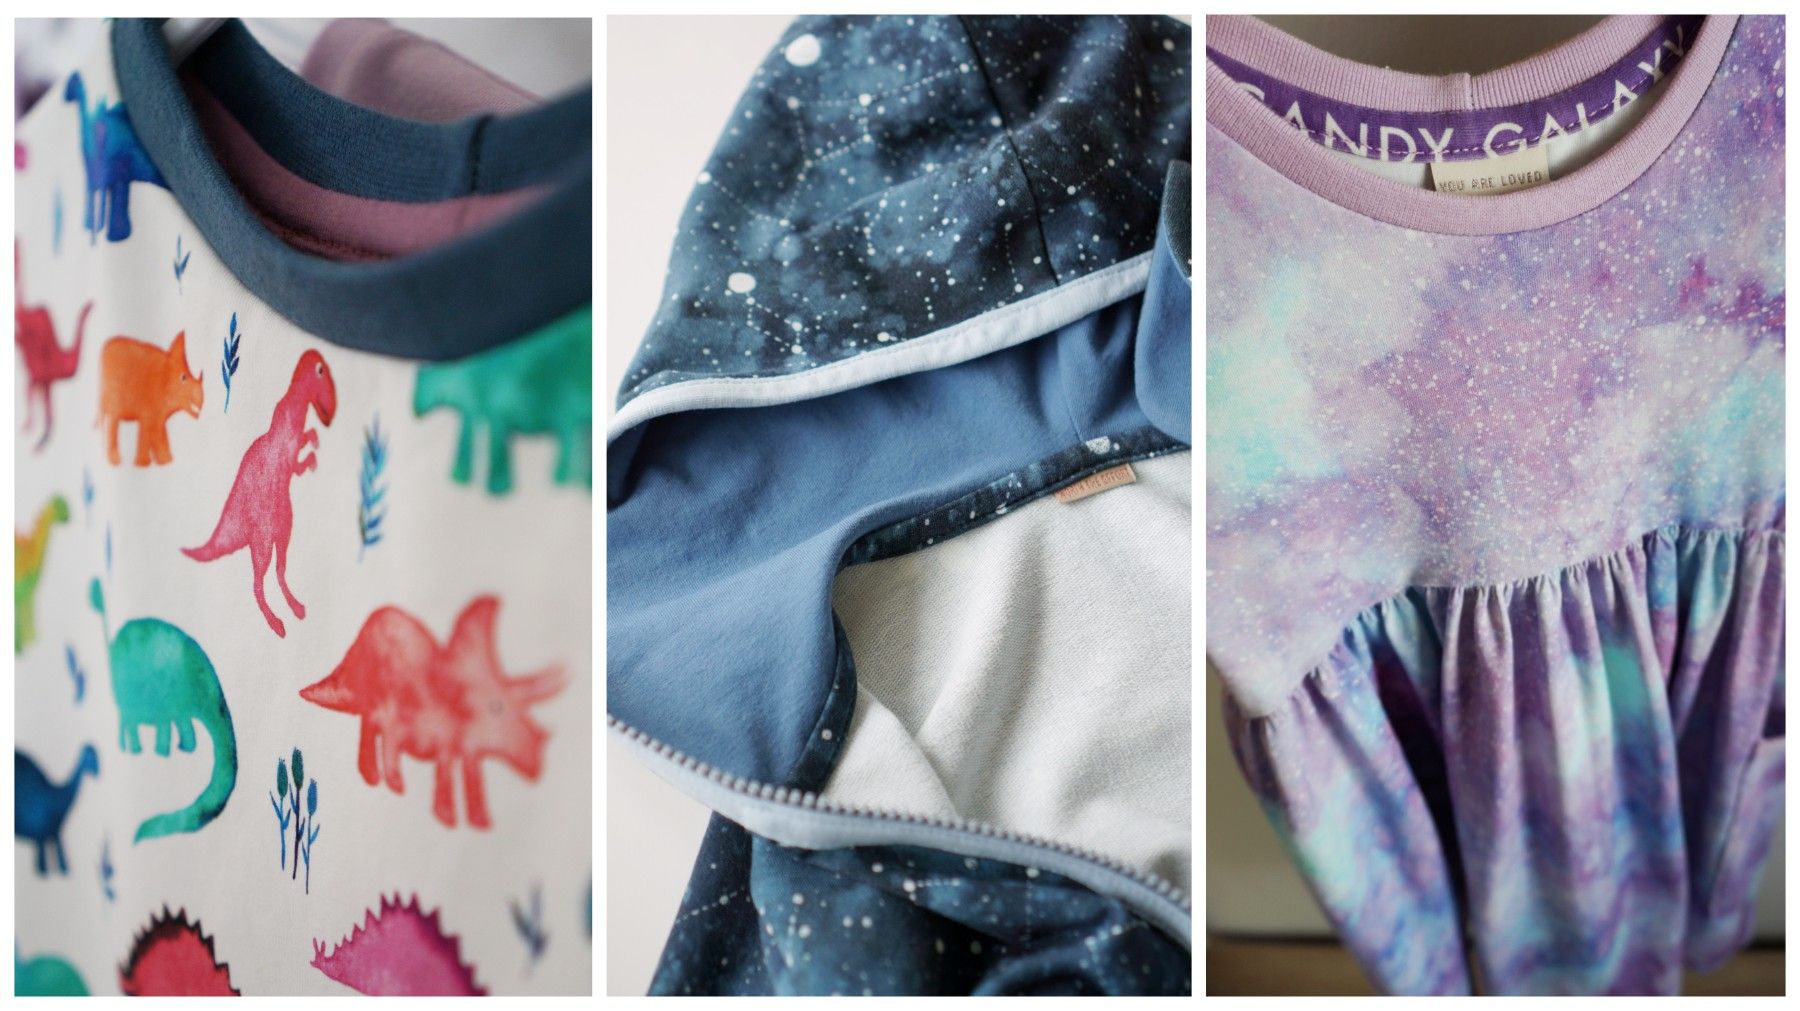
So what is an enclosed neckband? This technique involves wrapping fabric around the seam at the back of the neckband and topstitching it down to cover the seam allowance. This technique is also called binding the seam allowance.
There are two methods that I use when covering the seam allowance: one is an additional step once the neckband is already attached, the other is added at the same time as you are attaching the neckband.
Both follow many of the same steps, but attaching the binding at the same time as the neckband is a little trickier because you are sewing multiple layers at the same time while stretching the neckband, but not the binding or shirt. I will demonstrate this method in an upcoming post.
Below is a written tutorial for enclosing or binding the neckband seam allowance after the neckband is attached.
Materials and Tools:
- sewing machine (can use serger for pre-construction method)
- thread that coordinates to your binding and thread that coordinates to your top main
- pins
- cutting tools
- ruler
- garment tags (optional)
- double-sided wash away tape e.g. wondertape (optional), or fabric glue (optional).
Method:
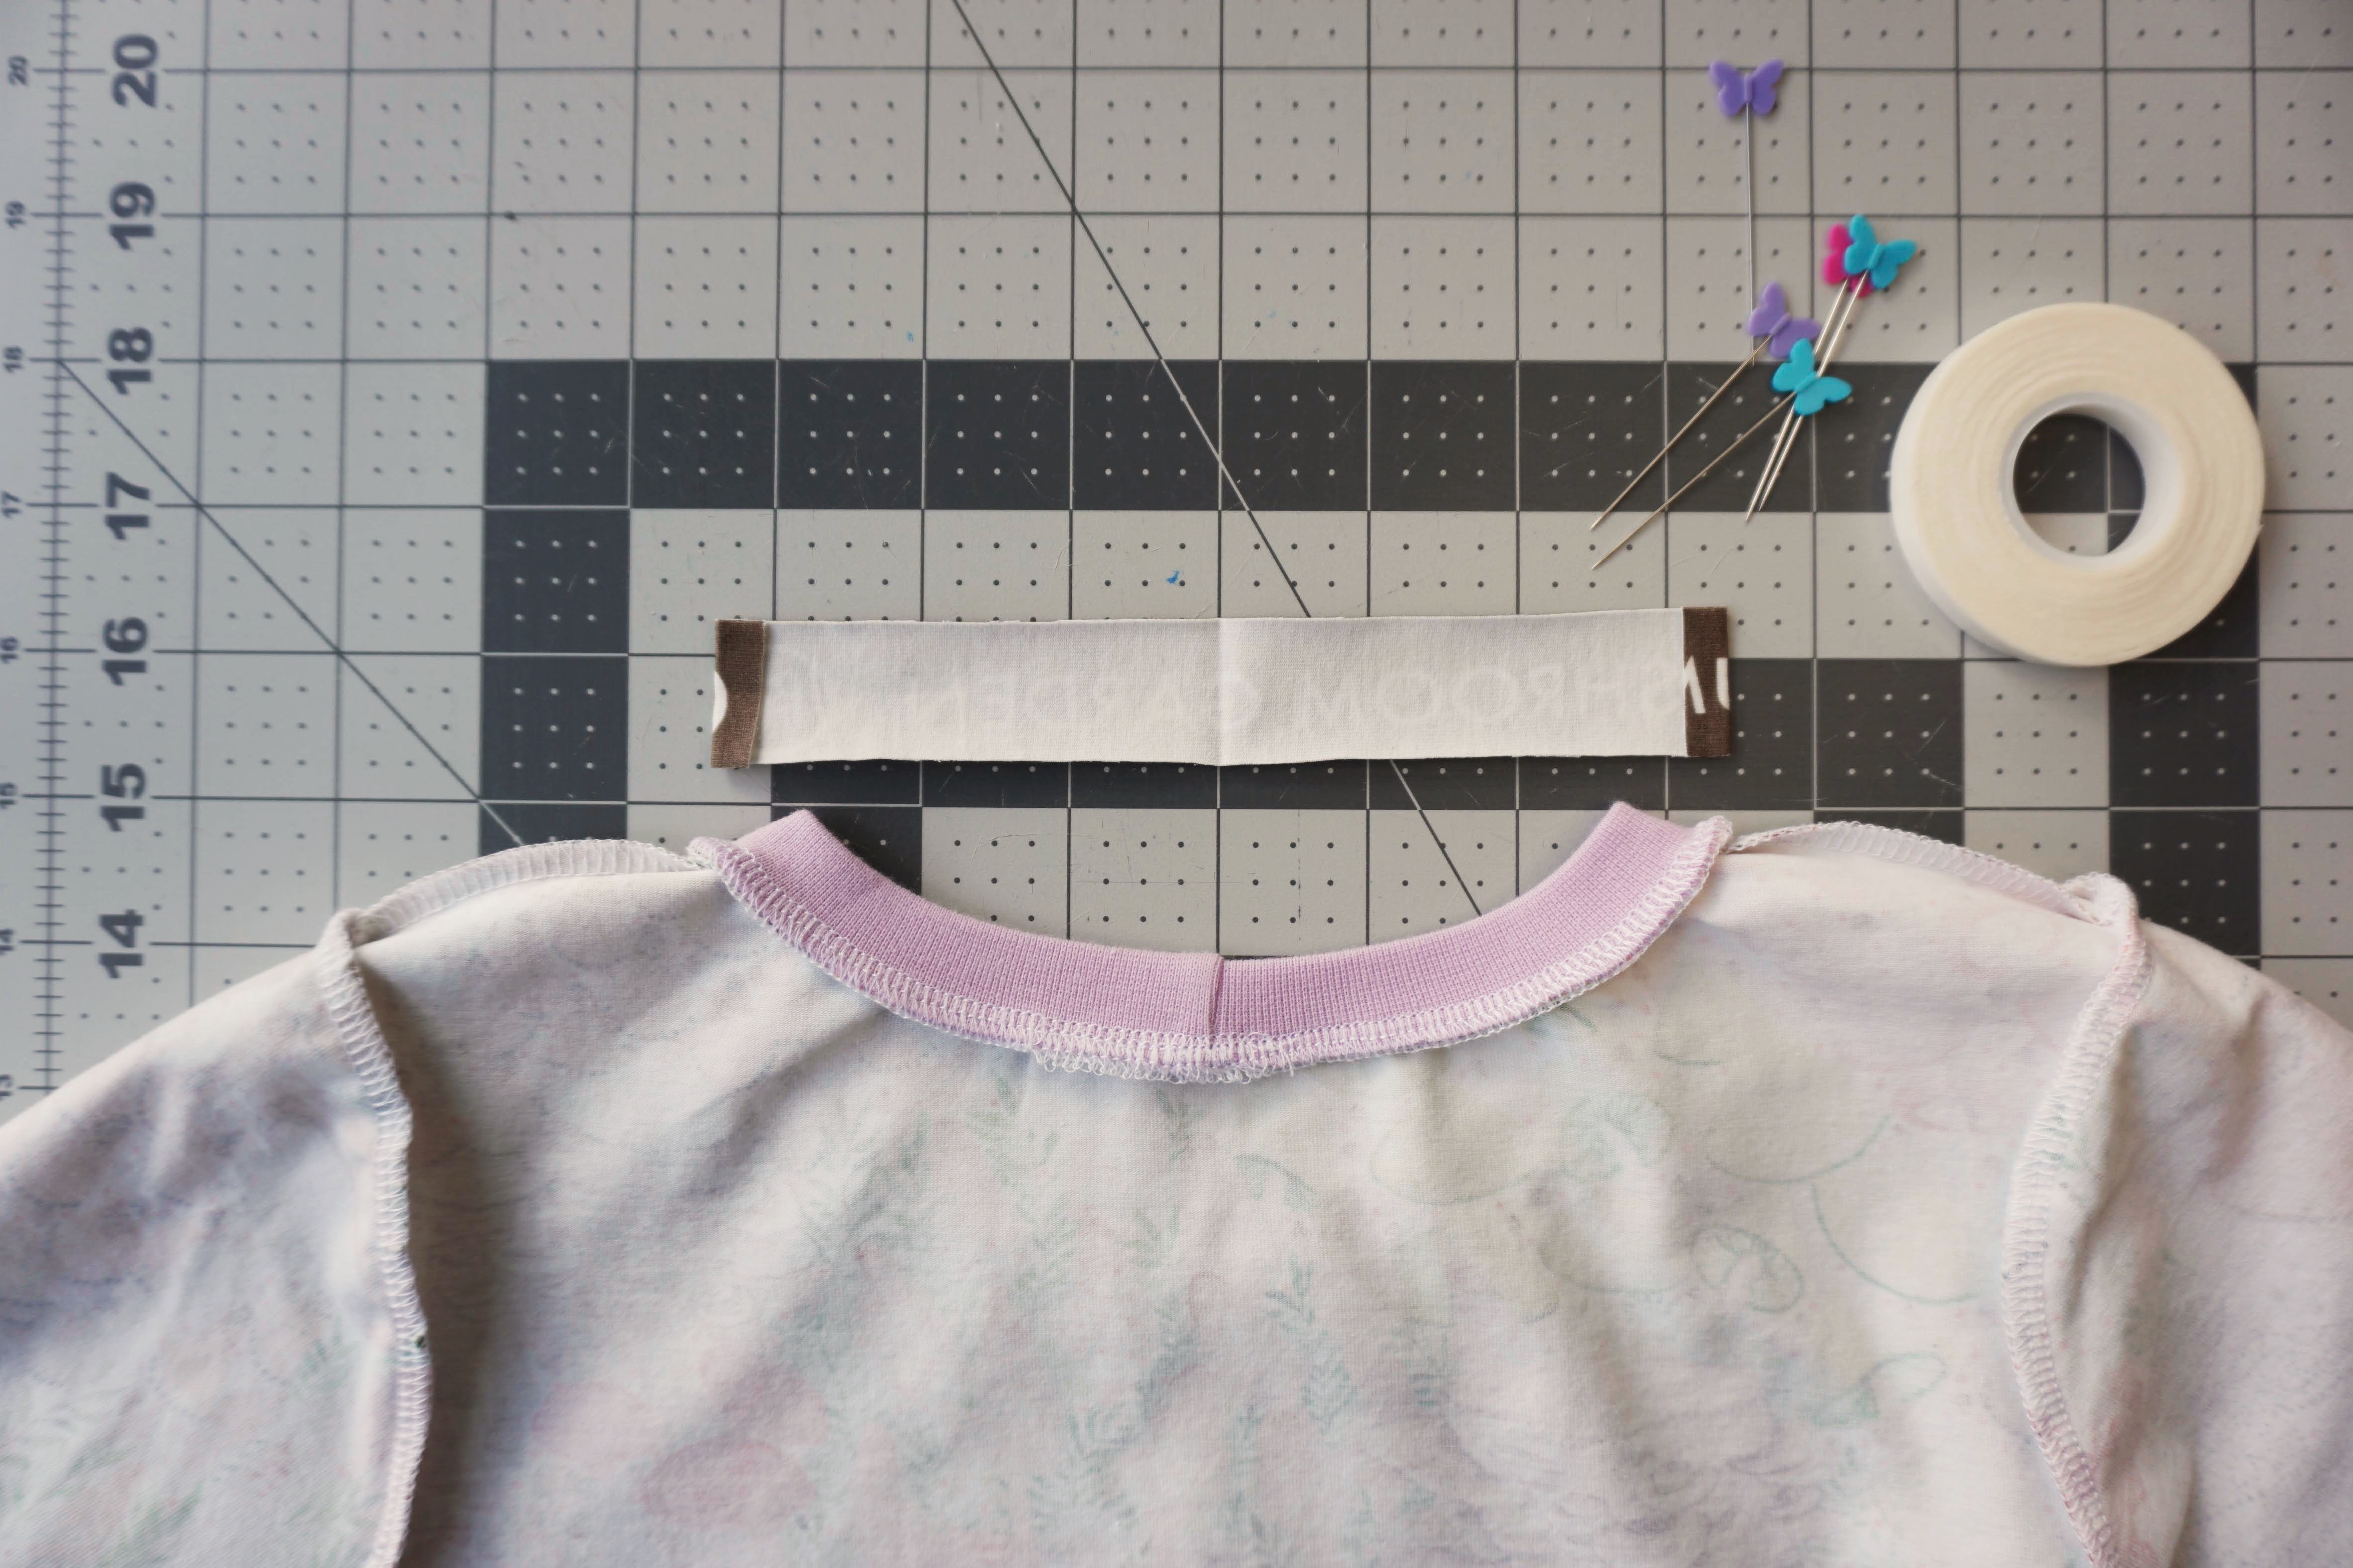
Begin by Preparing Your Binding Strip:
What size do I cut my binding piece? Turn your top inside out and measure the back neckband from just inside the shoulder seam to just inside the other shoulder seam and add 1/2” to this measurement – this is how long your binding will be.
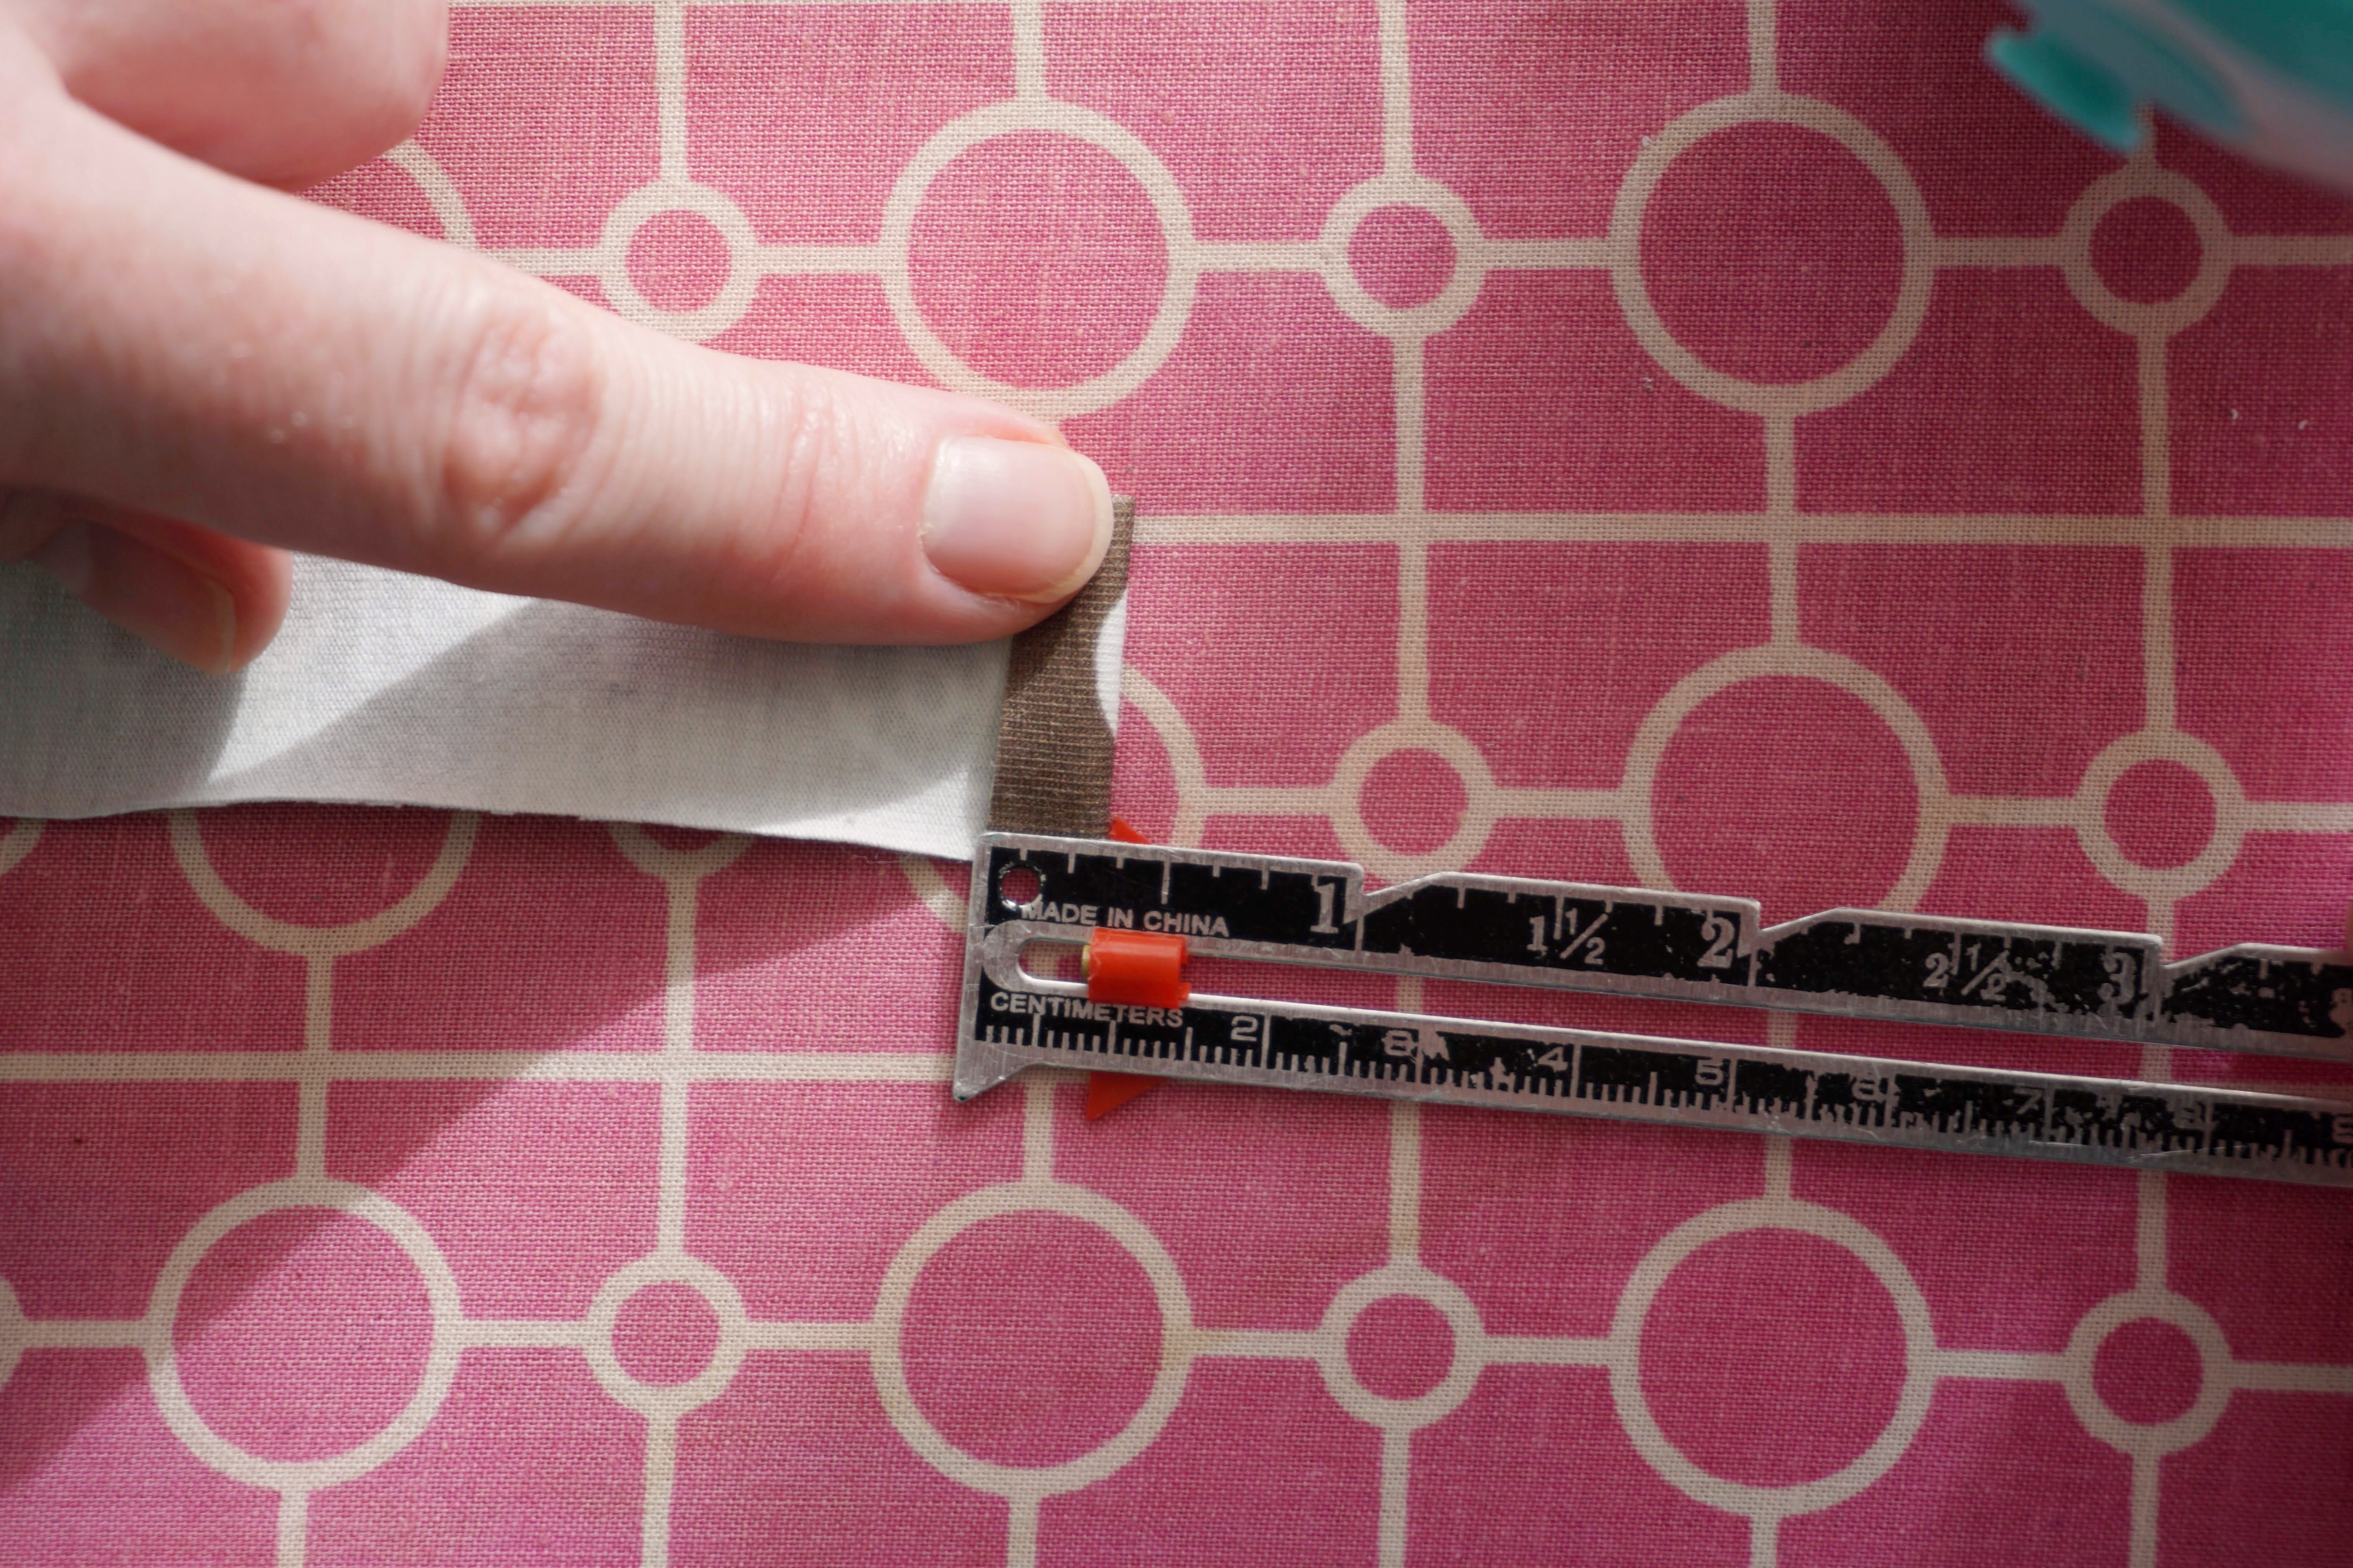
Next, the width of your binding piece will be three times your finished neckband seam allowance plus a little more. I serge my neckband on which gives me a seam allowance of ¼". I cut mine binding strip 1" wide. If your seam allowance is larger than ¼", you will need to cut your binding strip wider.
Press:
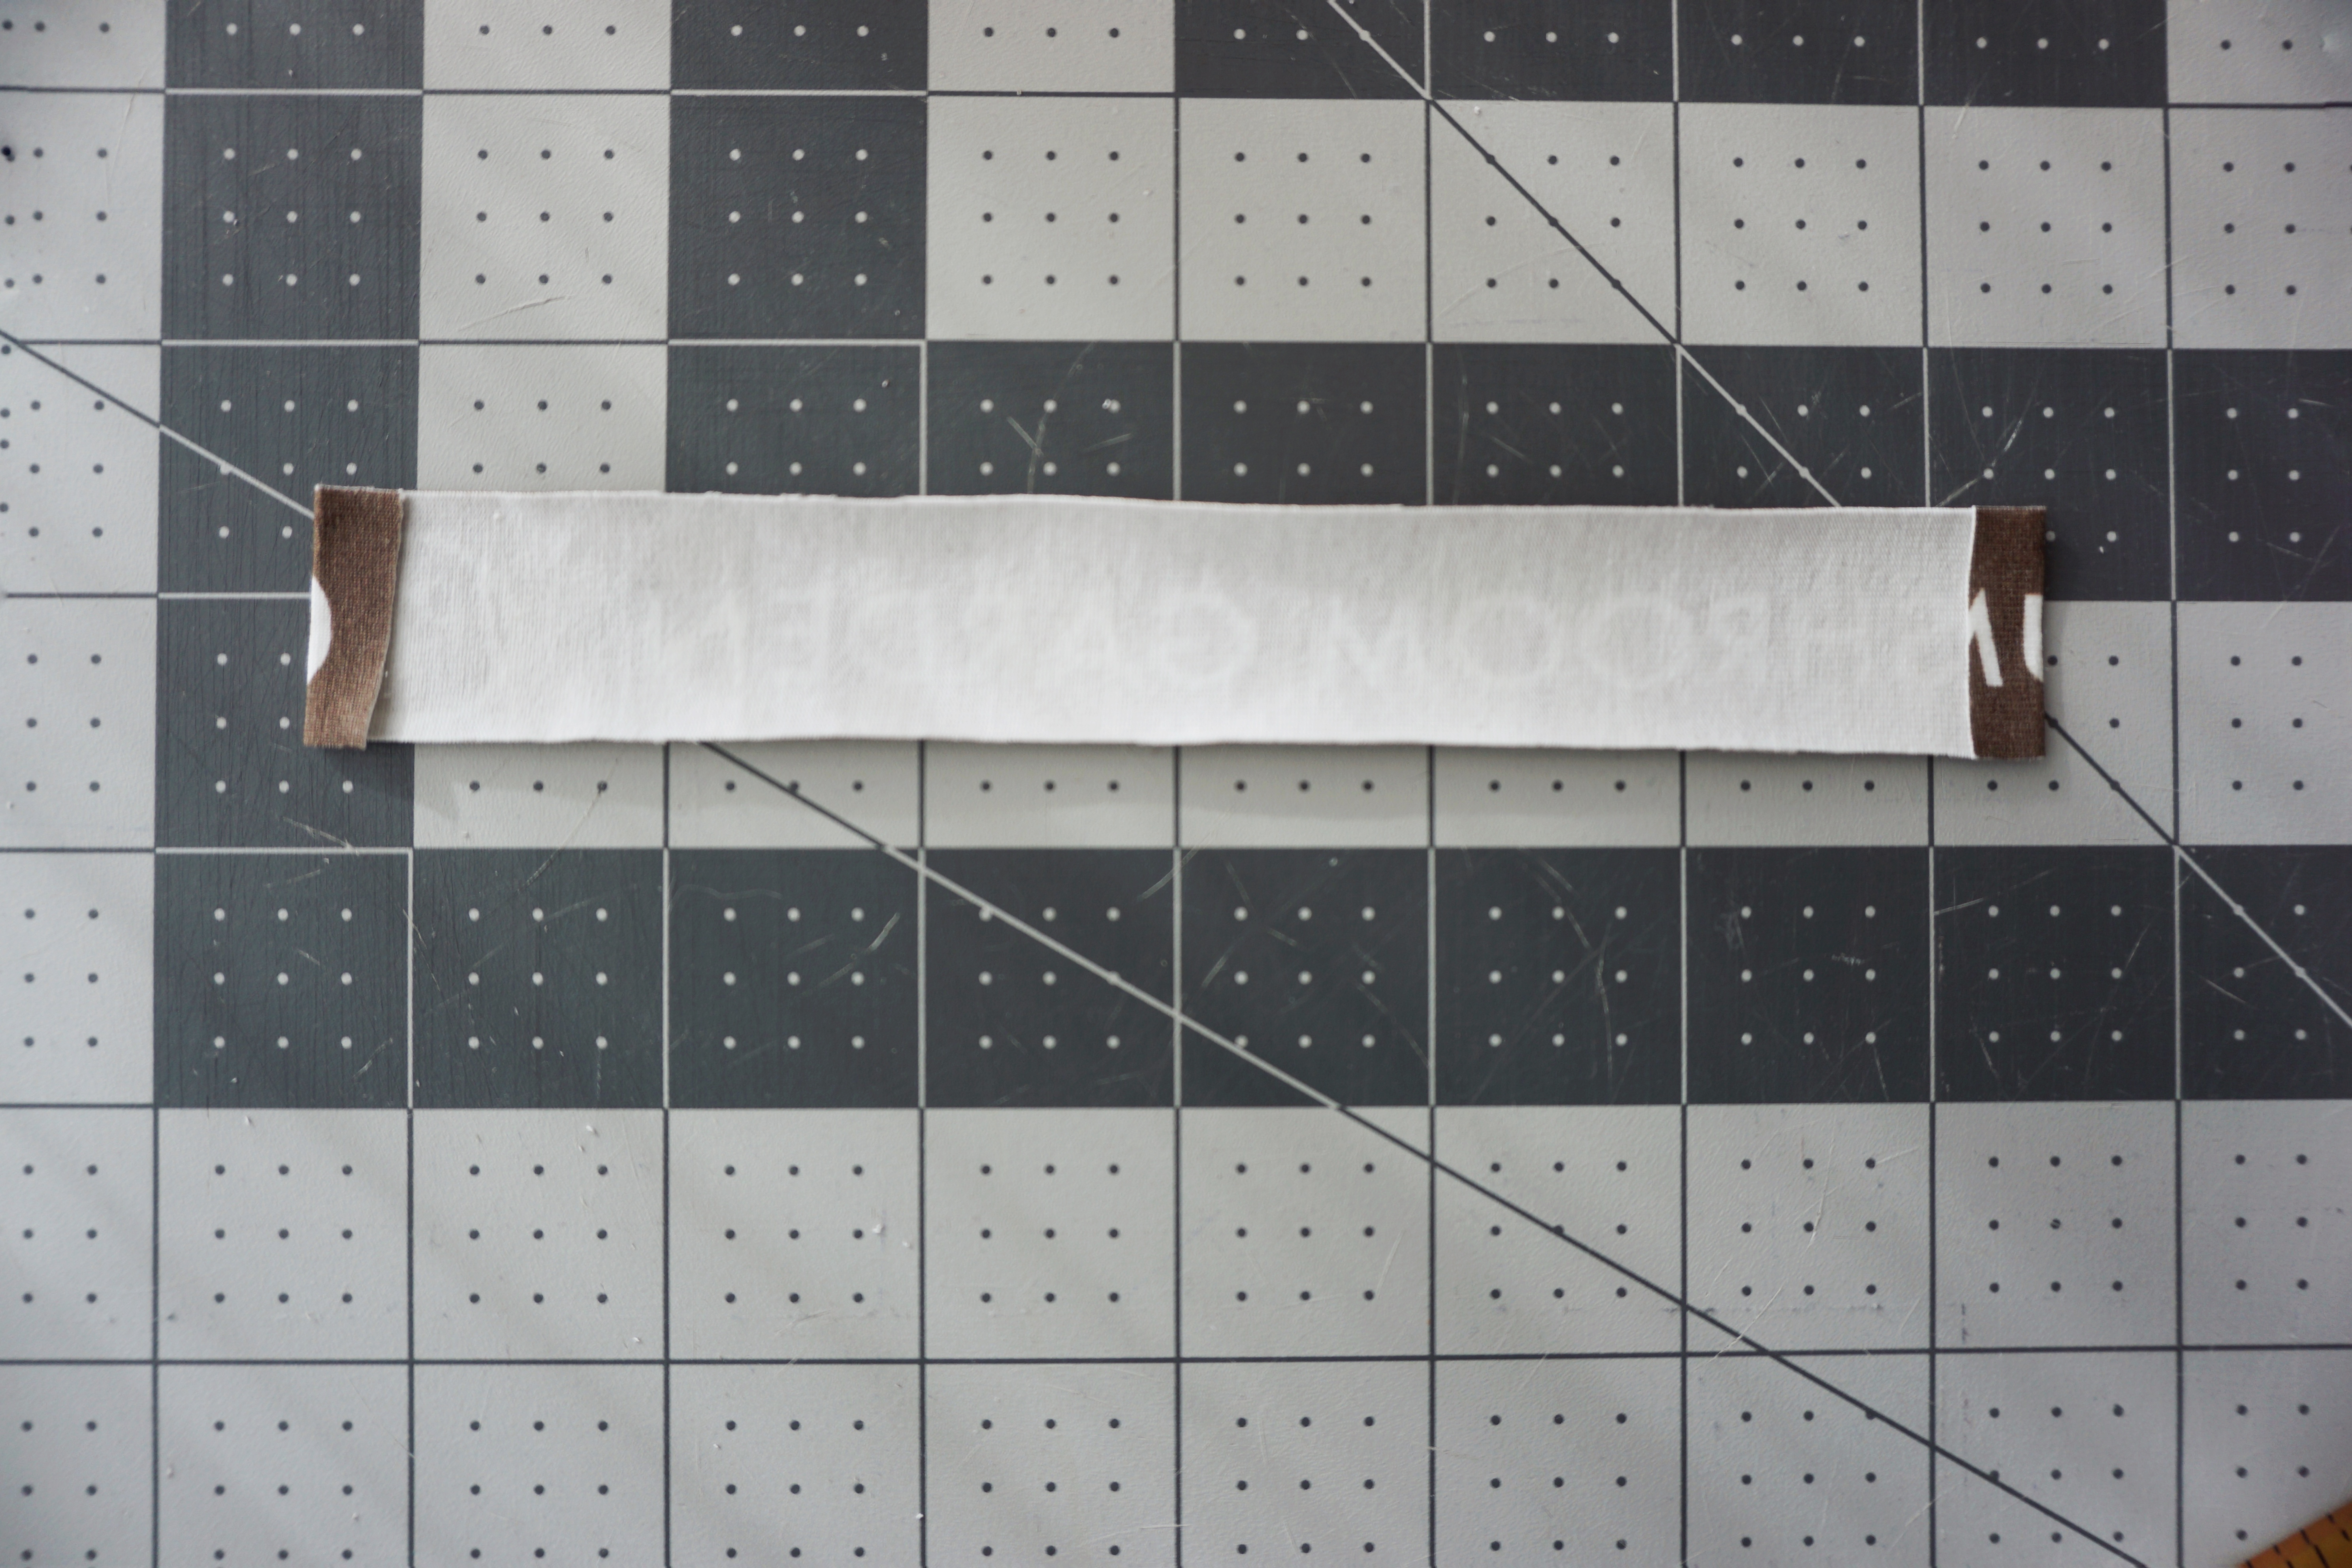
With the wrong side up, press both short ends of the binding in (wrong sides together) by 1/4'”. Finger press or iron the binding strip in half to find the centre point, unfold. Keep the short ends folded.
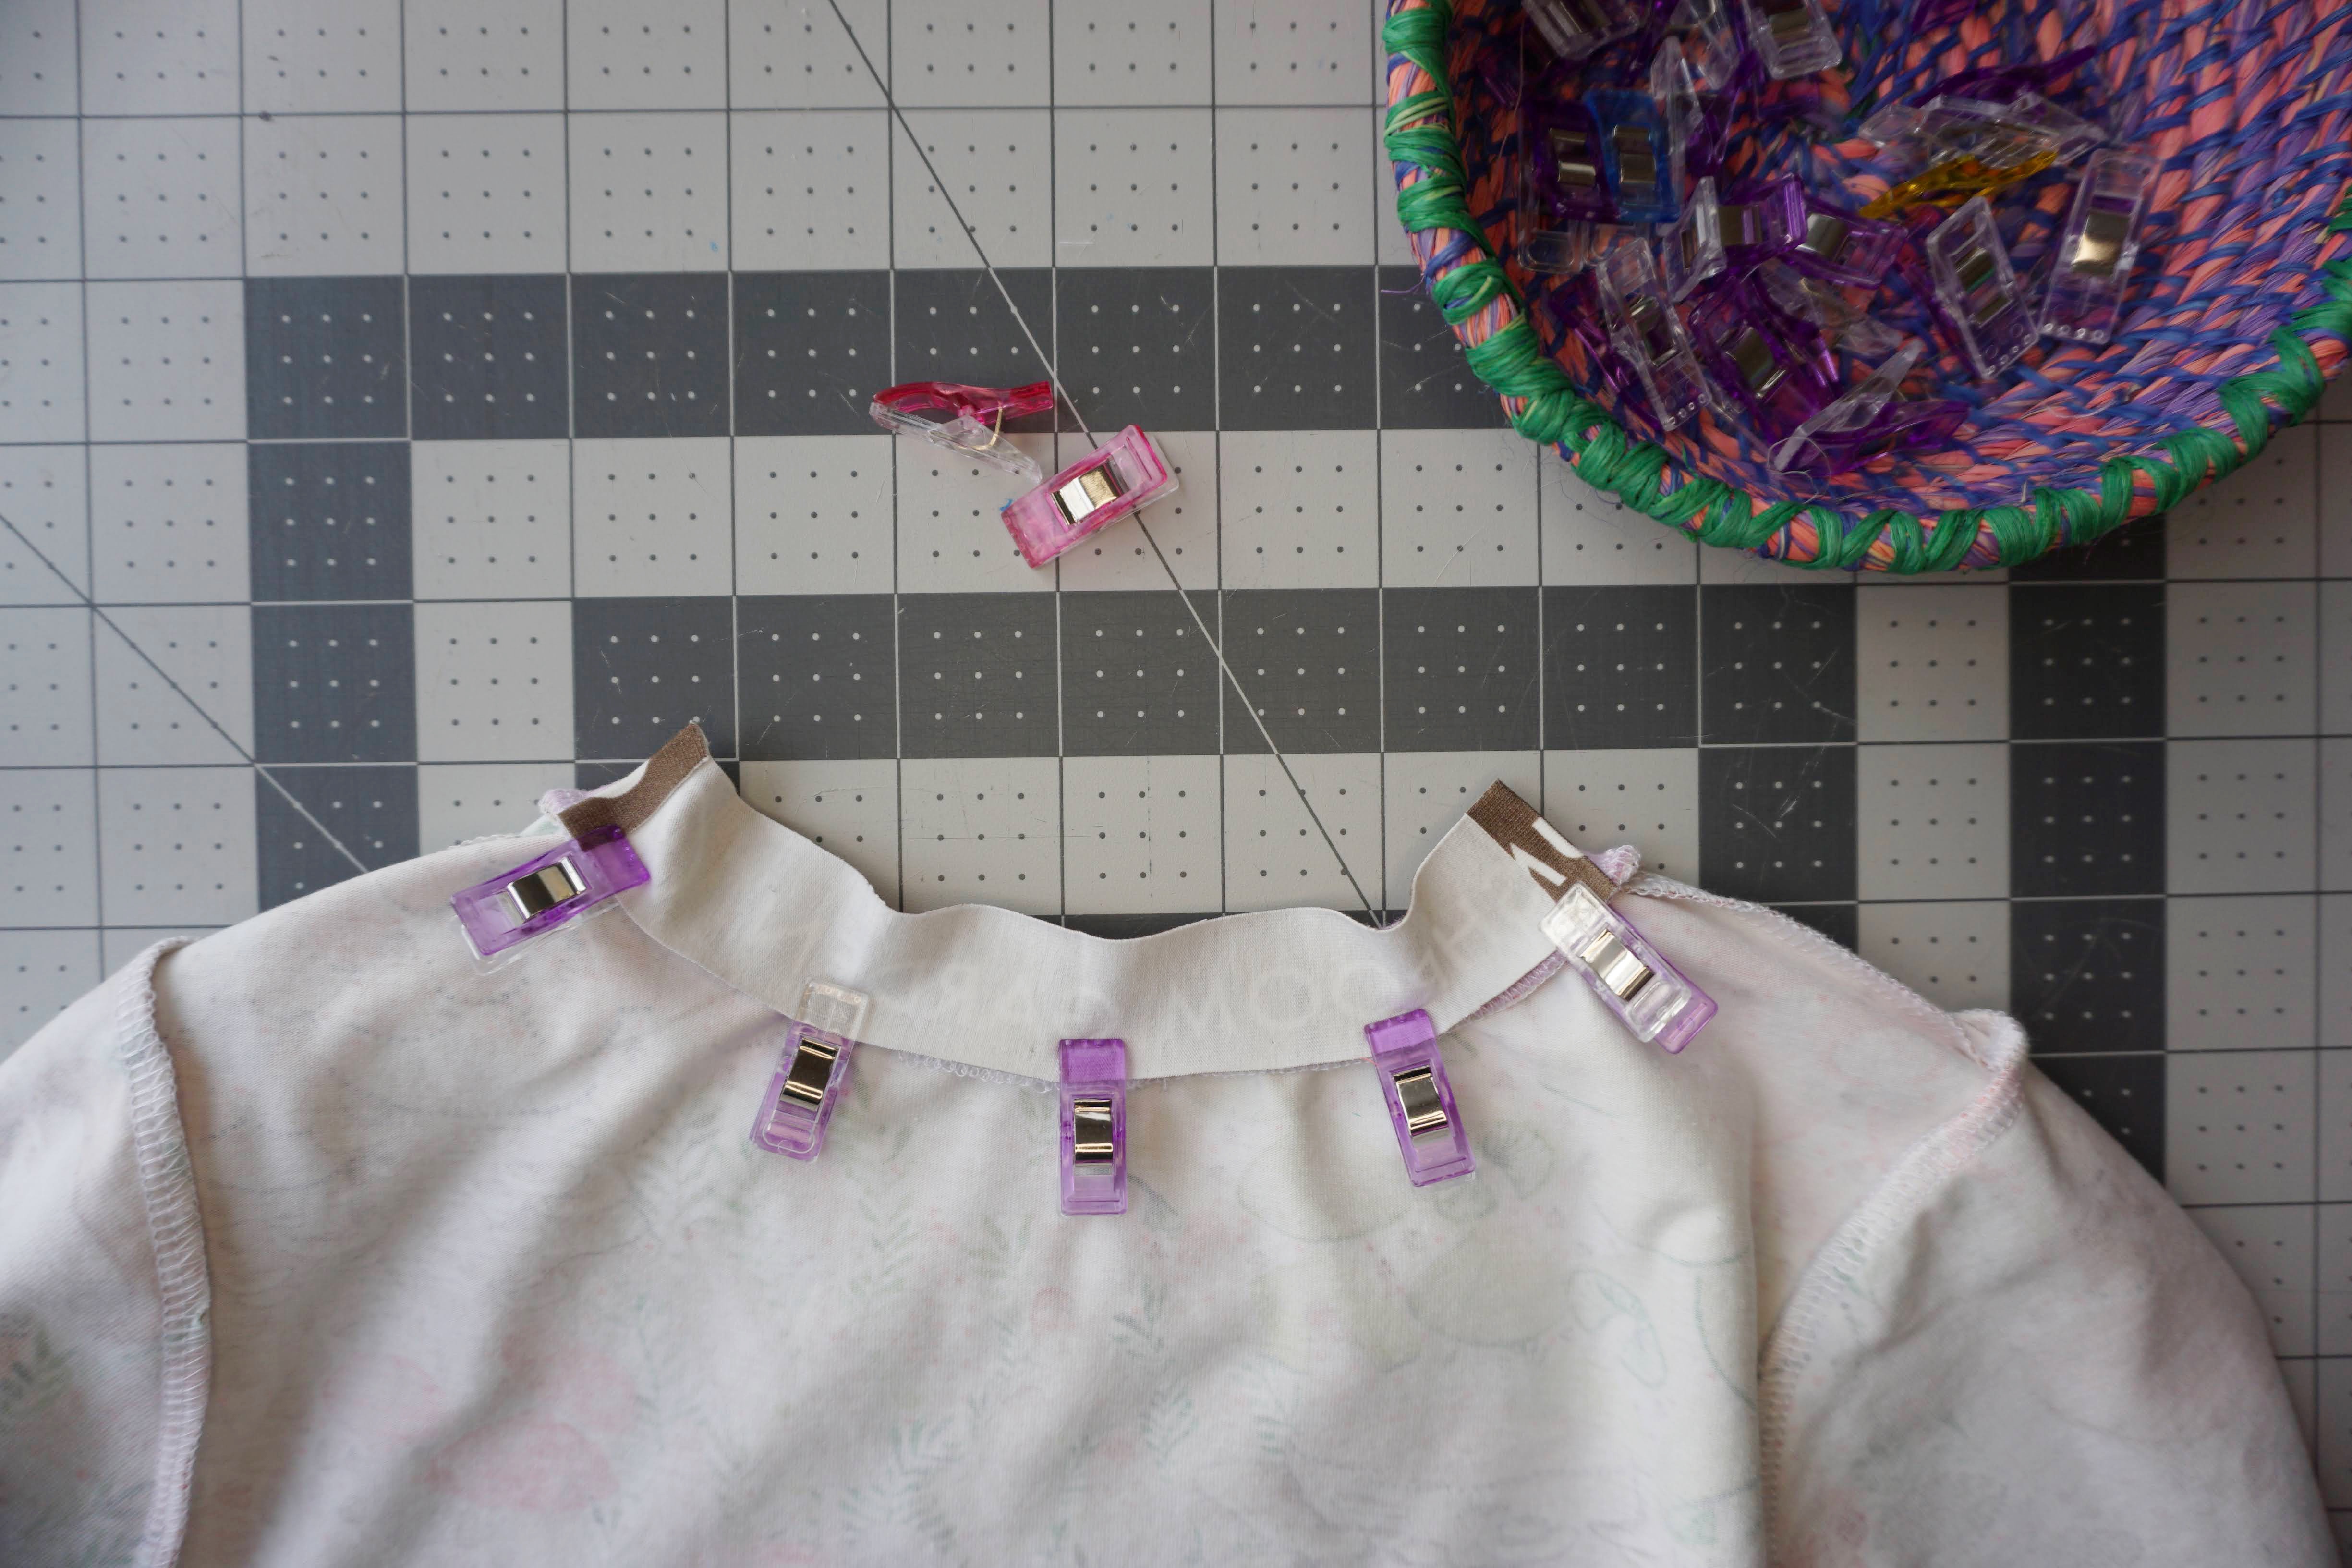
Attach the Binding:
Turn your top inside out.
Place the right side of the binding along the neckband with the long raw edge of the binding along the raw edge of neckband. Do not stretch the binding. You can either start at one shoulder seam, or place the middle point of the binding on the neckband back seam.
Make sure that your short ends are still folded down when you attach the binding. You can use pins, wash away tape, clips, or wing it to attach the binding in preparation for sewing. If using wash away tape, put it within the seam allowance of the neckband. I prefer clips because it’s much easier just to catch the seam allowance.
Using your sewing machine and a stretch stitch; I use a triple stretch stitch because it gives a straight line, but you can also use a zig zag. The key here is to make sure that you are sewing right on the neckband seam allowance or just a smidge outside the seam allowance.
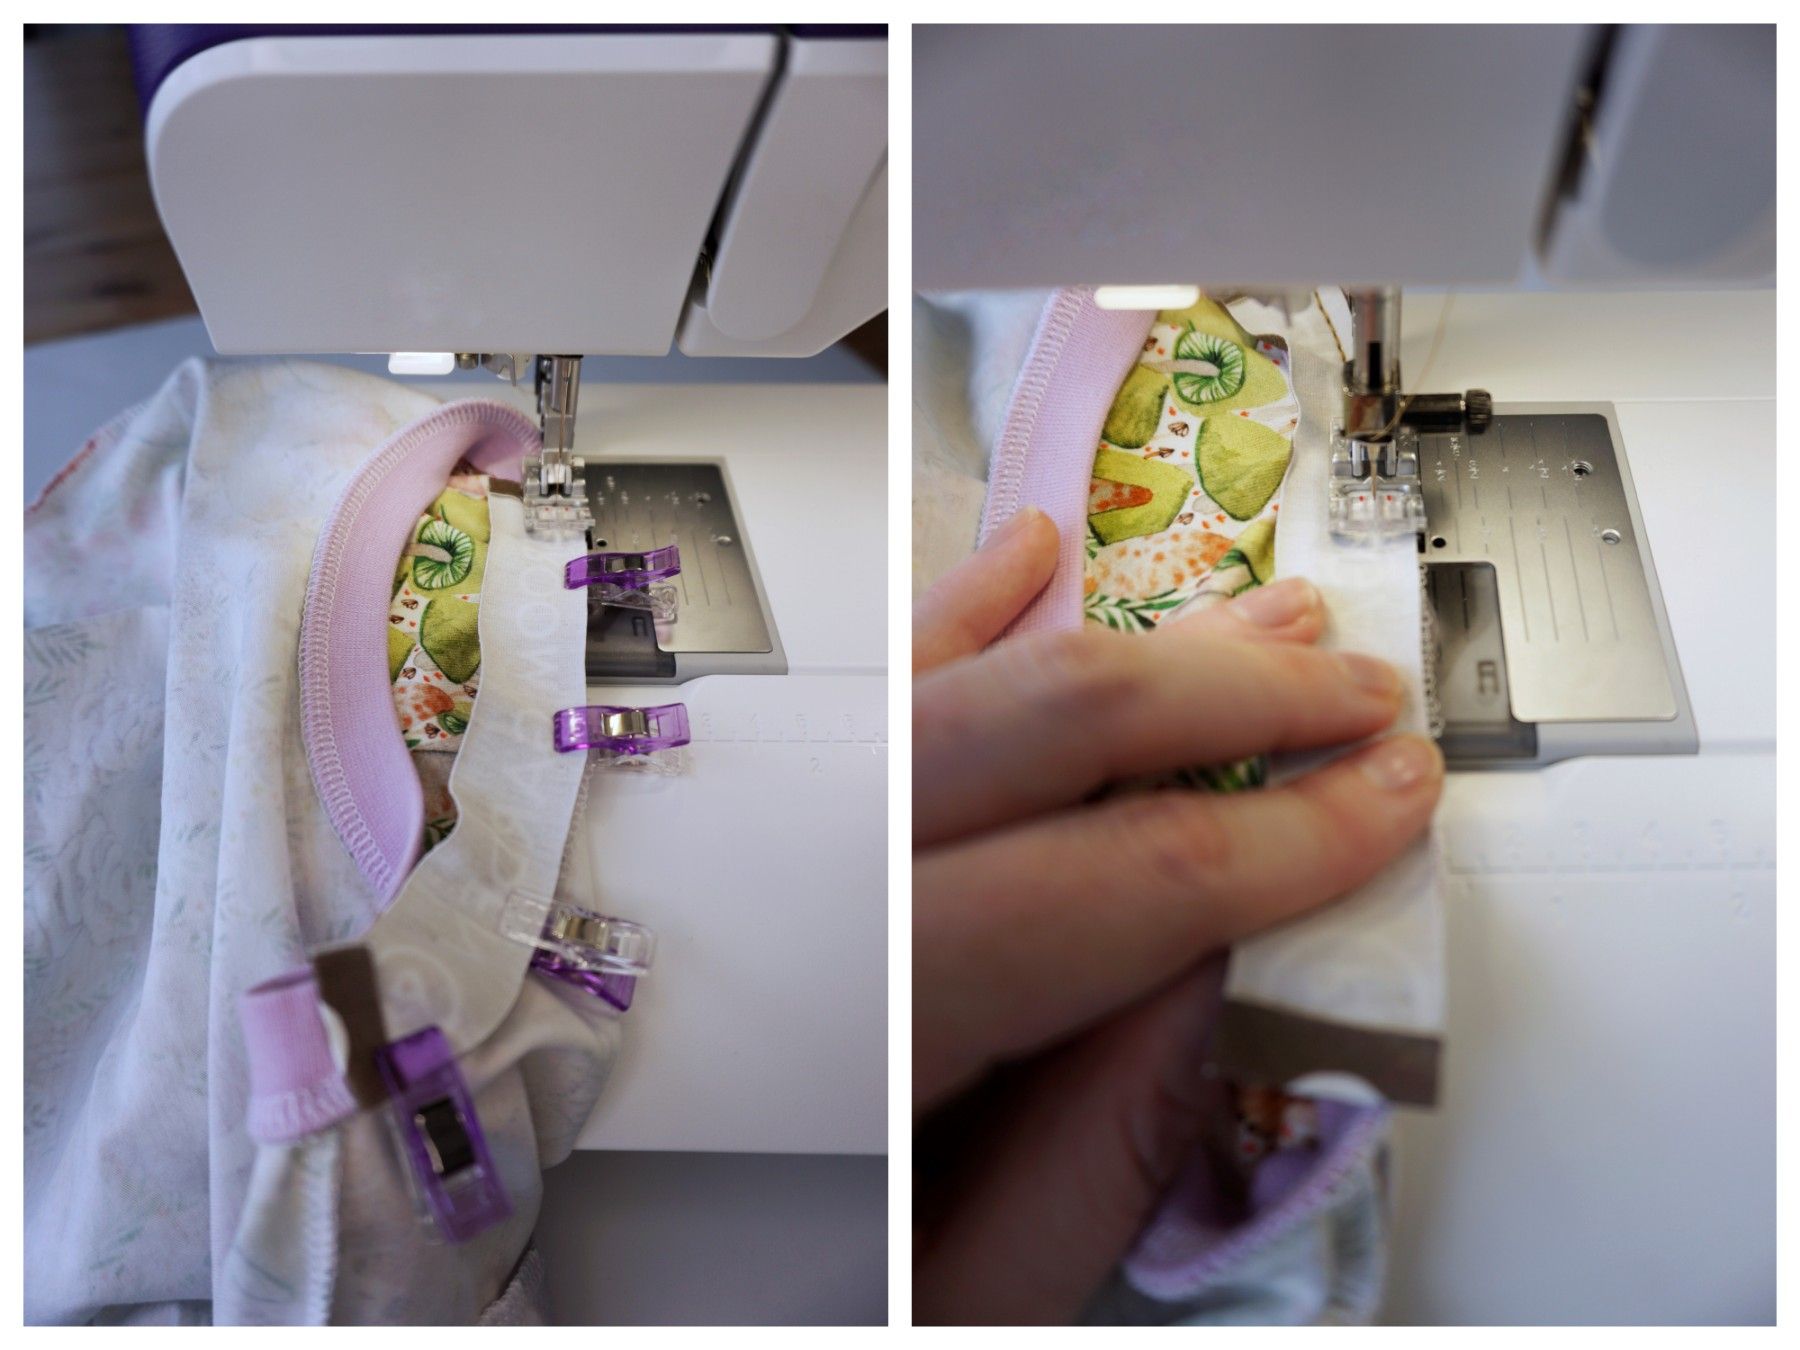
If you sew the band on inside the seam allowance, you will see your neckband seam allowance when you turn the binding. If you sew it too far outside the neckband seam allowance, you will have a pucker on the outside of your top along the neckband.
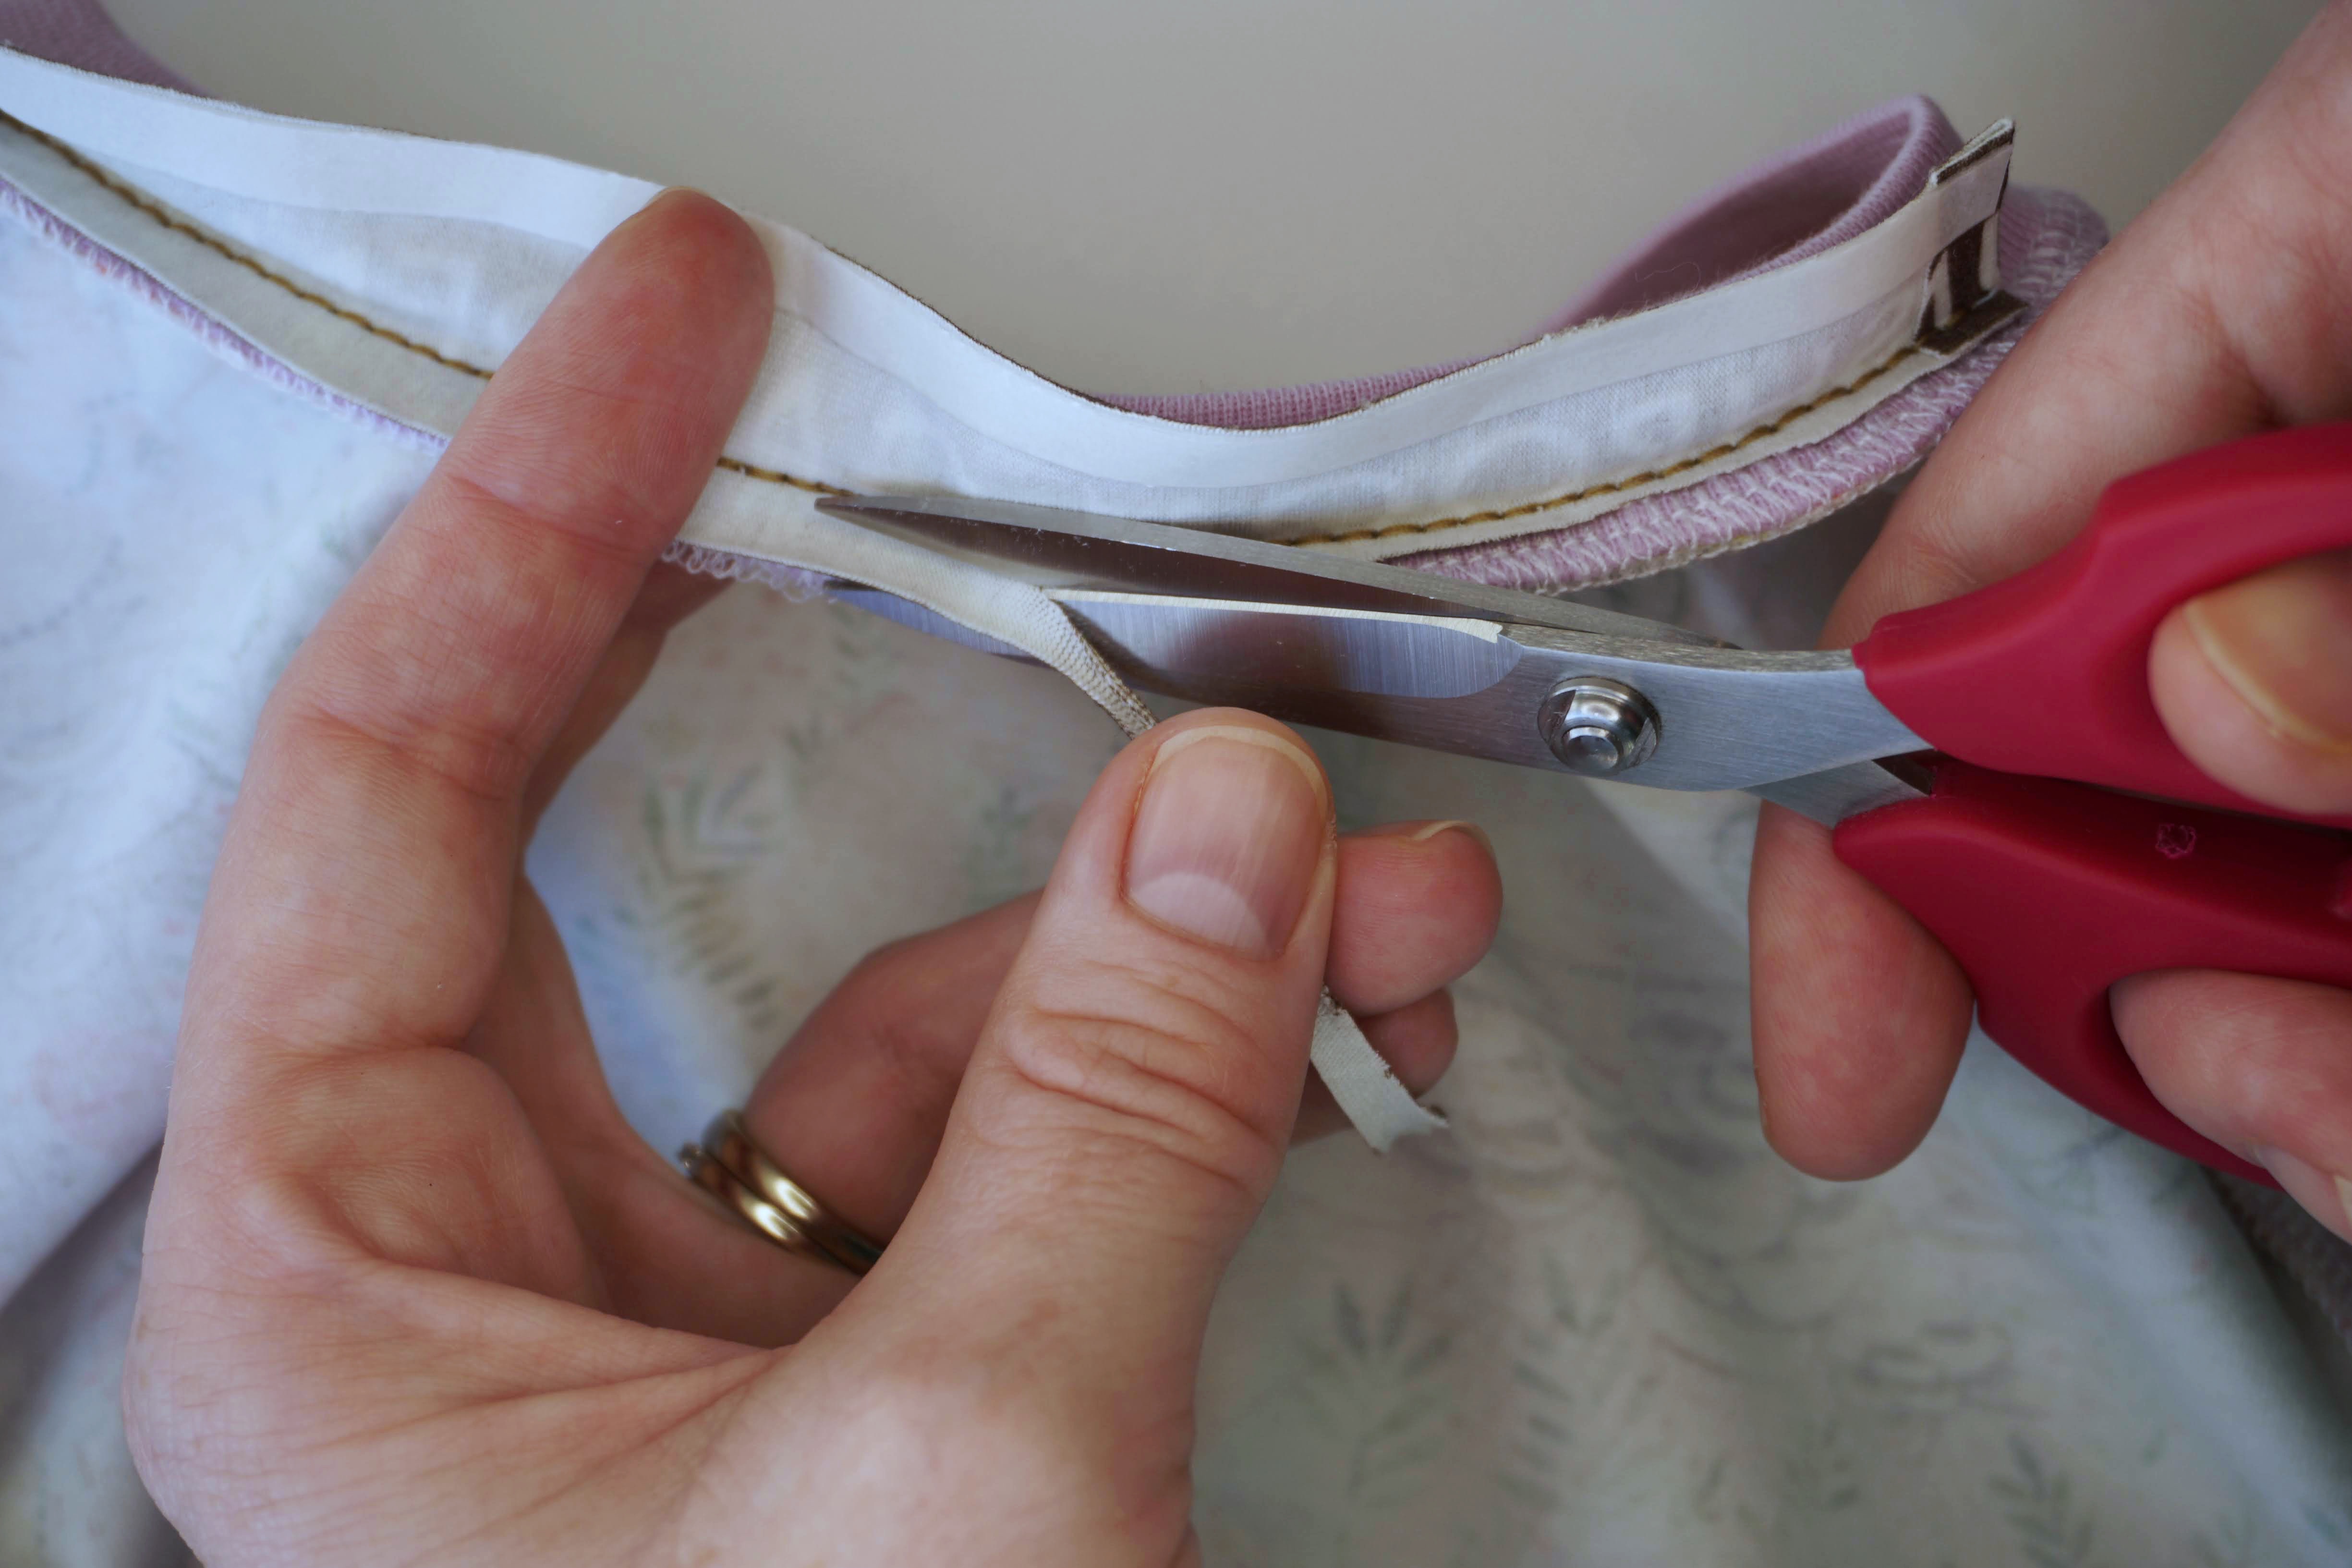
Once the binding is attached, you can trim down the binding seam allowance to reduce bulk. I generally don’t do this if using jersey, but if I am using a heavier fabric I will.
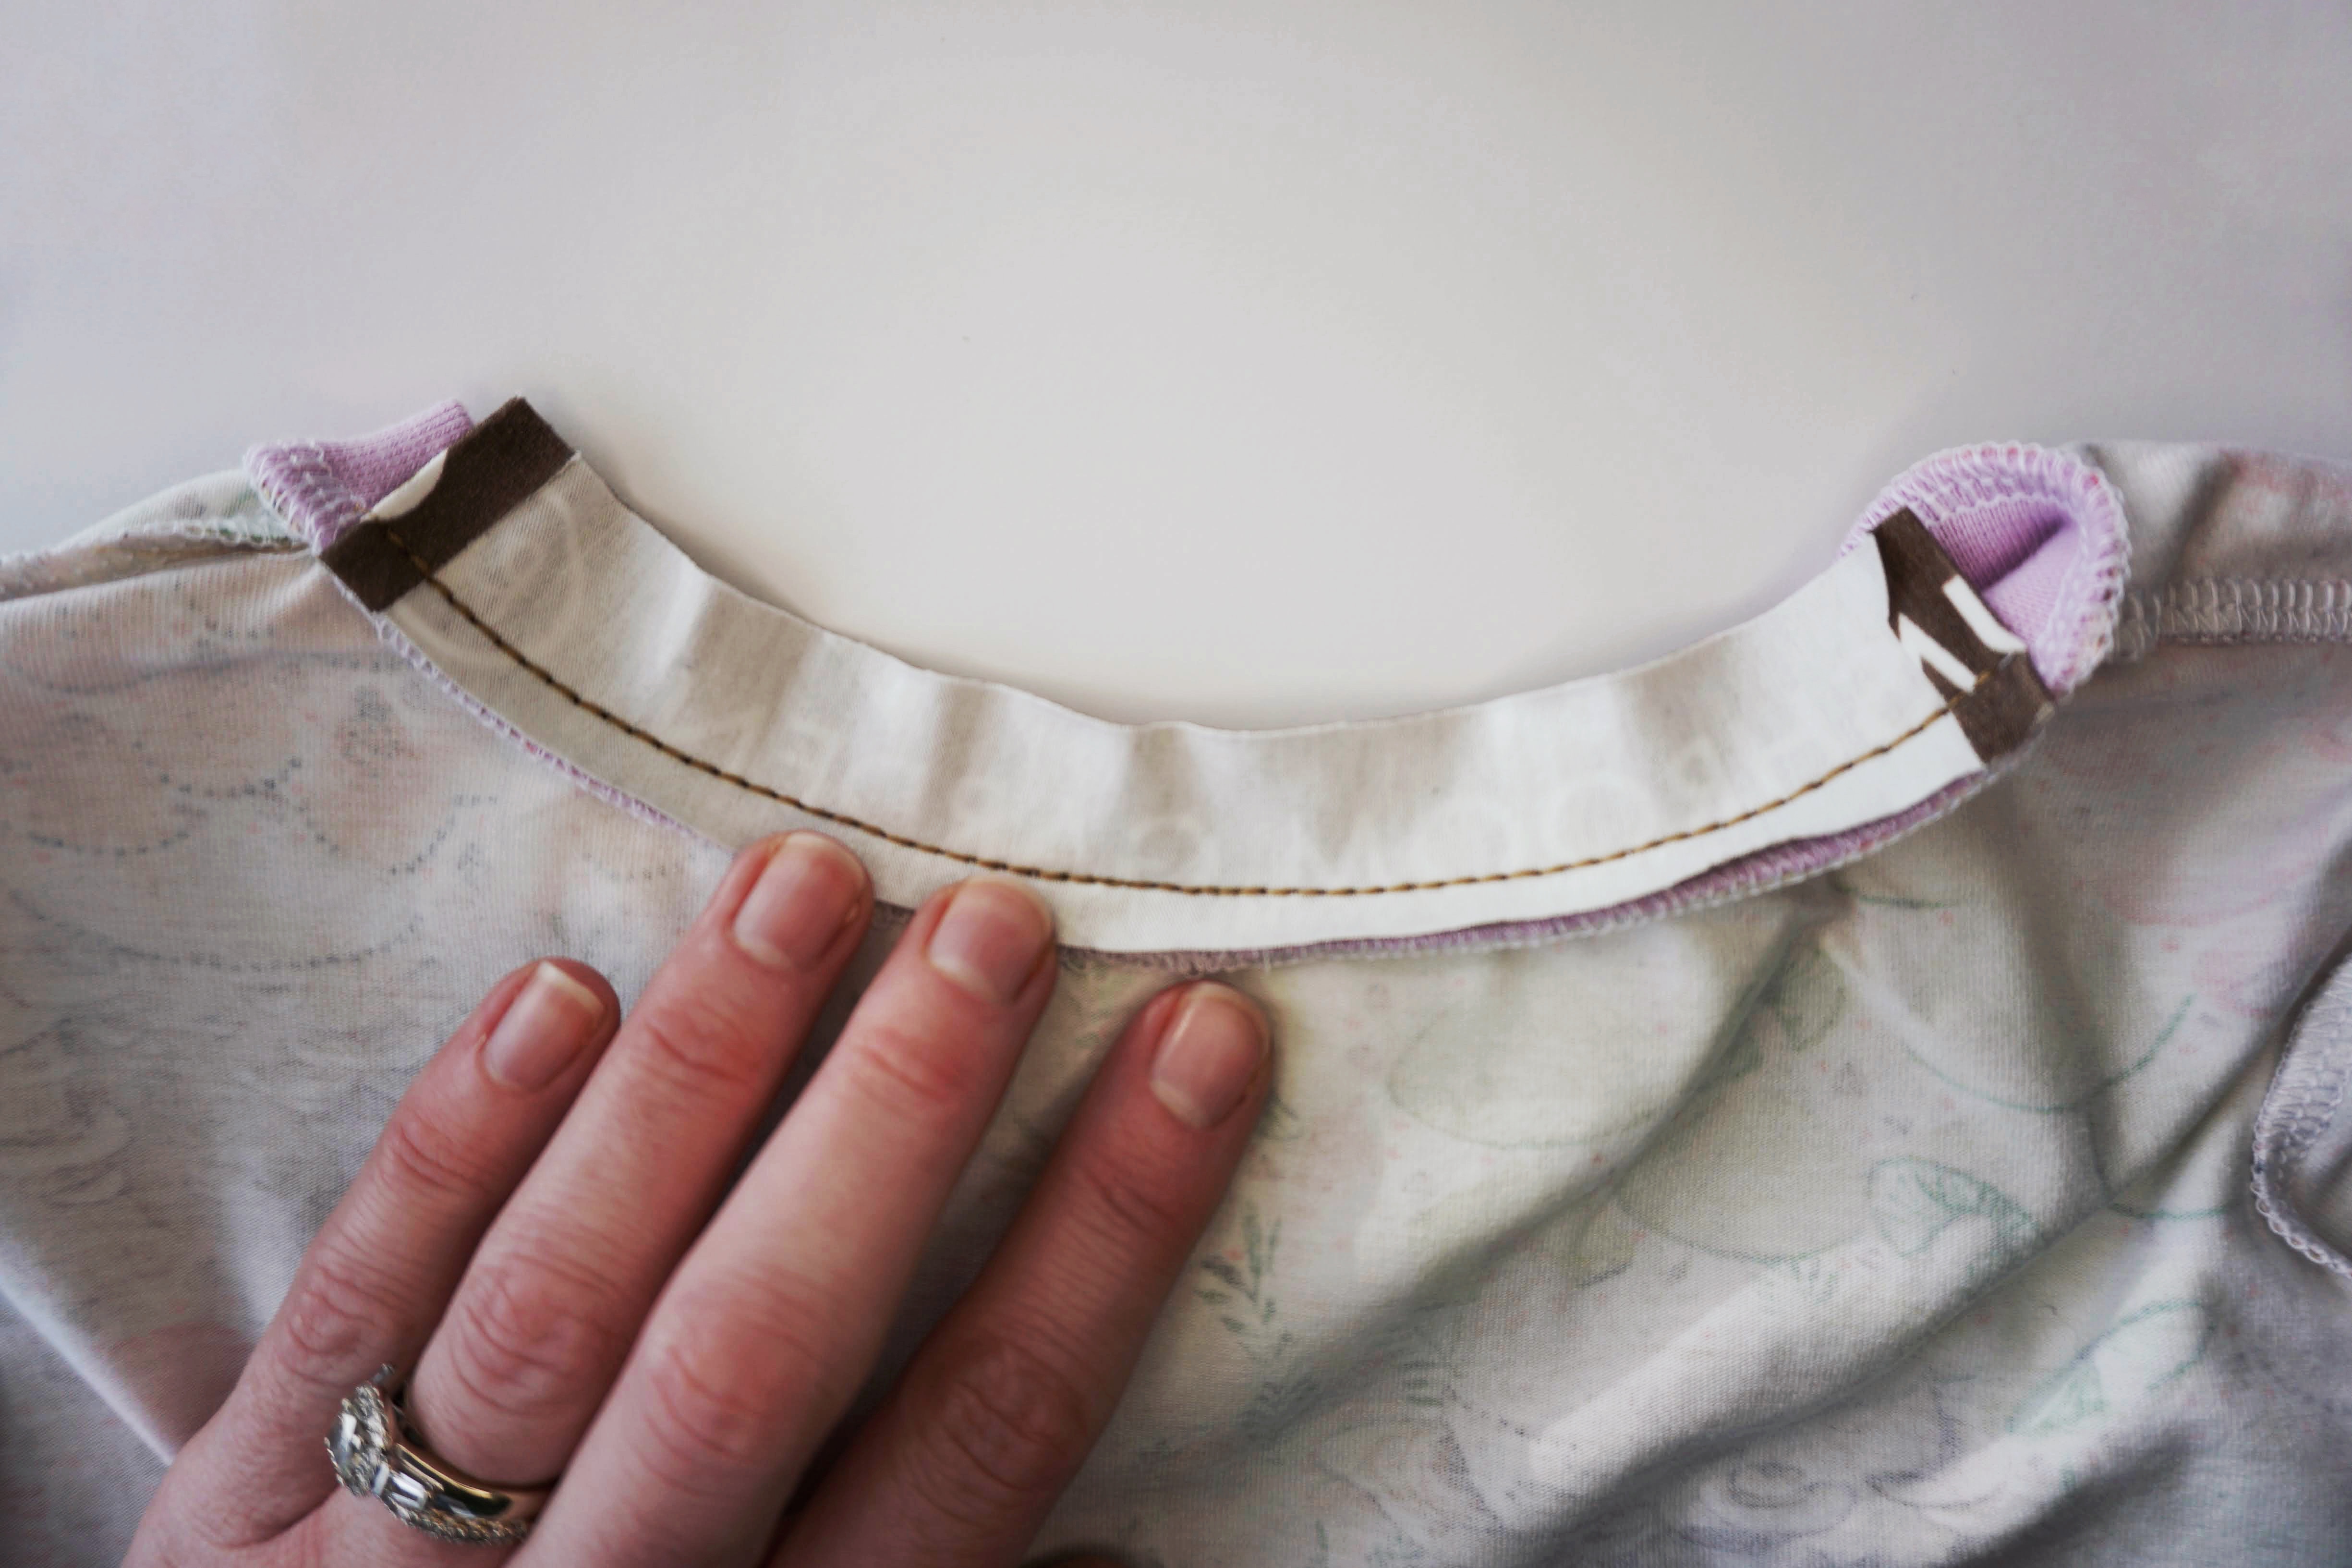
Bind the Neckband Seam Allowance:
Press the binding away from the seam allowance so the binding is right side up.
Wrap the binding around and under the seam allowance. I like using wondertape here to ensure that the binding stays securely wrapped around the seam allowance. I add the wondertape along the underside of the neckband seam allowance and wrap the binding around. I then press with my fingers to ensure that the binding is attached to the underside seam allowance.
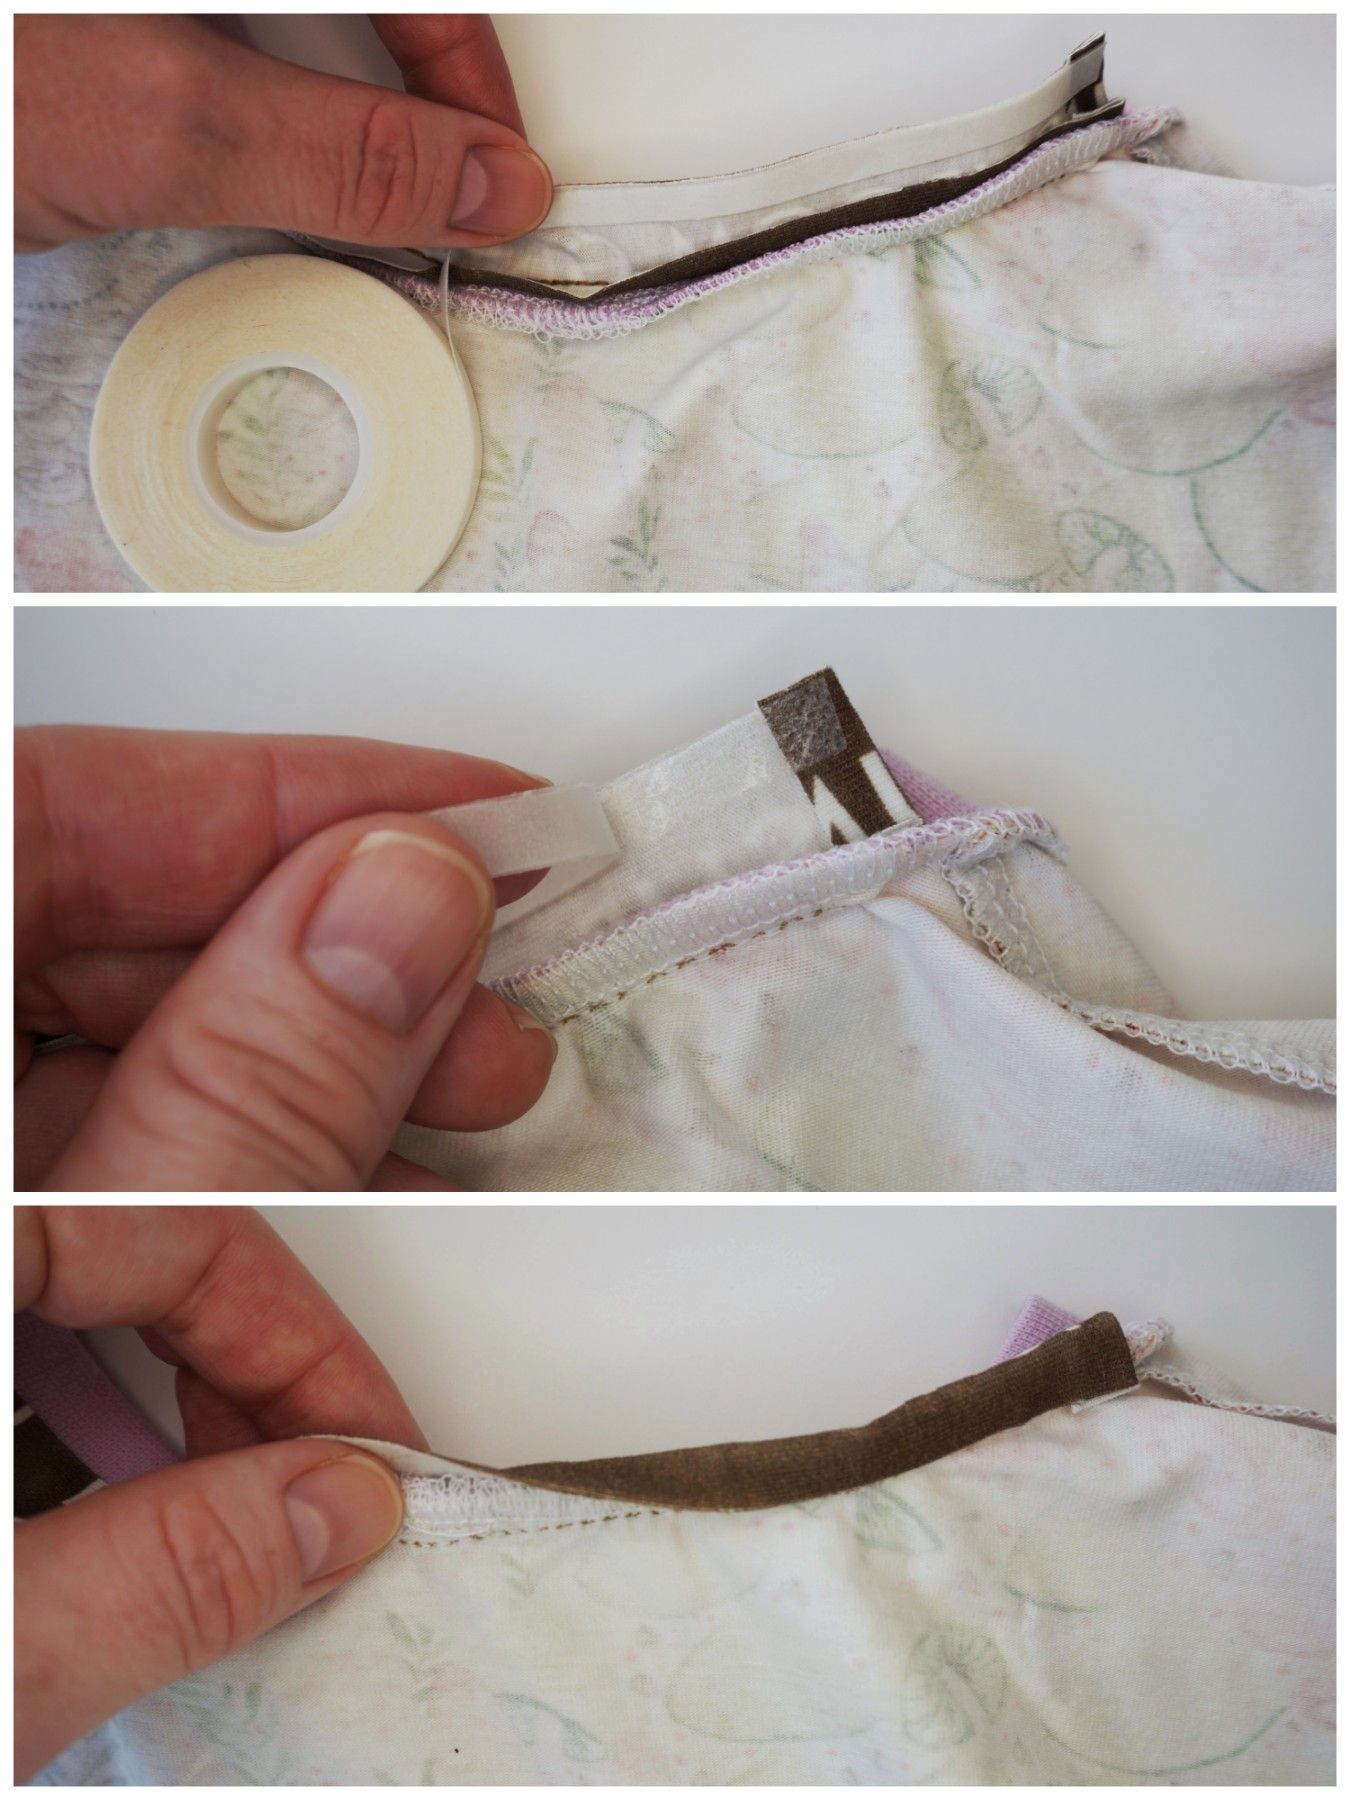
Secure the bound seam allowance to the back of the top using more wondertape or pins.
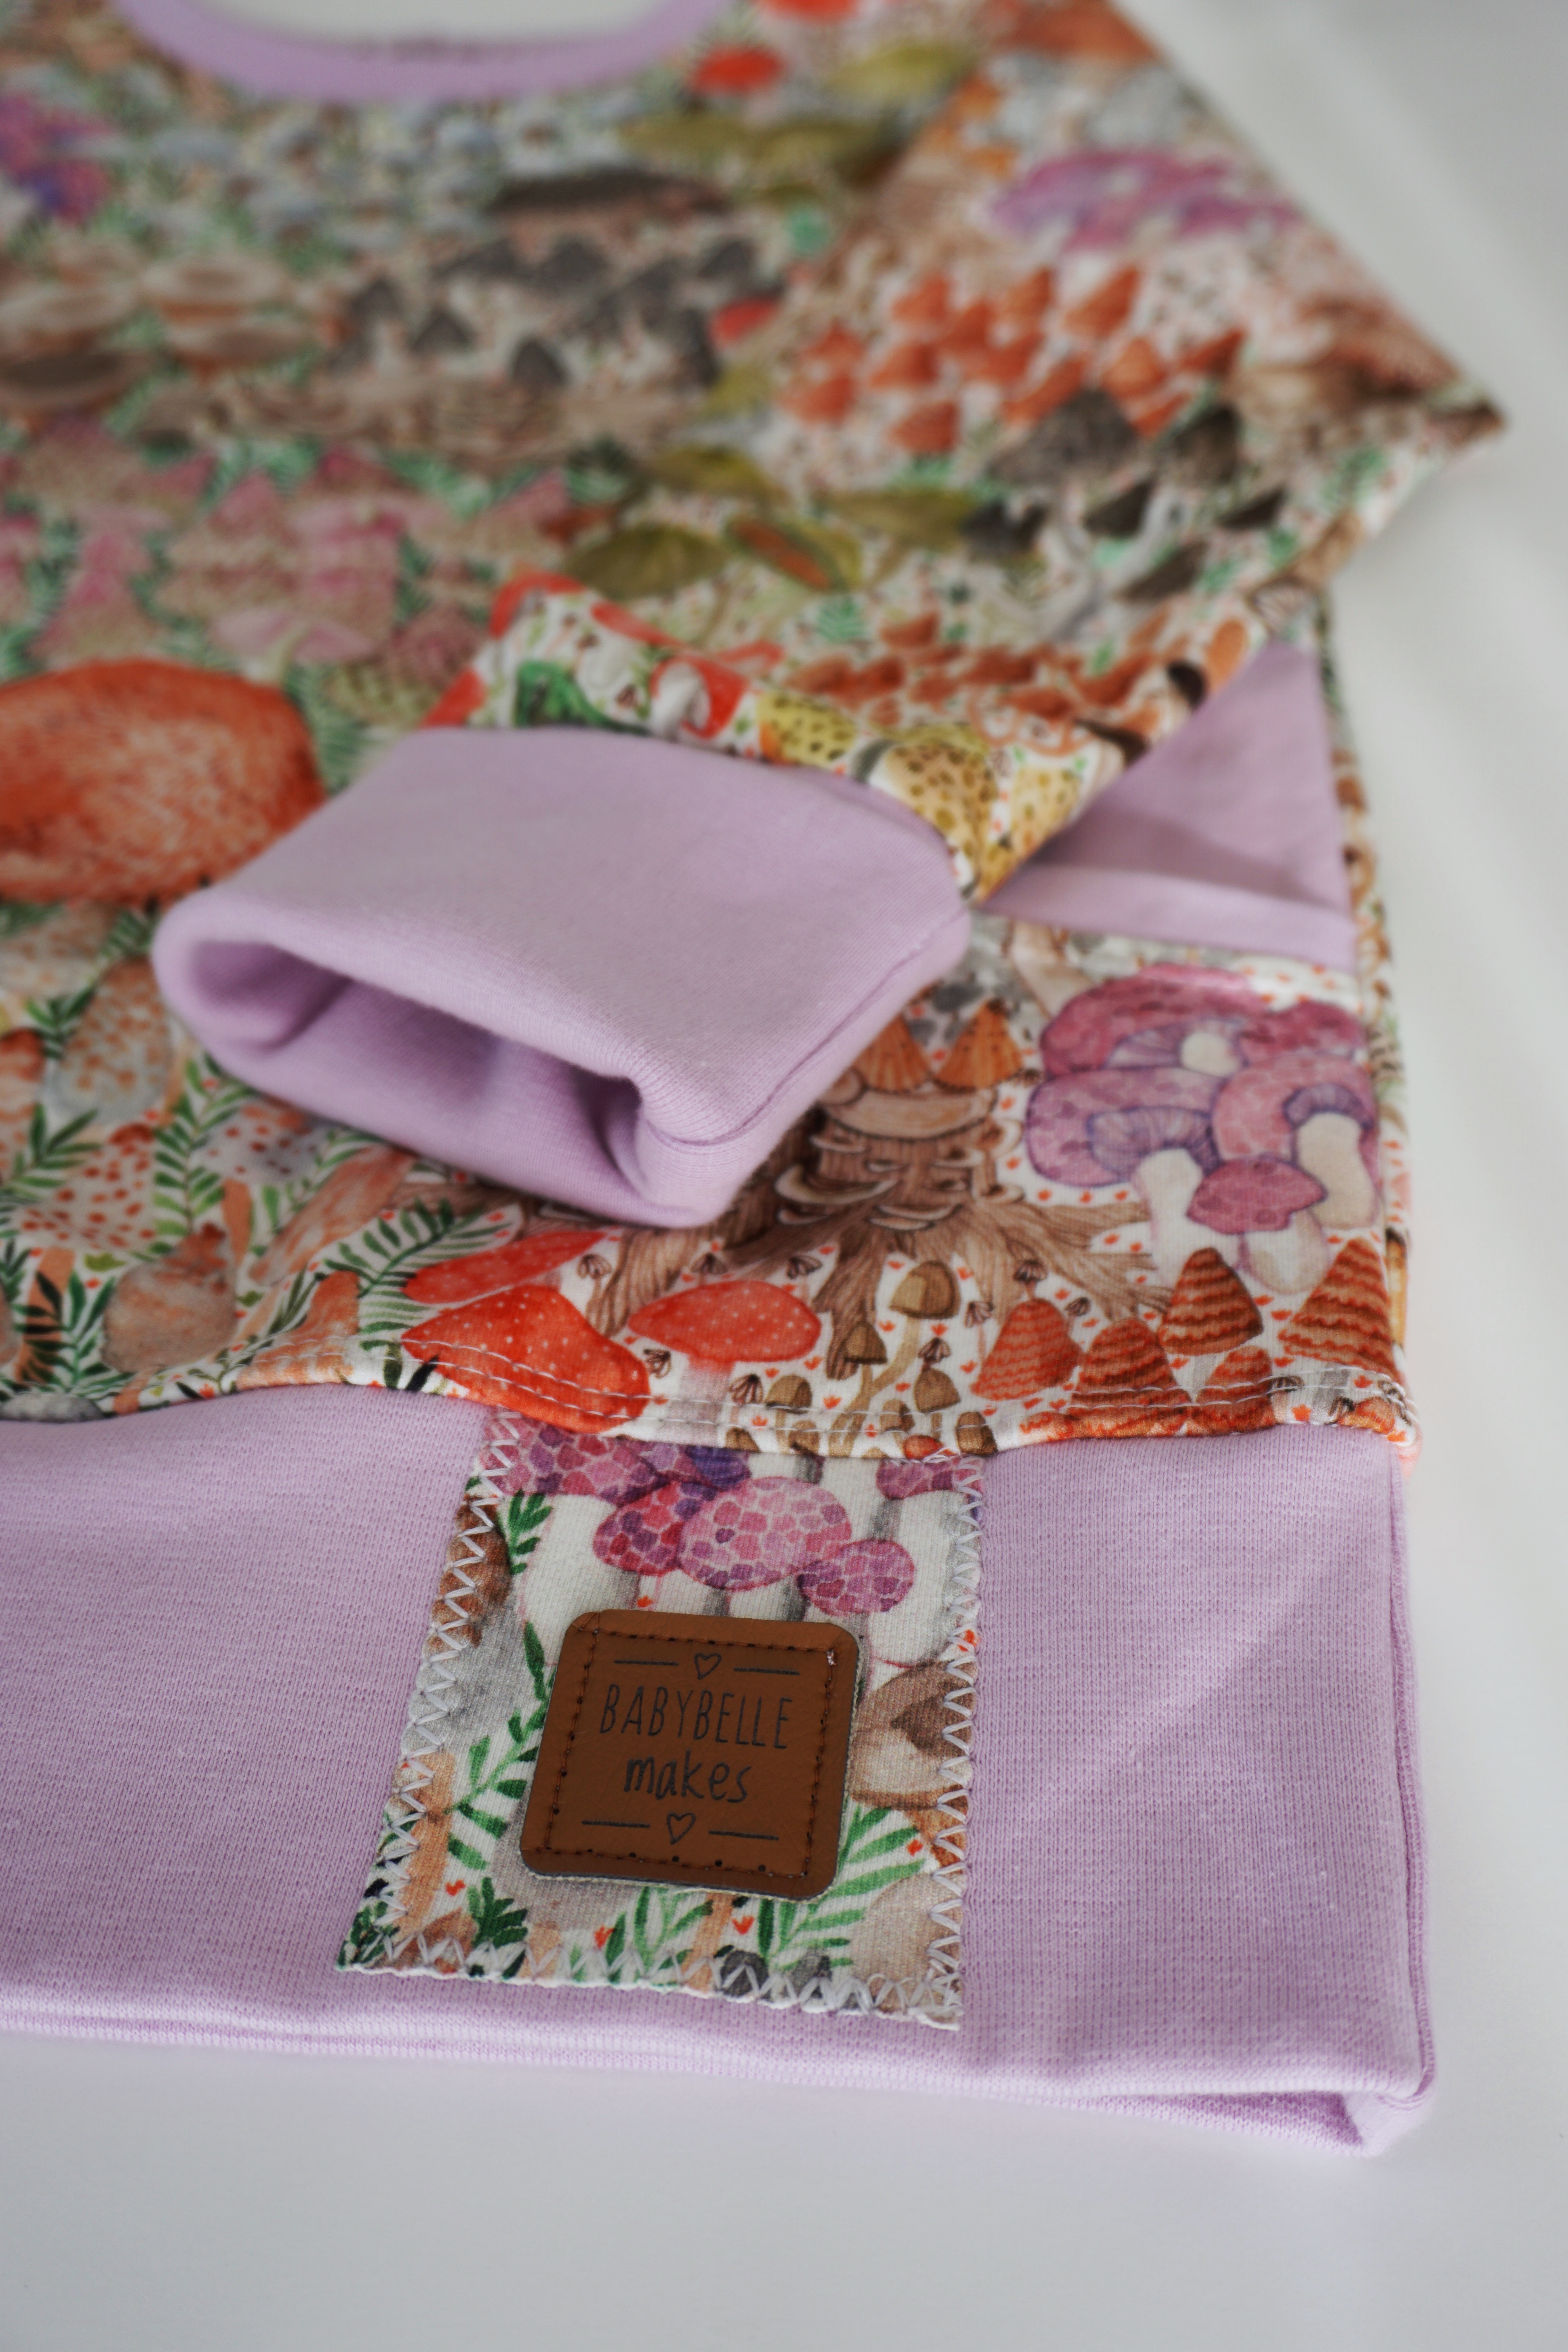
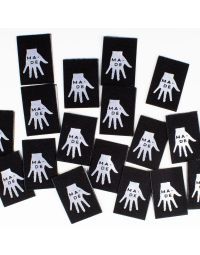
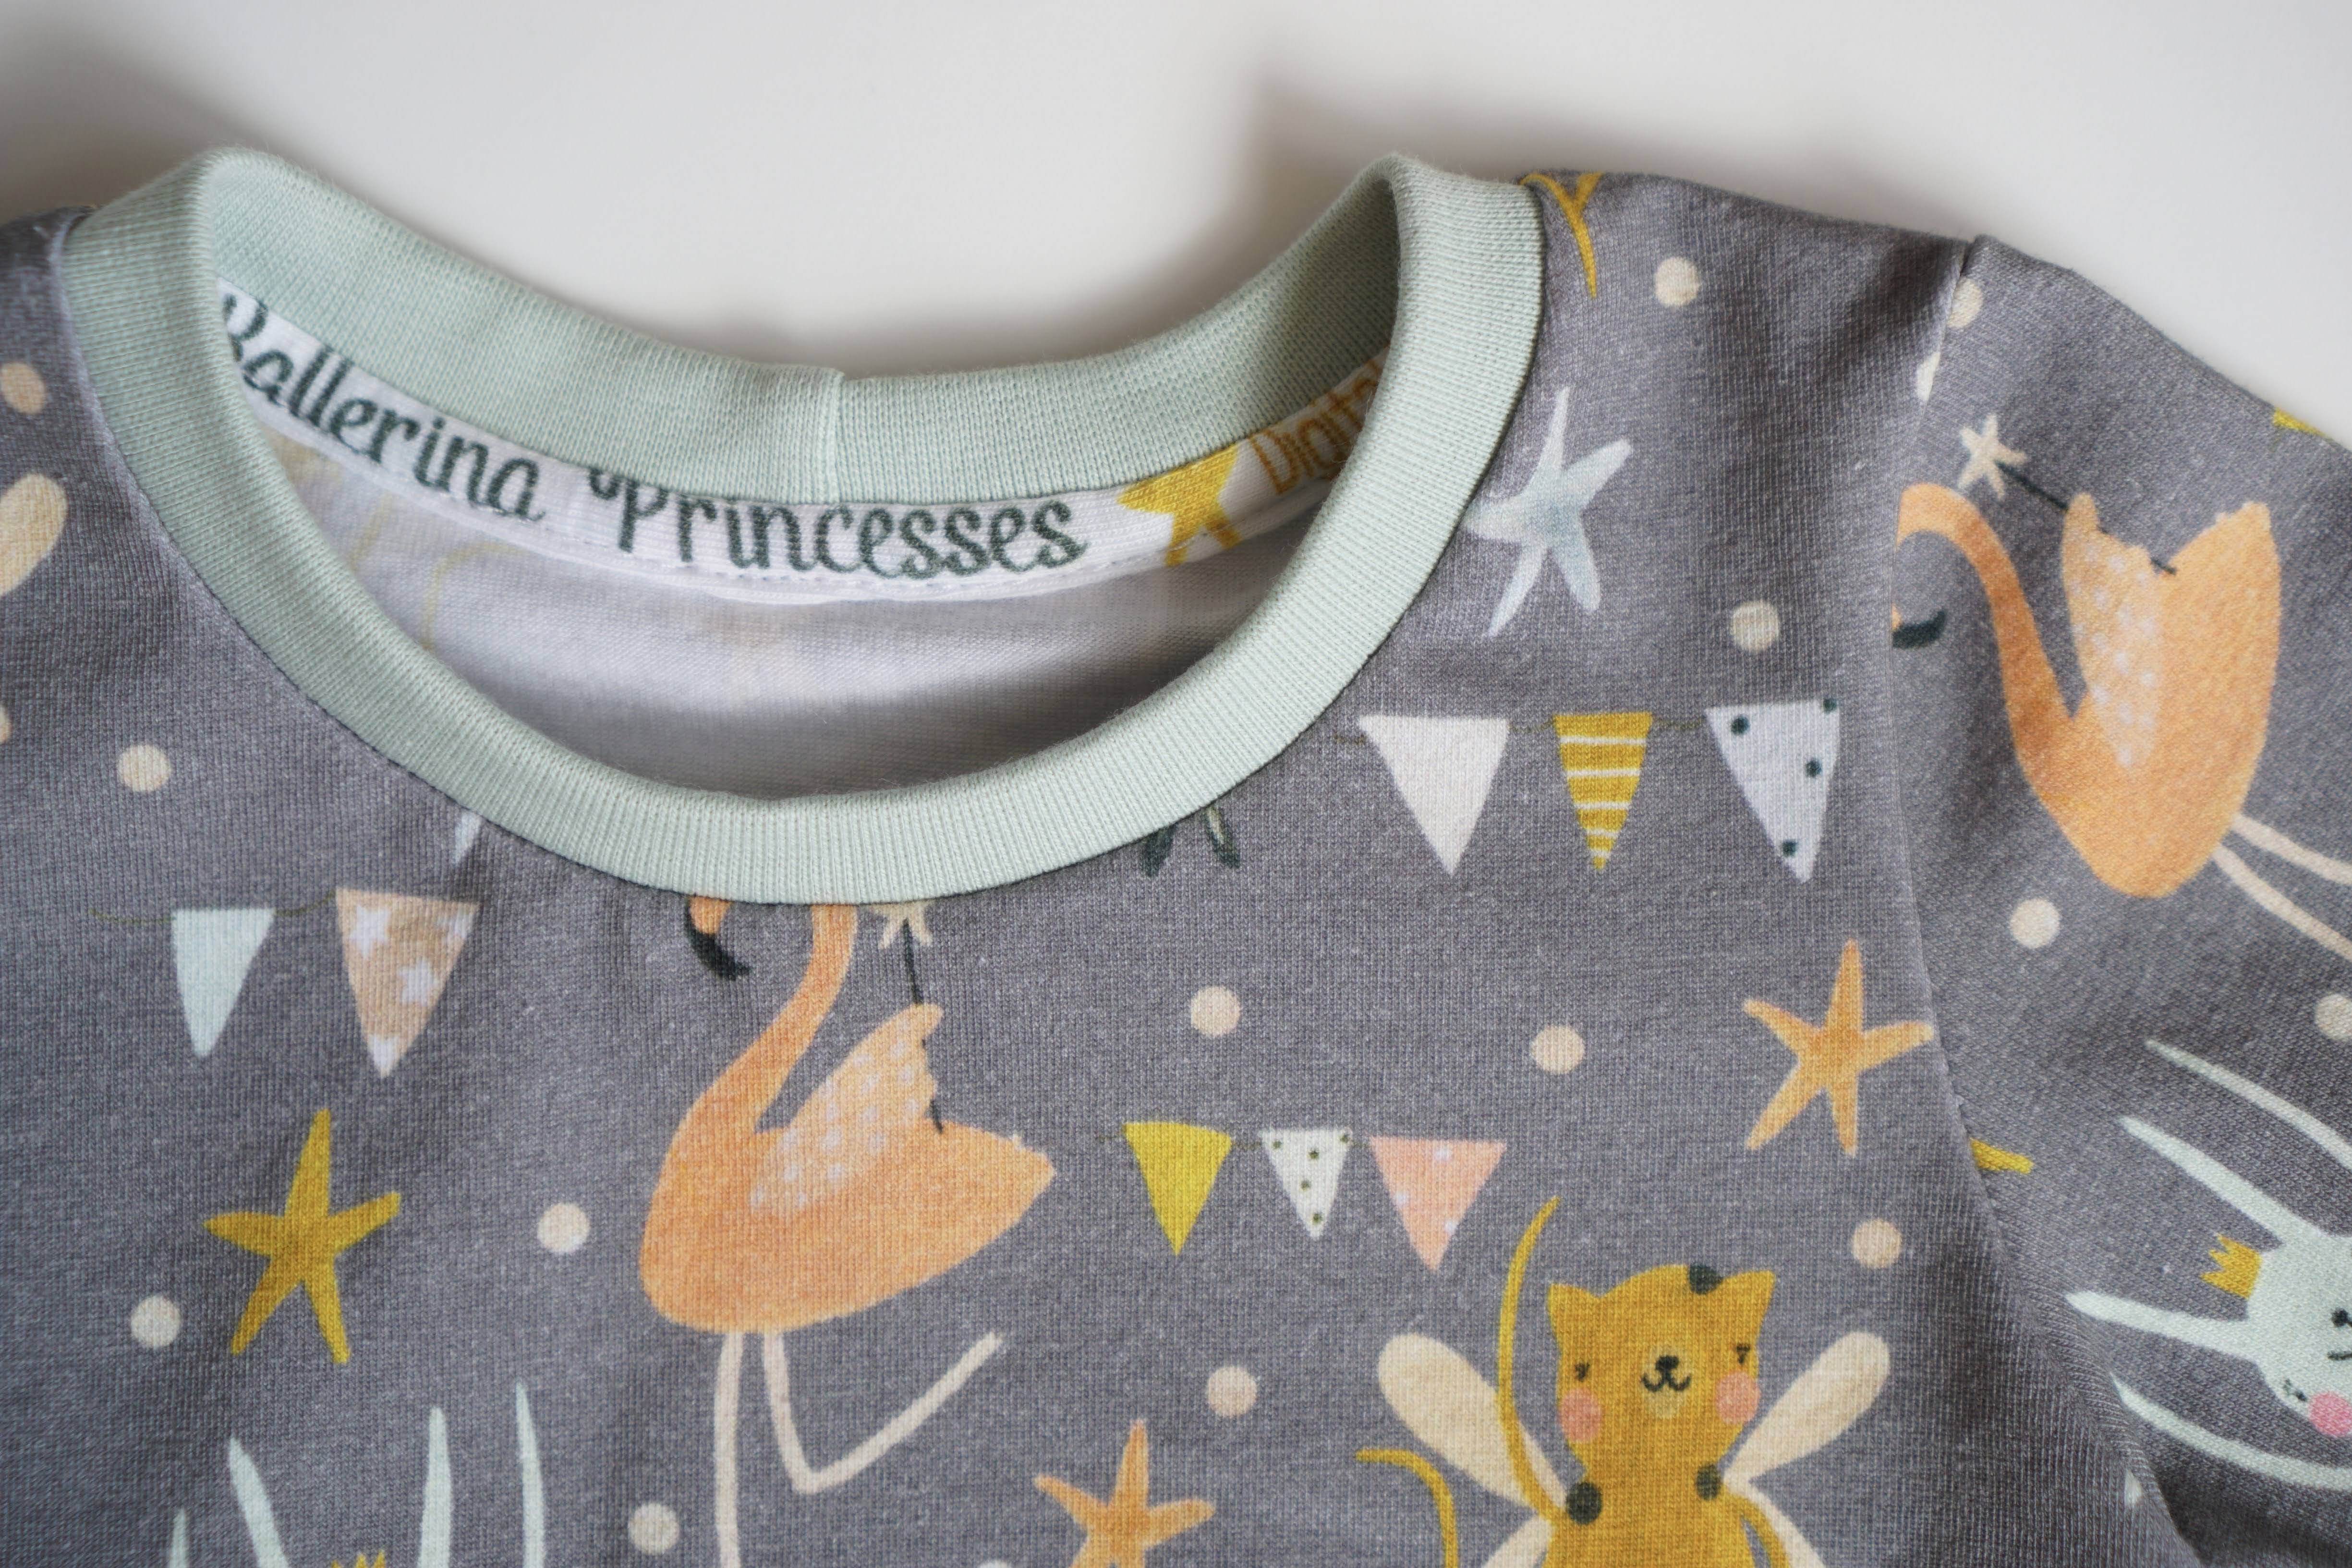
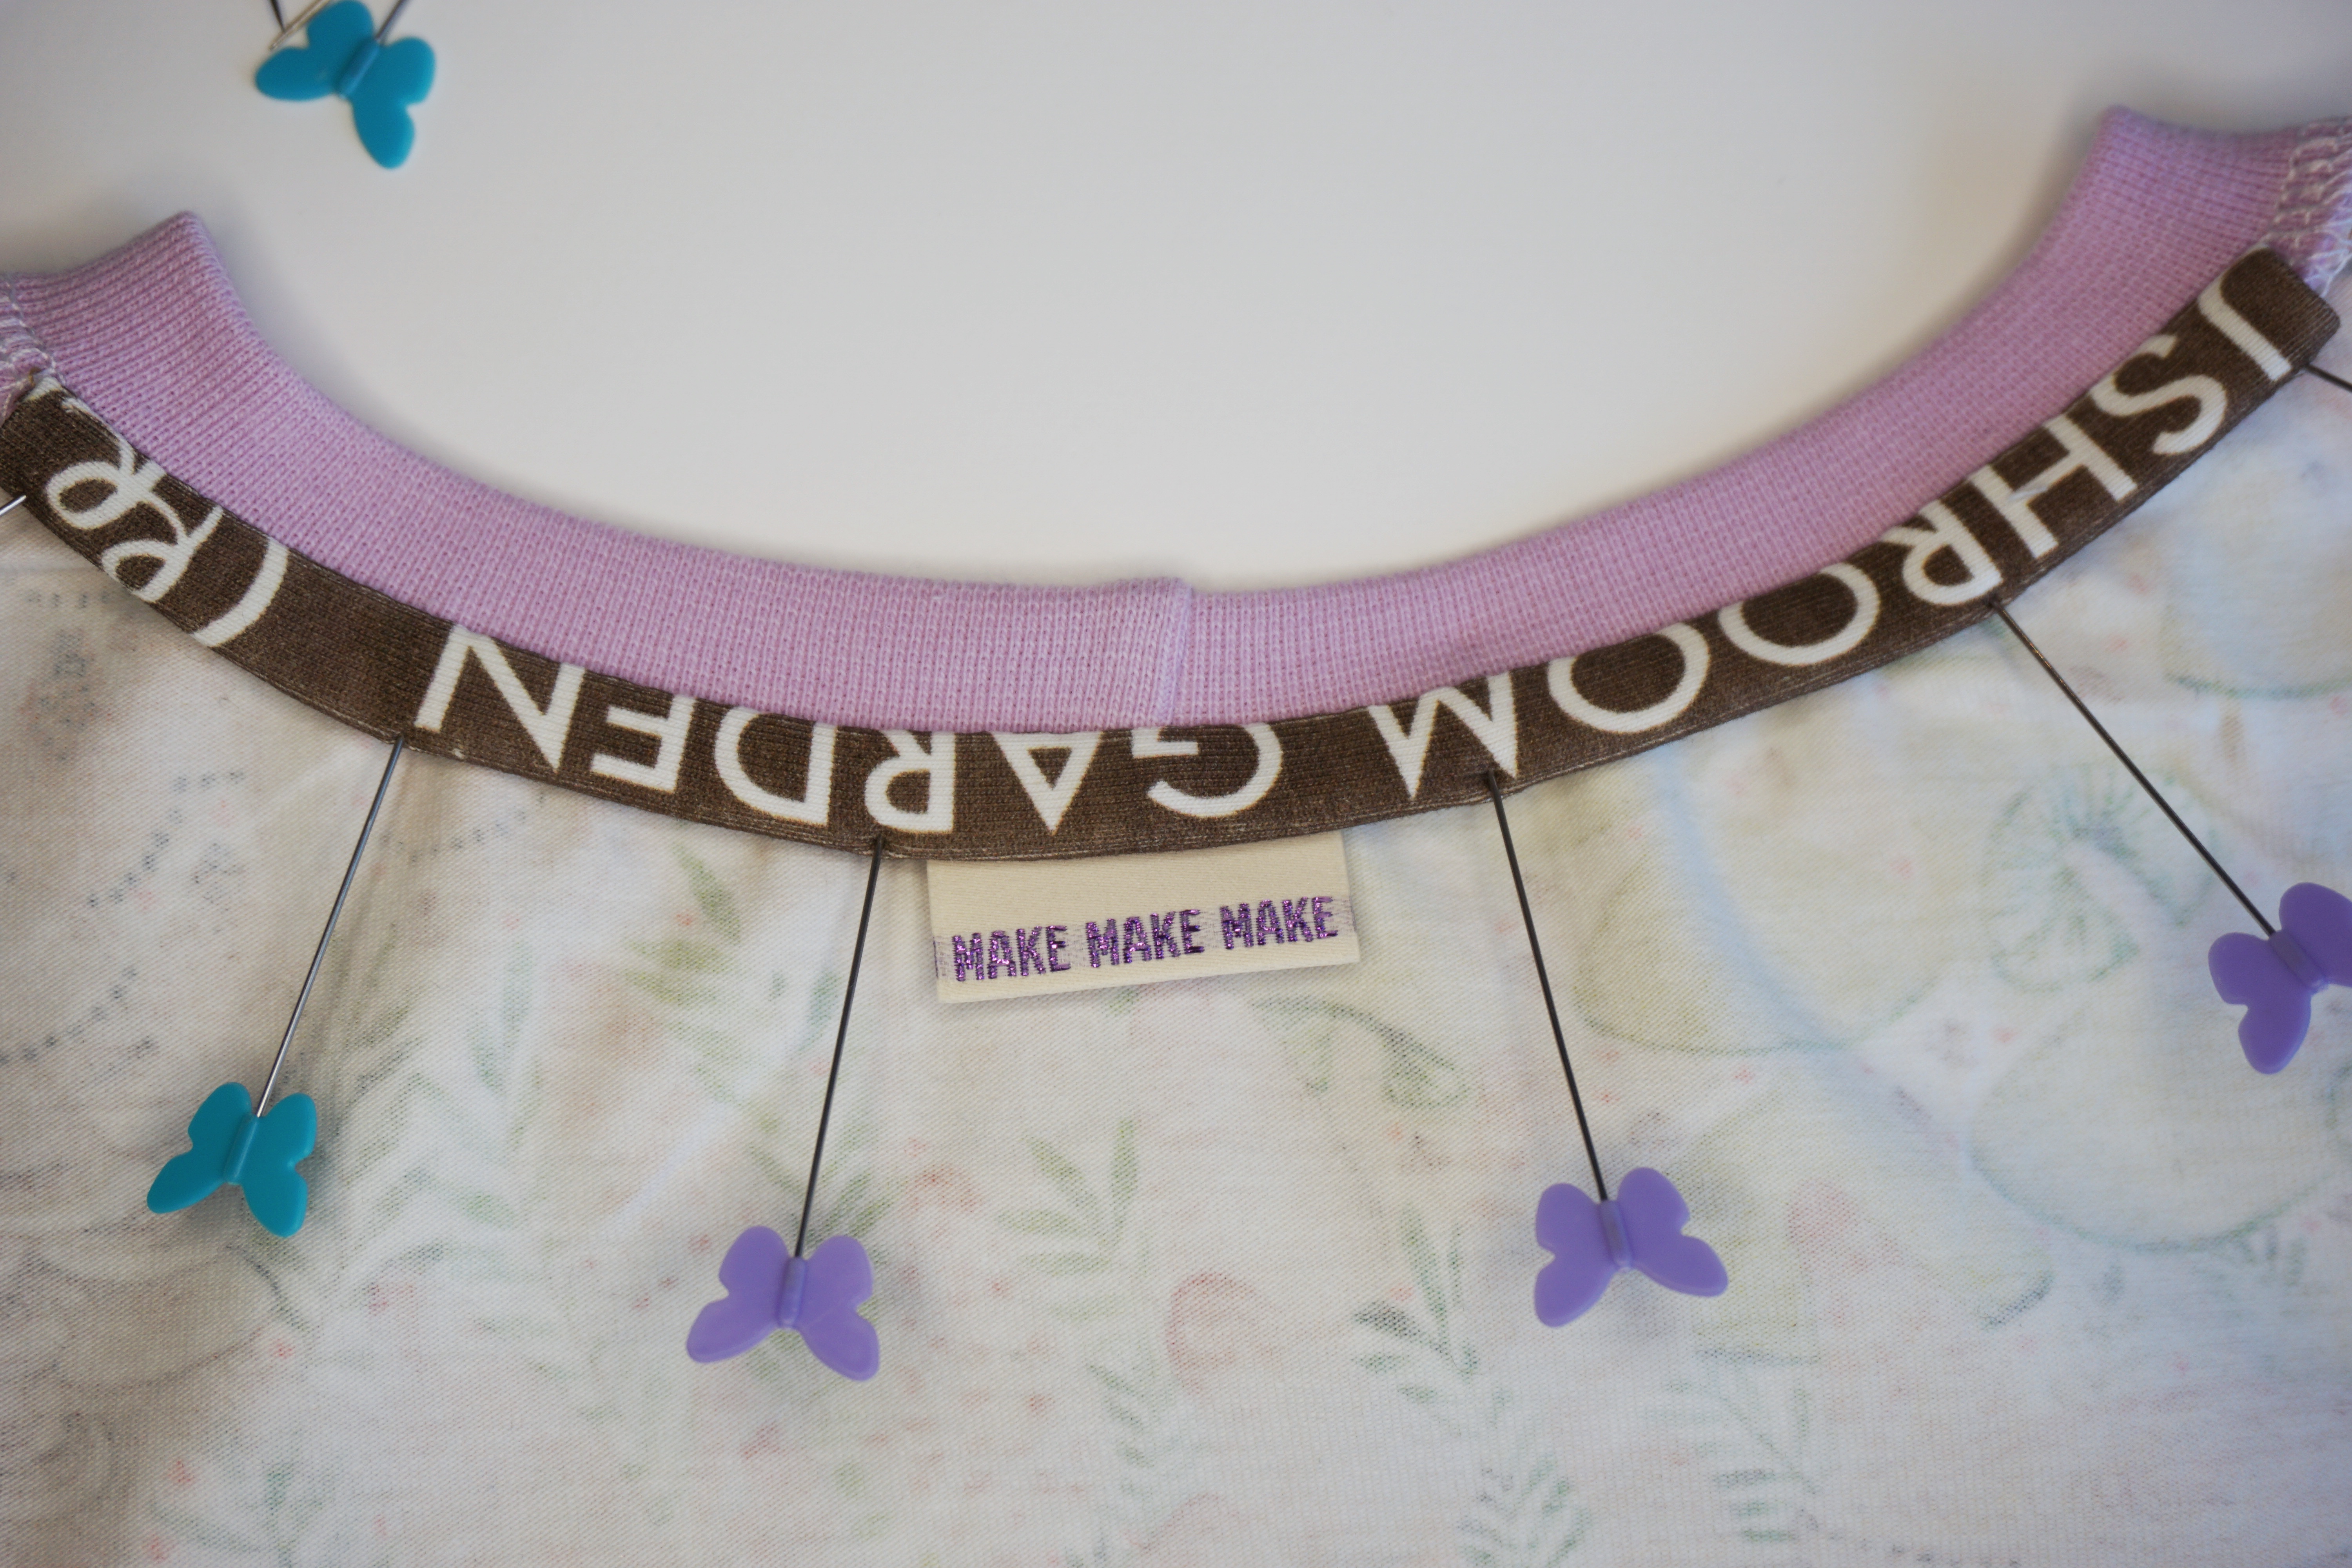
NOTE: If you want to add a tag to your shirt, tuck it behind the binded neckband and the back of the top and pin it in place. When you sew in the next step, it will be caught in the seam. I also use some wondertape here to keep all the pieces in place. Mimifabrics has a gorgeous selection of tags that add the perfect little finishing detail, including the ever popular Kylie and the Machine (KATM) labels.
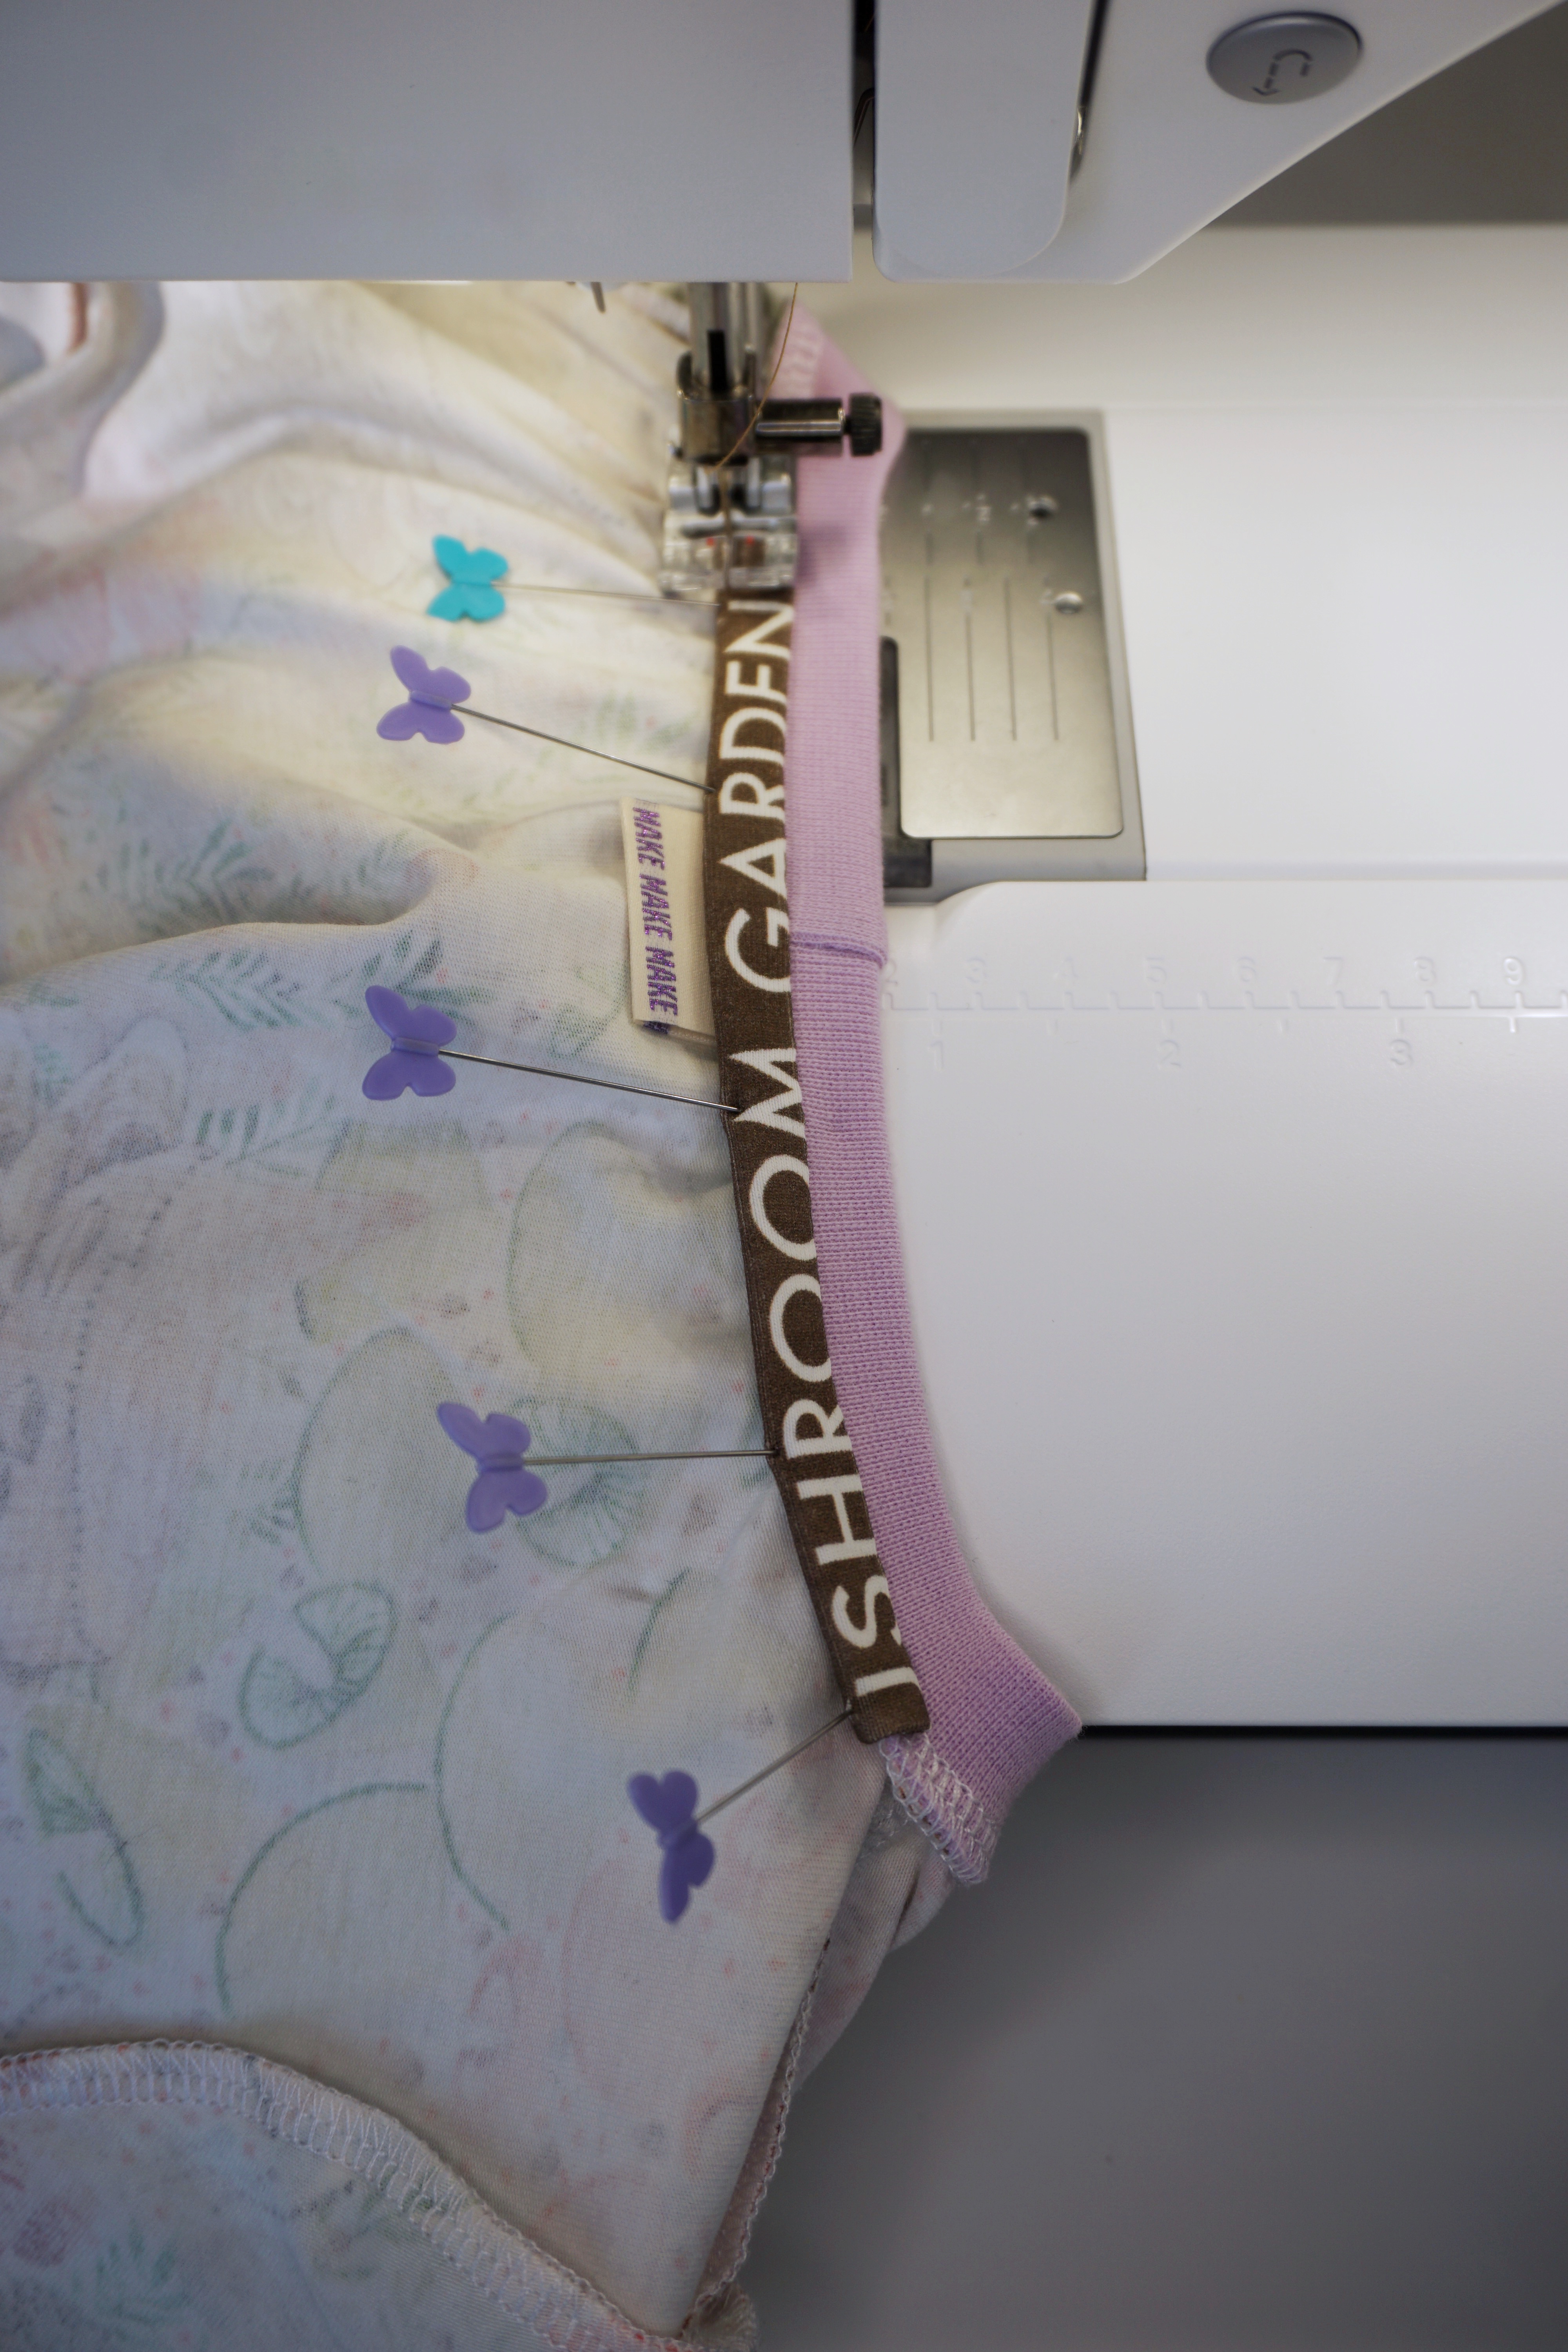
Topstitch the Binding Strip and Neckband Seam Allowance:
Top stitch across the binding neckband’s lower edge using a stretch stitch.
You can either sew the binding with the outside of the shirt up or inside of shirt (and the bidning) up. I like to be able to see the binding as I sew to make sure I catch it.
NOTE: The stitching will be visible on the outside of the garment. Use different thread for needle and bobbin or use contrasted thread for a fun effect. I generally match my bobbin thread to the outside of the garment so that the stitching is less visible.
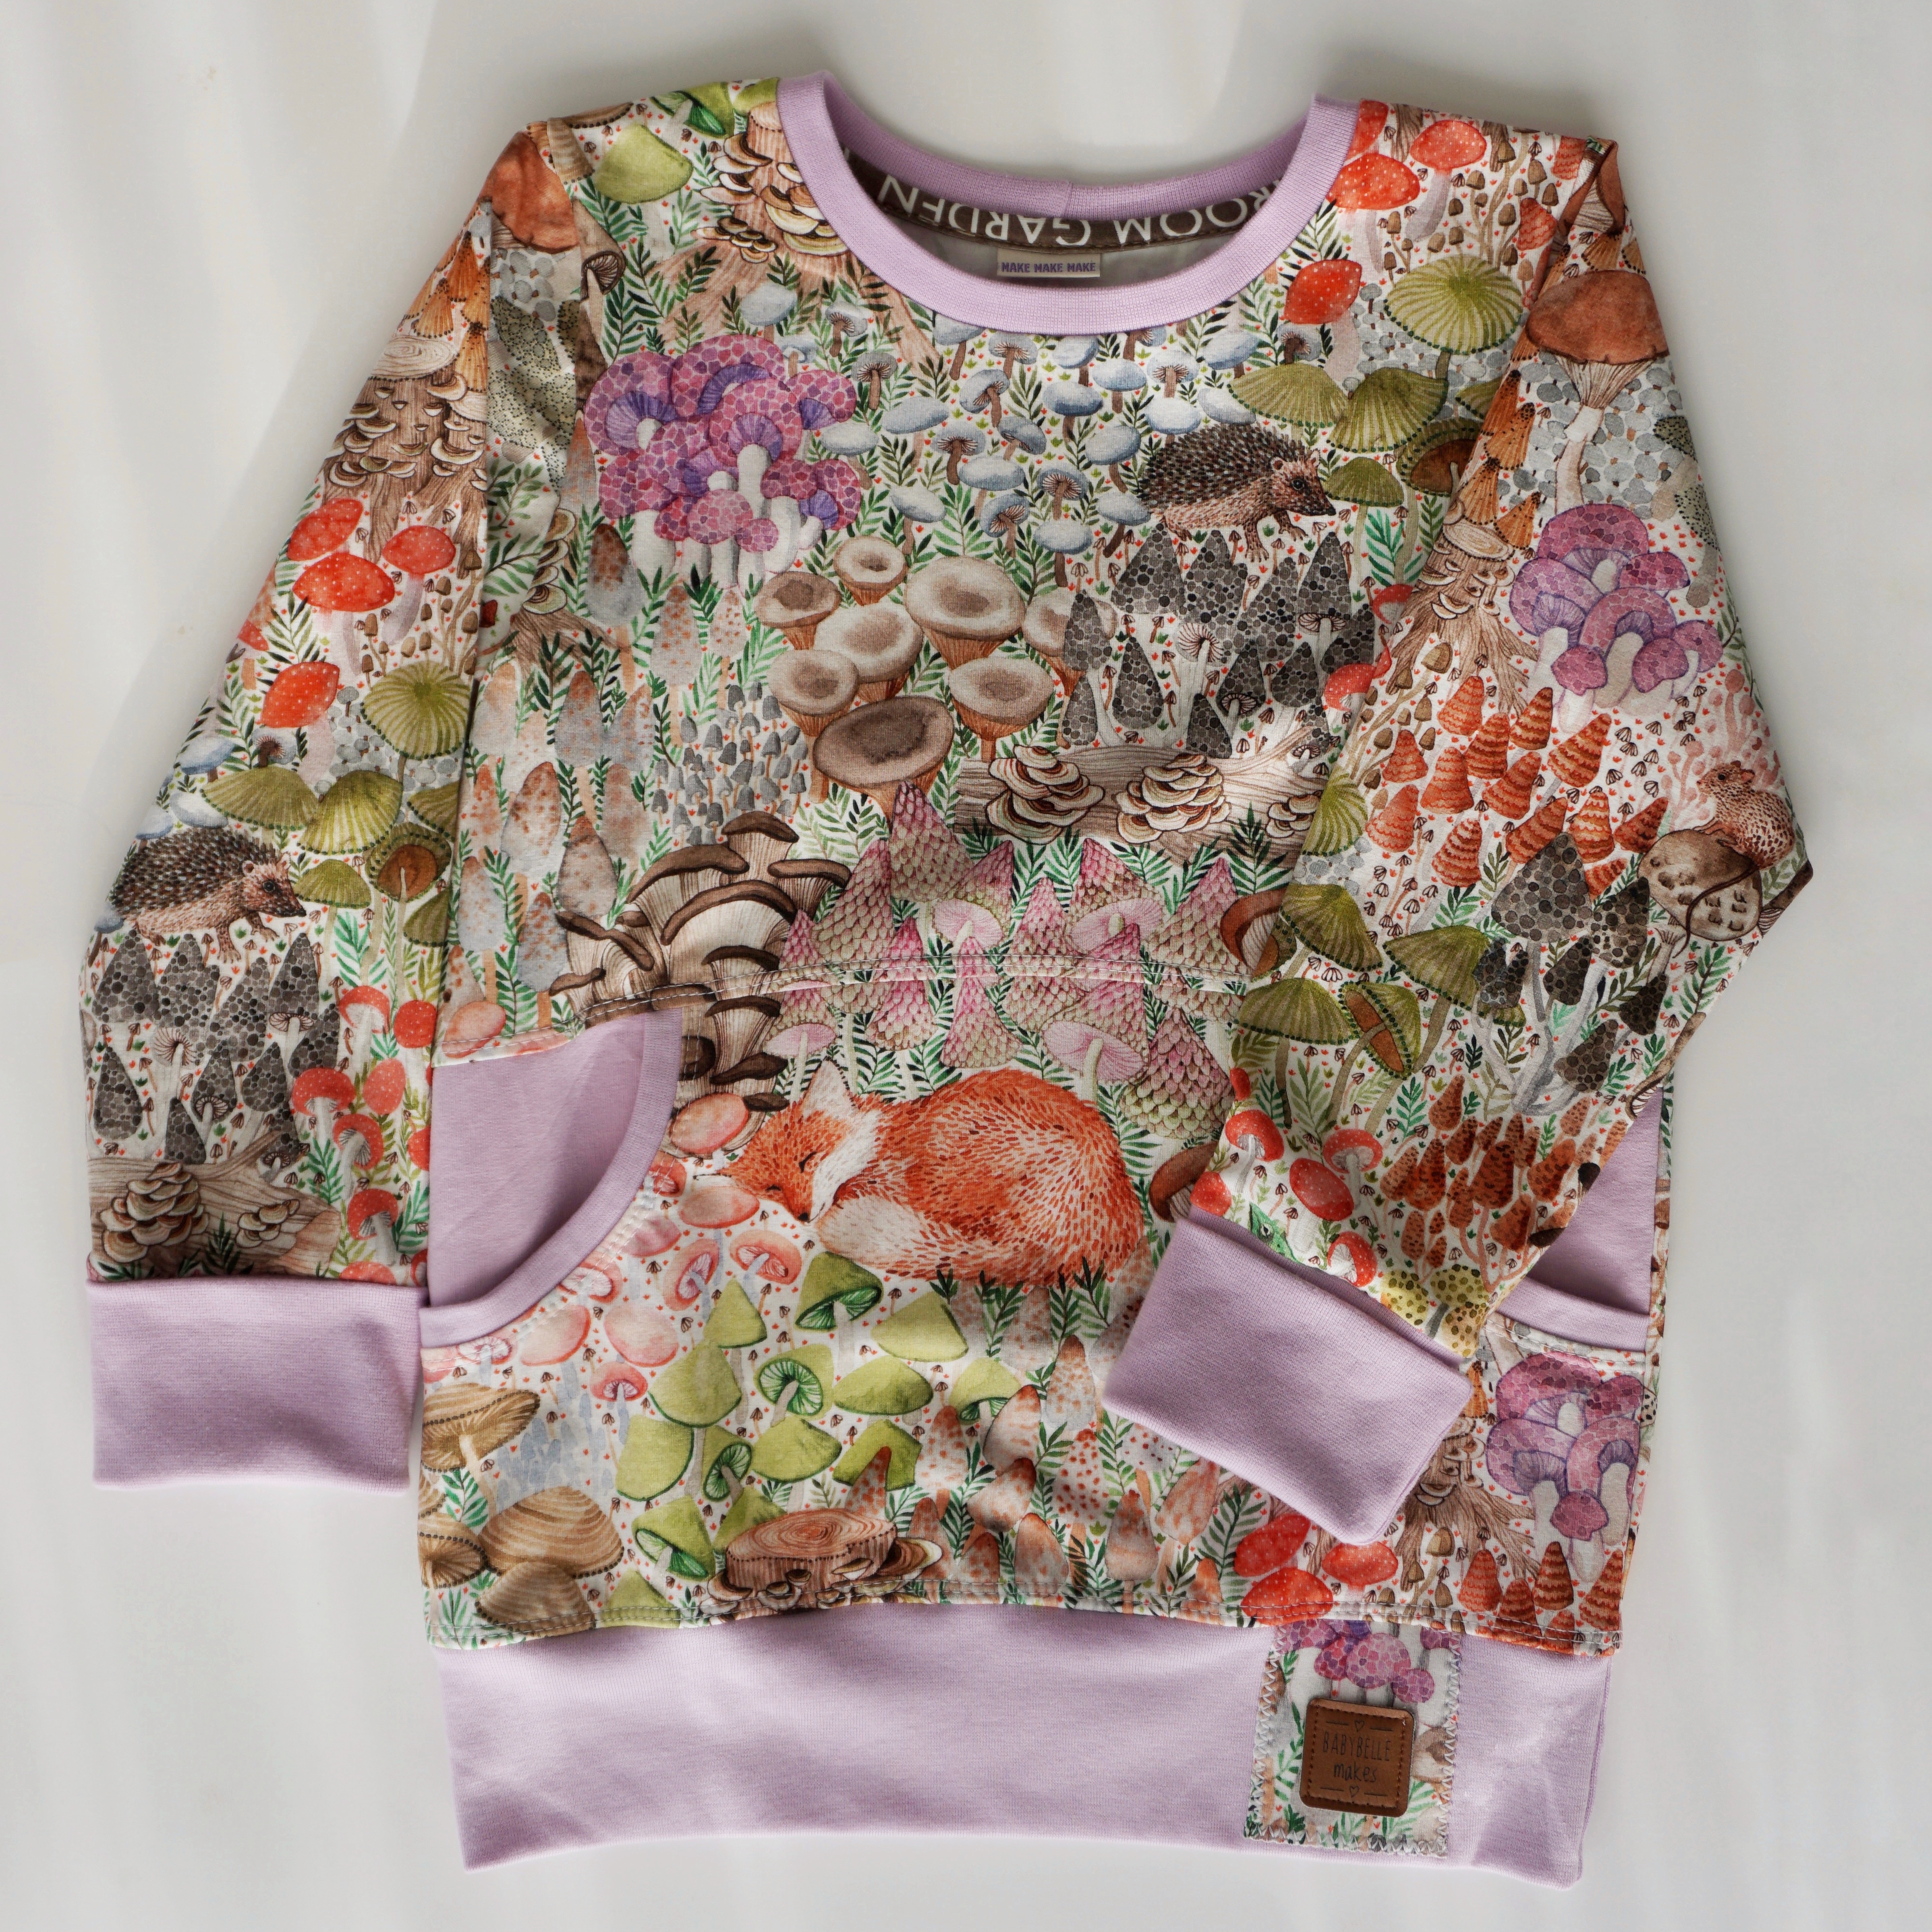
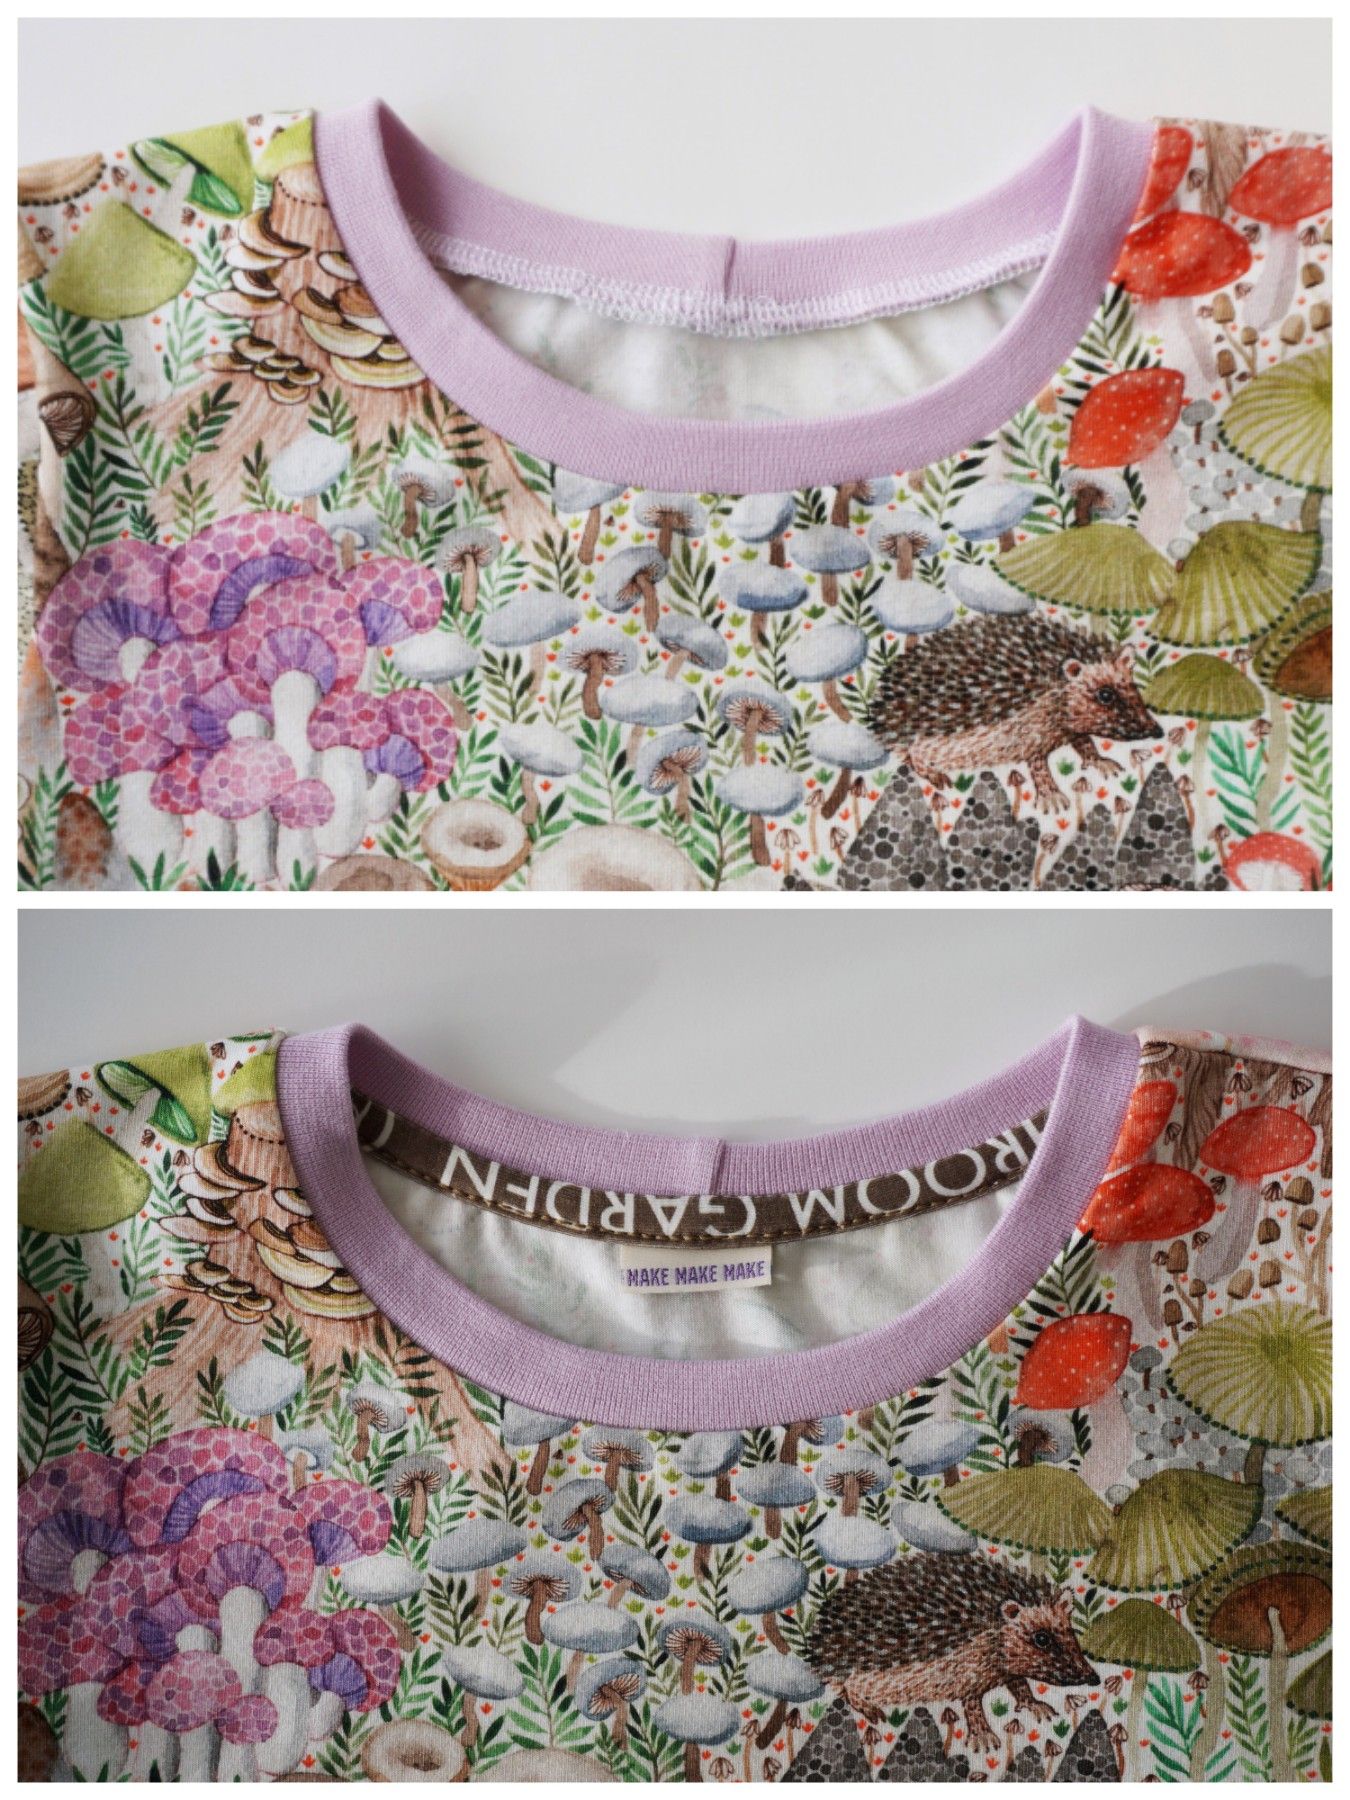
And that’s it! A beautifully finished neckband!
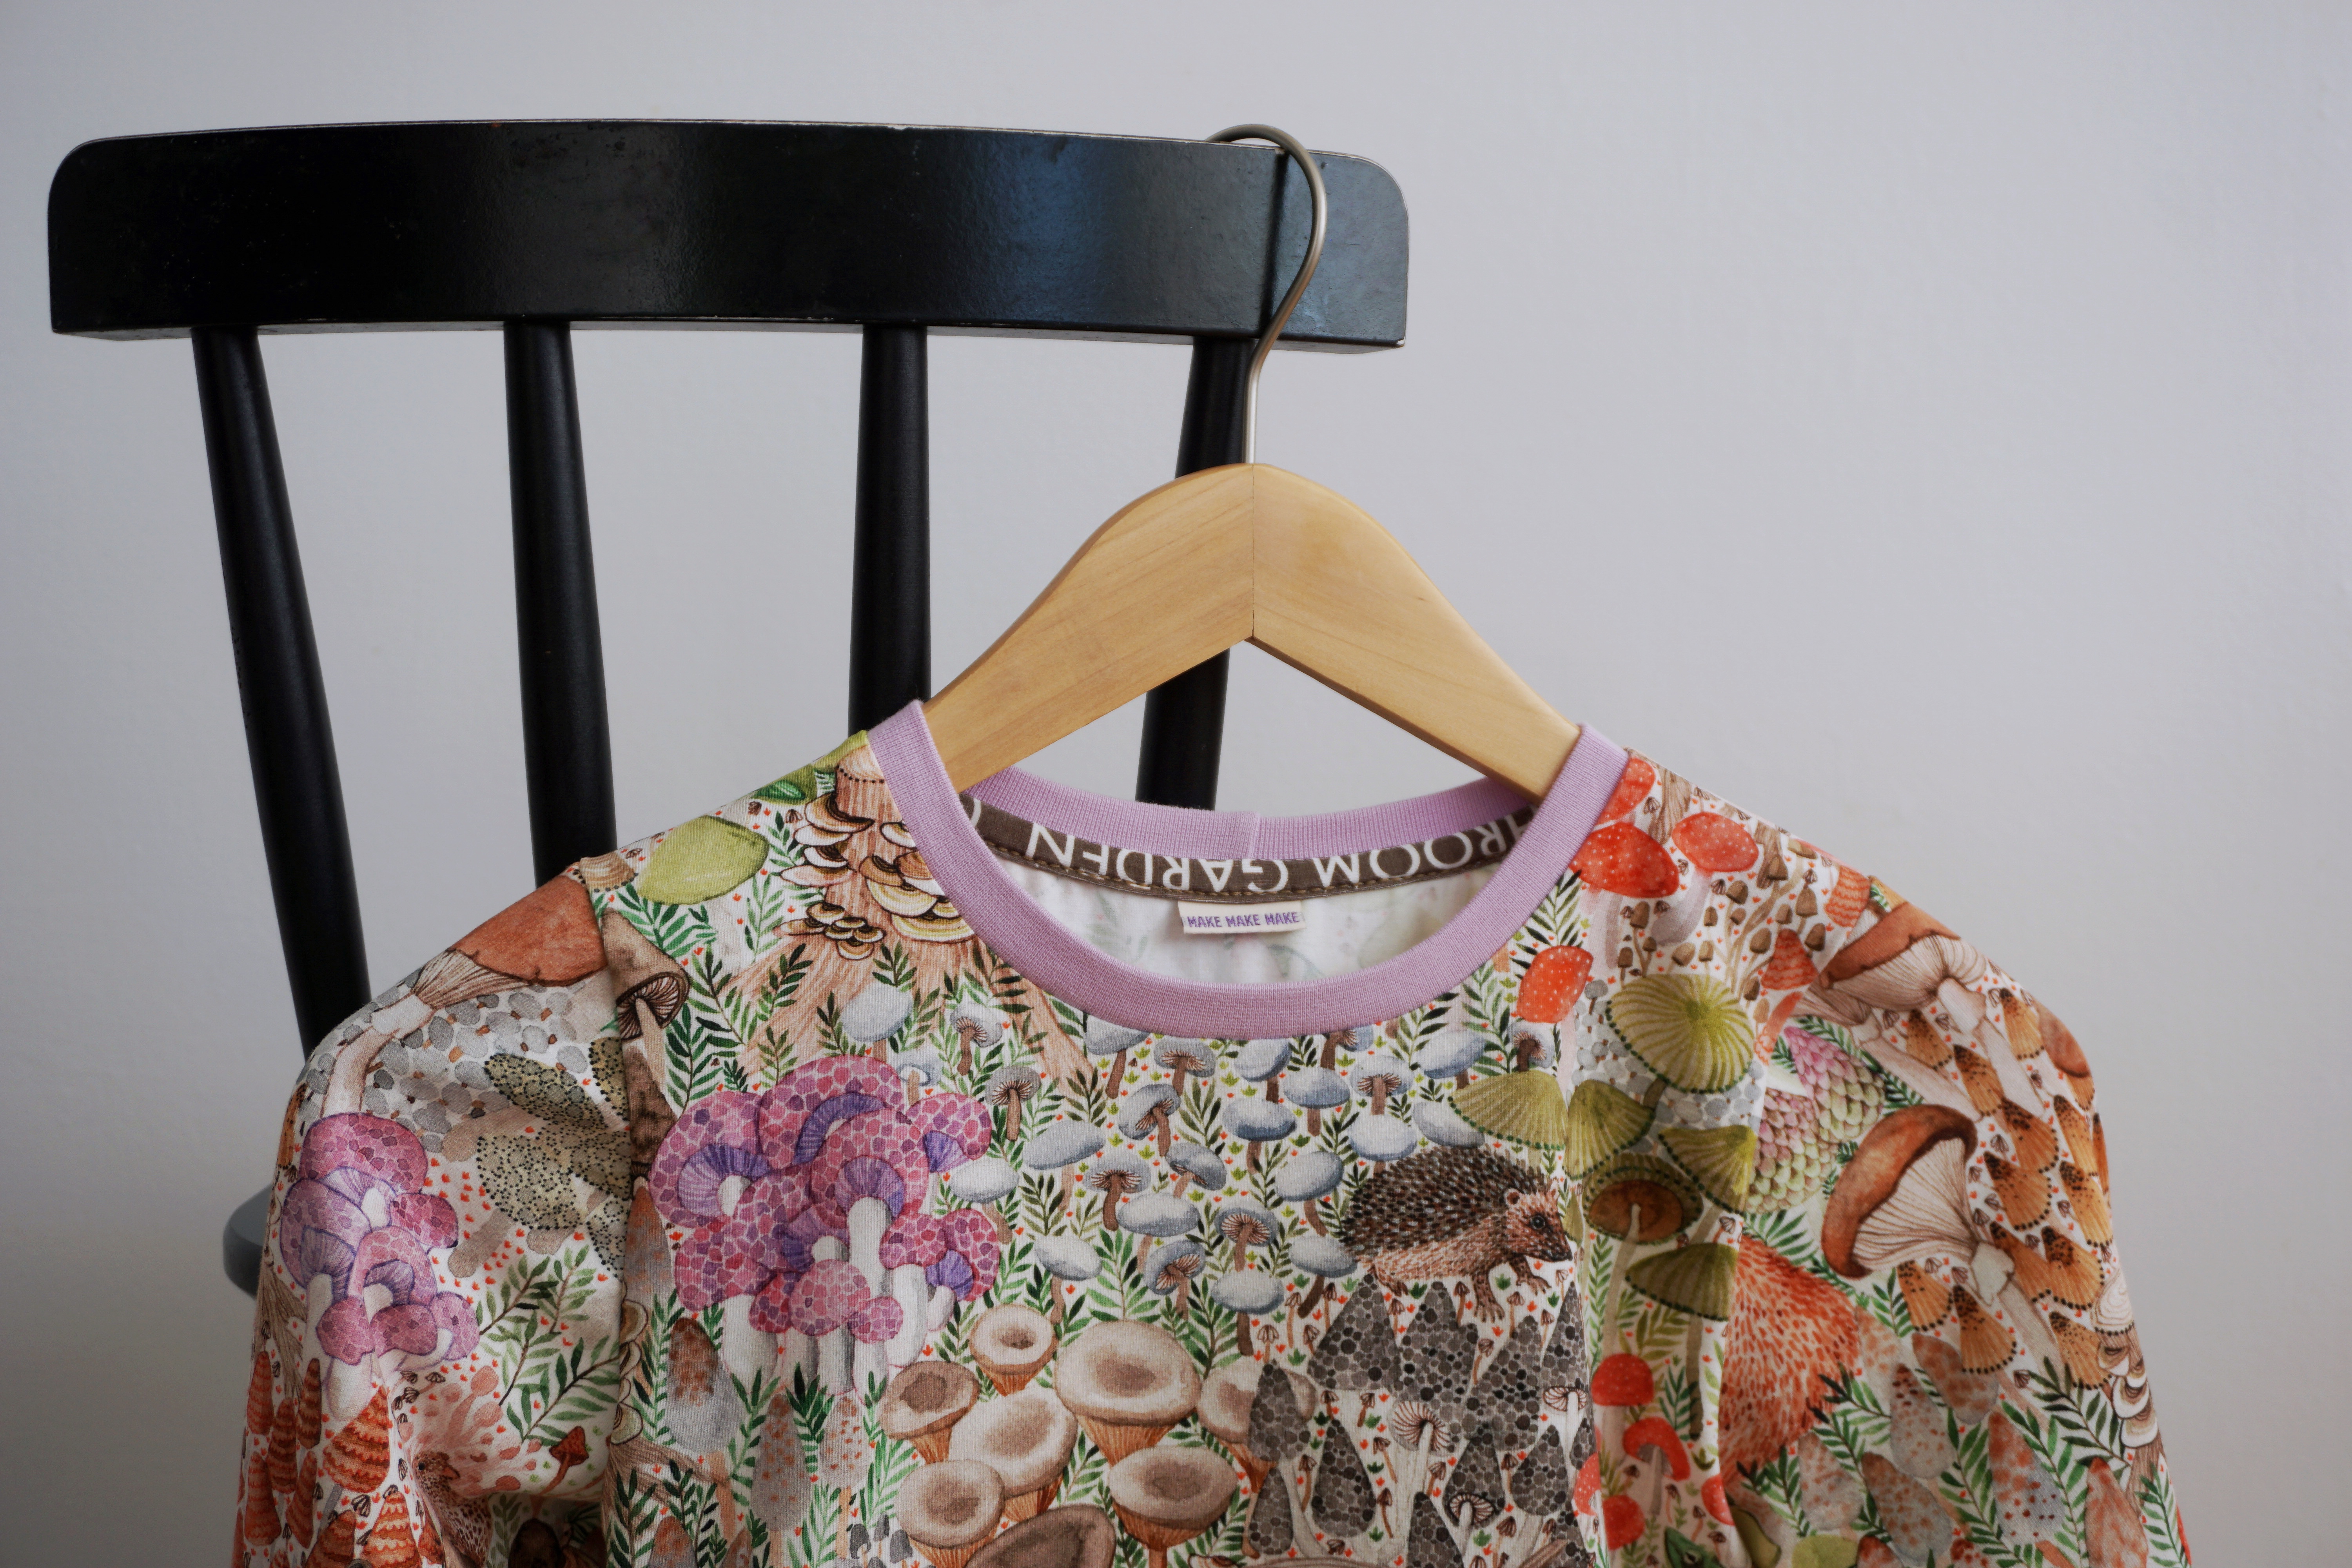
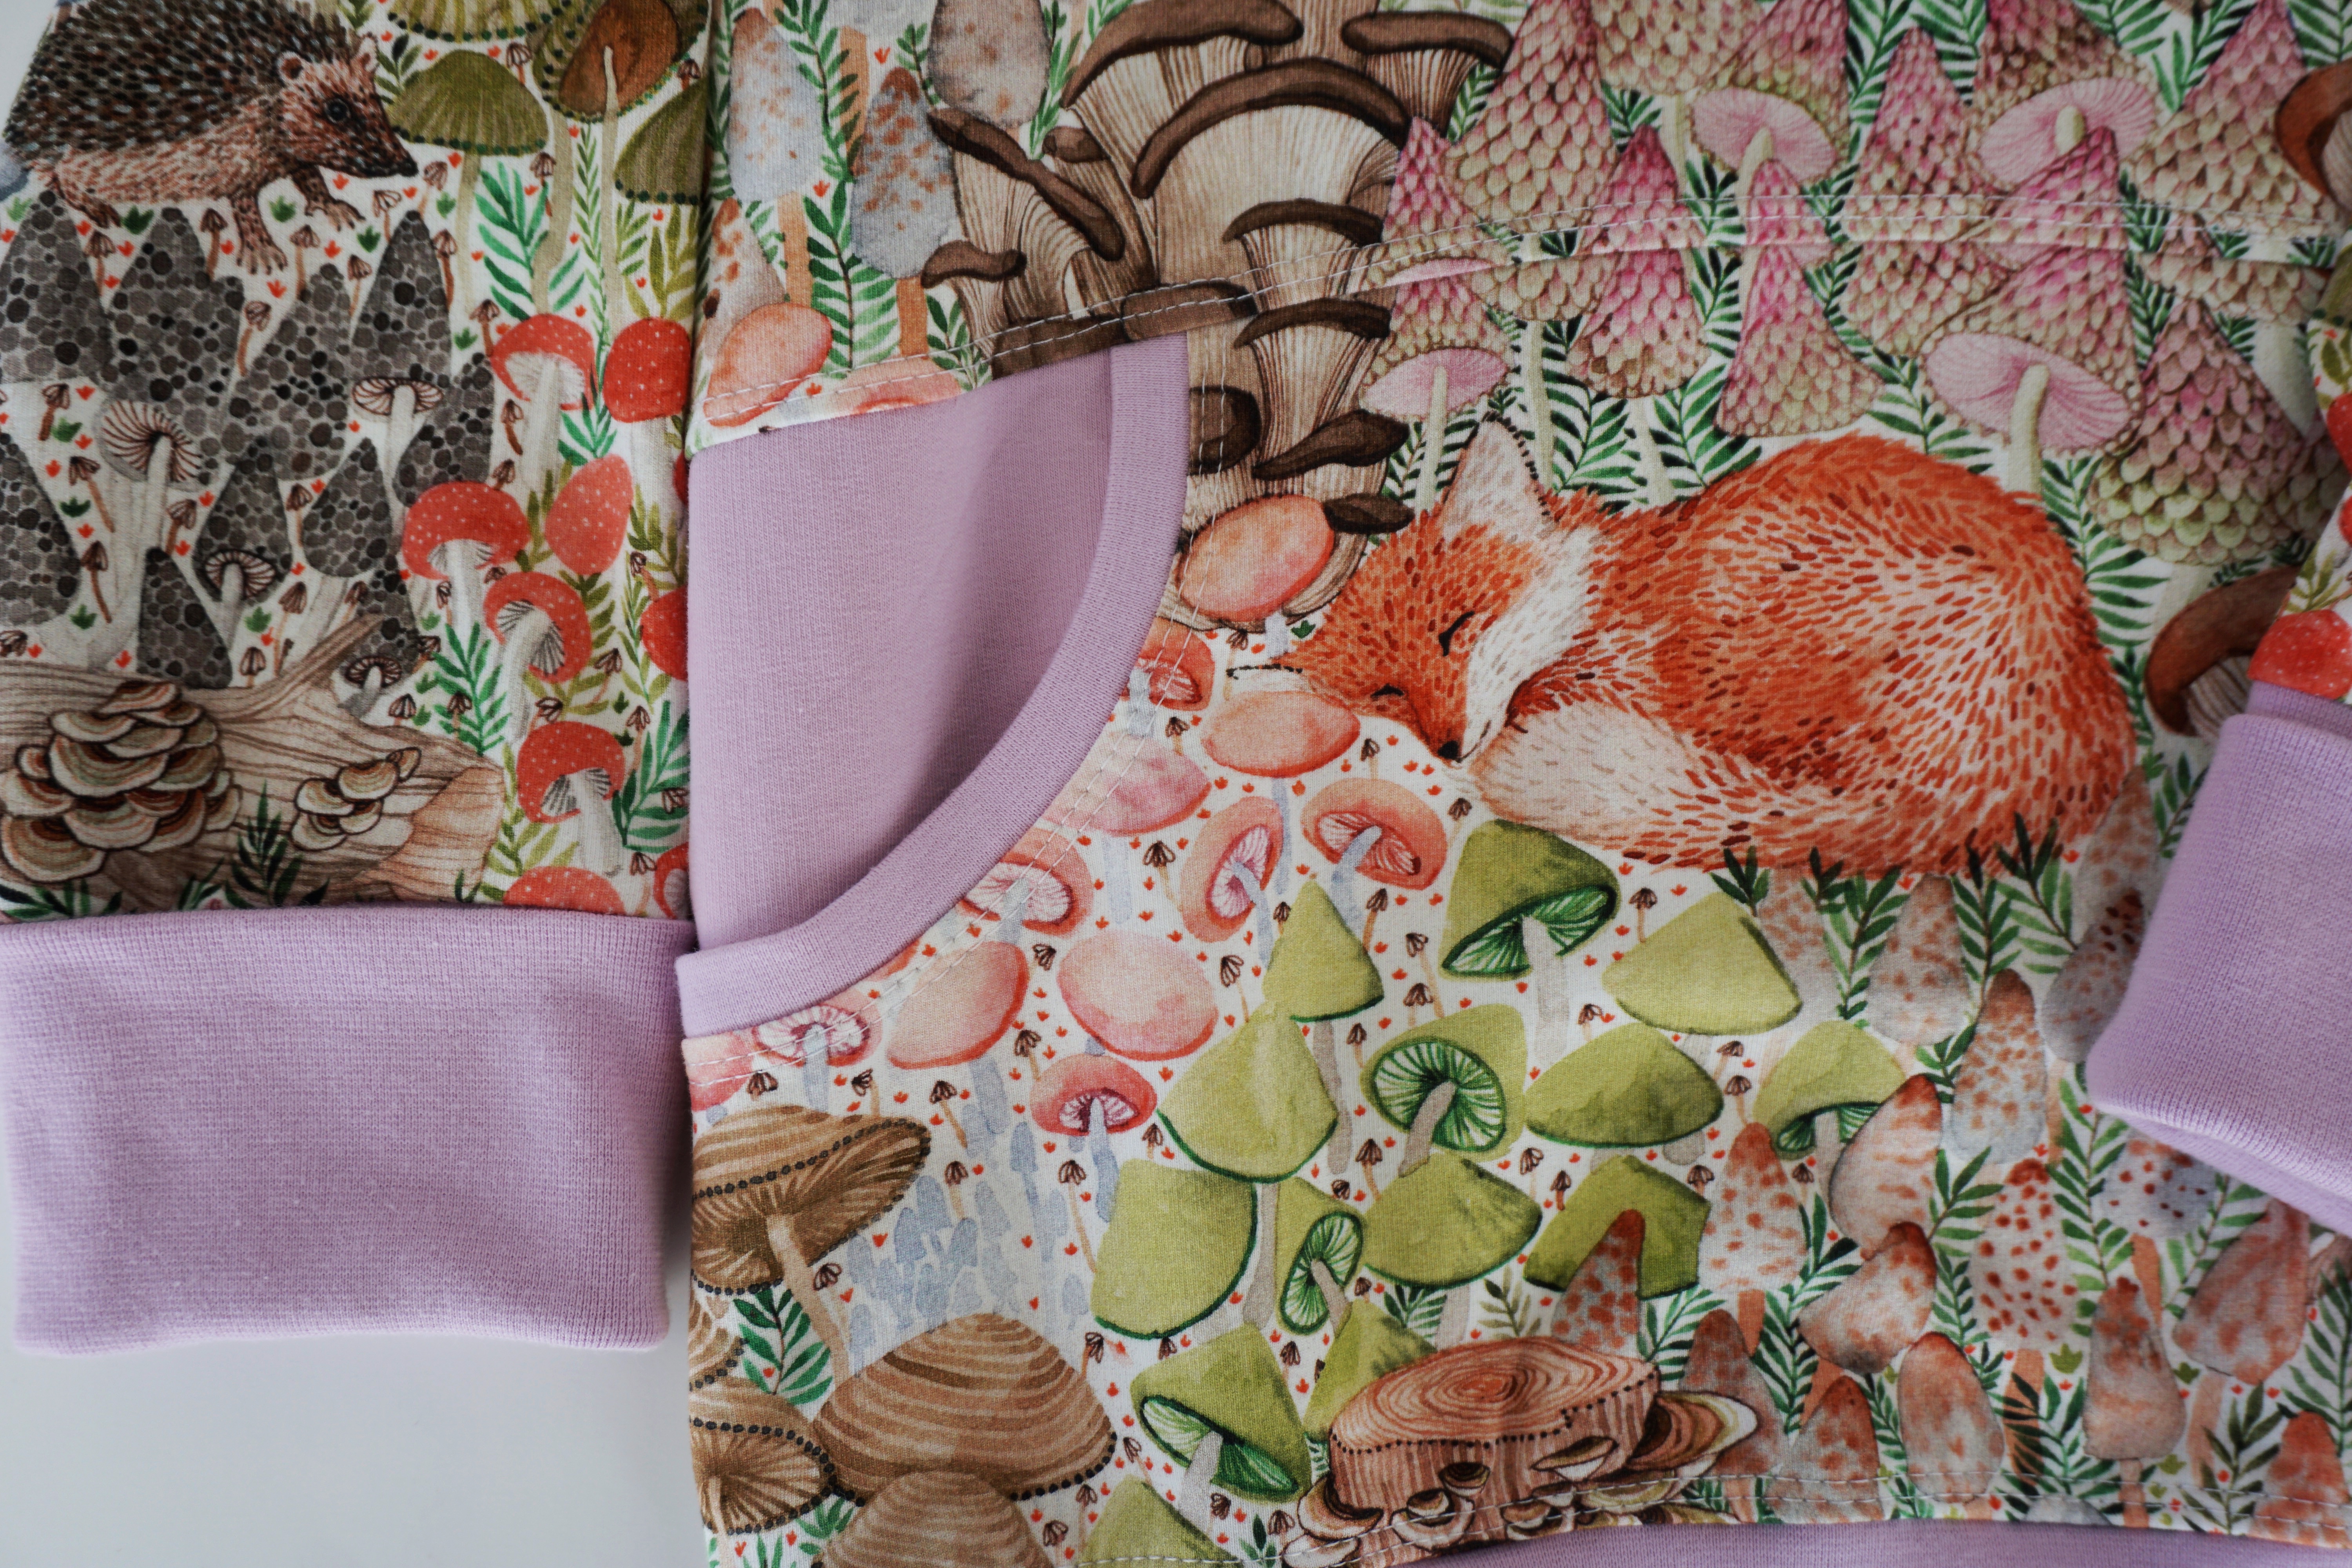
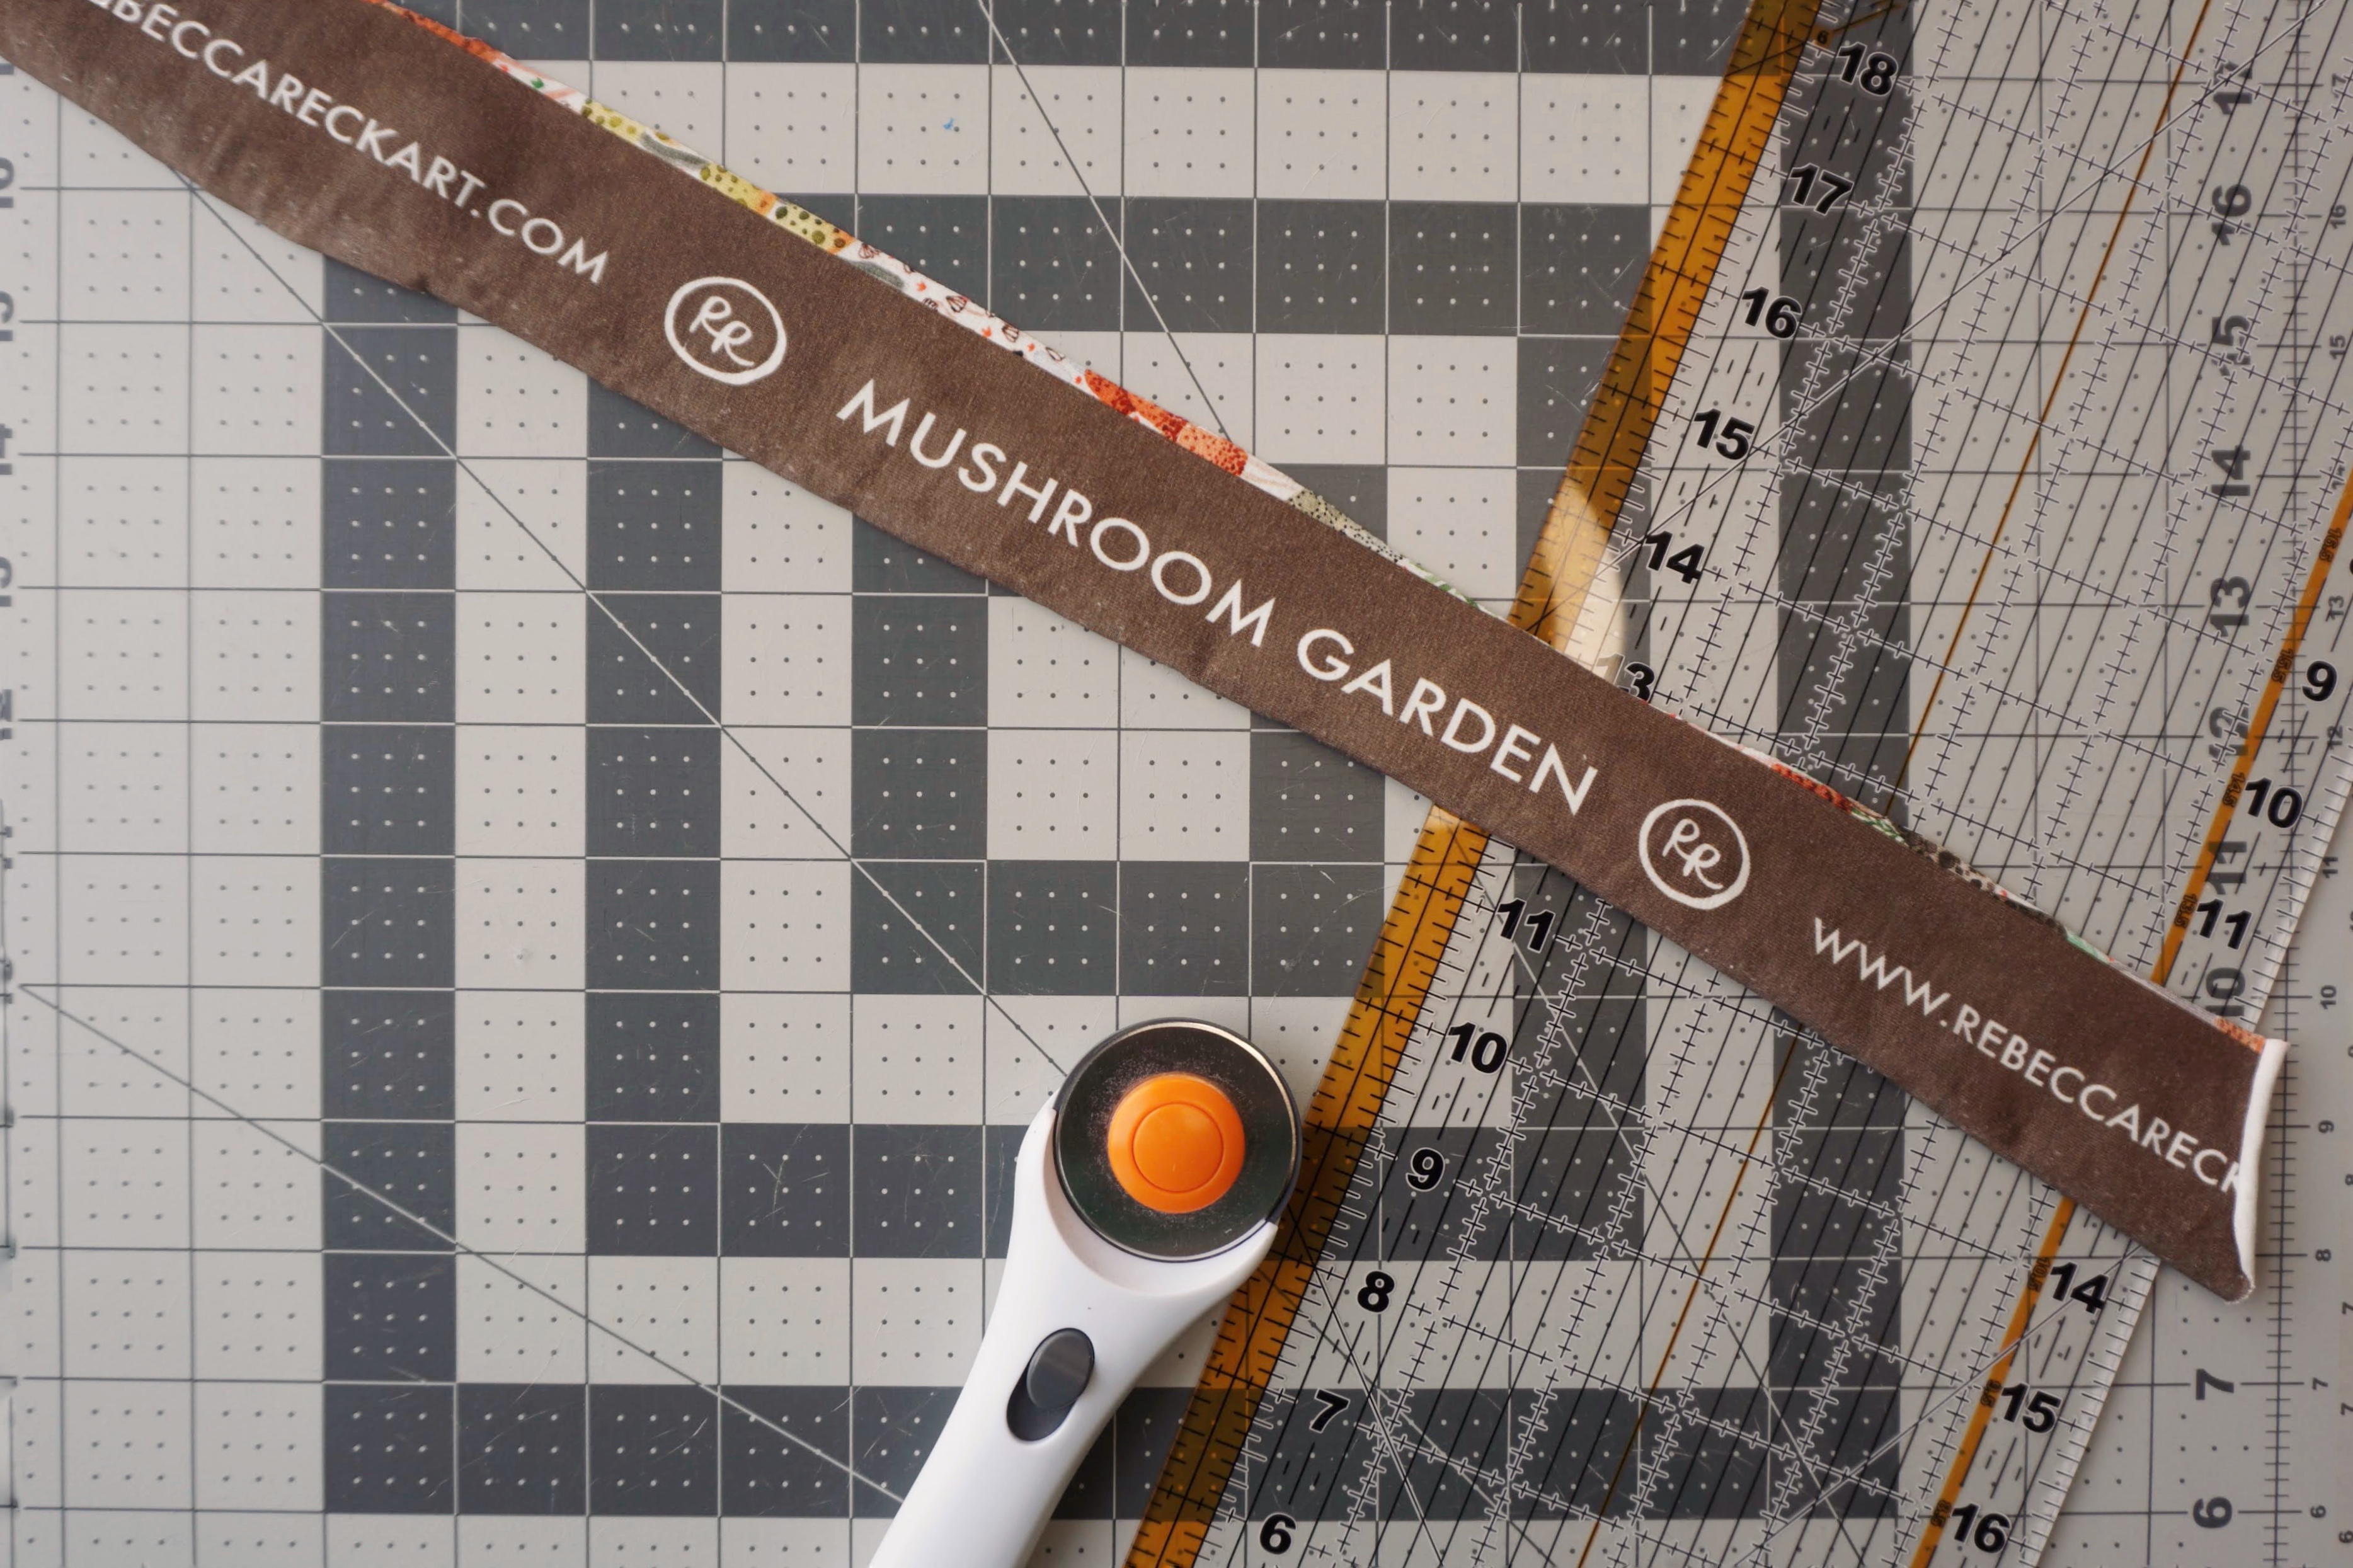
A few more closeups of some finishing and style details I added to make this extra special. This is a print called Mushroom Garden by Rebecca Reck and like all her hand painted designs it has so many beautiful elements to explore.