Loading... 176 view(s)
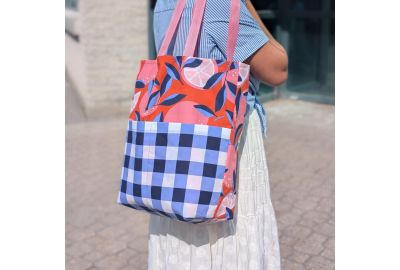
Reversible Tote Bag - Sewing Tutorial
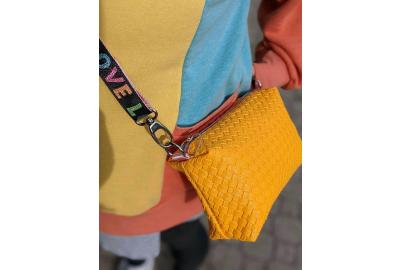
Looking for an easy sewing project with maximum fun? This tote bag is just the one you have been looking for.
This is a beginner friendly tutorial to sew a reversible tote bag. You can use a variety of fabrics for this type of bag.
The finished bag measures approximately 45 x 42 cm (17 3⁄4” x 16 1⁄2”) (height x width).


WHAT YOU NEED
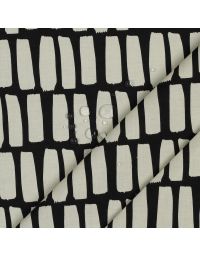
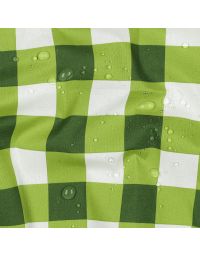
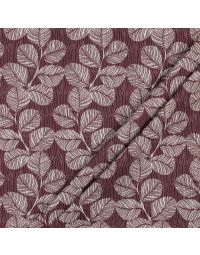
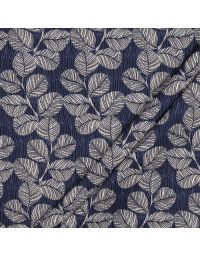
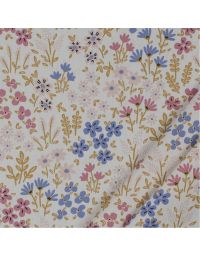
To make the bag you‘ll need to choose two fabrics, both fairly stiff, such as woven cotton, coated cotton, canvas, corduroy, denim or waterproof canvas.
You will require 100 x 50 cm (40” x 20”) of both your outer and lining fabric.
If you are using a lightweight cotton fabric, you might have to interface it for stability, such as Shapeflex SF101 or a similar woven interfacing.
130cm of webbing/strapping 25mm(1") wide or desired length and width.
SHOPPING LIST:
- 0.5m Outer Fabric
- 0.5m Lining Fabric
- 130cm Webbing
- Matching Thread
- Matching Sewing Needle (Microtex 90 is our favorite for Canvas and WPC)
SEAM ALLOWANCES
All measurements given include 1.0 cm (3⁄8”) seam allowances.
PREPARE AND CUT FABRICS AND STRAPS
Outer and lining fabric, cut 2 pieces each H48cm x W44cm(18 7/8" x 17 3/8")
Cut 2 straps, each 65cm in length or desired length.
Cut 1 piece 36 x 44cm for the outer pocket from any of your two fabrics (fig.2)

fig.1
ASSEMBLY AND SEWING STEPS:
STEP 1:
Fold over the upper edge of the pocket piece twice by
2.5 cm (1”) towards the wrong side and
topstitch it 2cm(3/4") from the folded edge.

STEP 2:
Baste the wrong side of the
outer pocket to the right side of one of
the outer bag pieces with a 0.7 cm
(1/4”) seam allowance.

STEP 3:
Sew down the middle of the pocket
and ensure the stitching is well secured
at the top edge.

STEP 4:
Right sides together, sew the bottom edge (short edge) of the outer fabric together and topstitch the seam toward one side.
Repeat the same process on the lining fabric.
STEP 5:
On both short edges of your outer fabric find the center. Measure 2.5" (6.3cm) toward the left and right and mark the fabric with a marking pen.
Clip one end of the first bag handle to the bag lining up the edge with your mark. 0.5 inches of your strap should be over your bag edge). Pin the other end of the same handle to the other marking on the same edge.
Repeat this step on the other short side of your outer lining for your second bag handle.
Baste handles in place inside your seam allowance

STEP 6:
Pin the lining fabric and outer fabric piece right sides together.
Sew together on short edges.

STEP 6:
Shift the fabric so both sides of the lining are on top of each other right sides together, and both sides of the outer fabric are on top of each other, right sides together.
Sew all pieces shut along the long sides making sure to match the top seam transition. Leave a 4 inch (10cm) opening on one of the lining sides for turning your bag out later on.

STEP 7:
Pull on one corner and match side seam and bottom seam on top of each other to shape a triangle (fig.)
Measure 3 inches from the bottom corner and draw a line perpendicular to the corner.
Sew along this marking and trim the seam allowance back to 10mm.
Repeat these steps for all corners.


STEP 8:
Turn your bag right side out via the opening from Step 6.
If you are making the bag reversible, use ladder stitch to close the opening. Otherwise, pin the opening closed and sew shut 3mm from the edge.
STEP 9:
Topstitch bag opening for the final touch!

Enjoy your new bag :)