Loading... 6567 view(s)
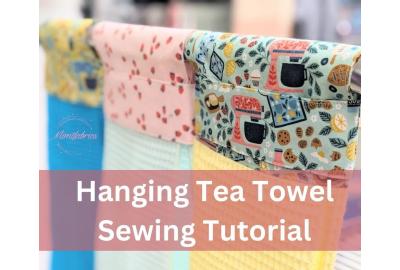
How to sew a hanging tea towel - Step by Step Tutorial
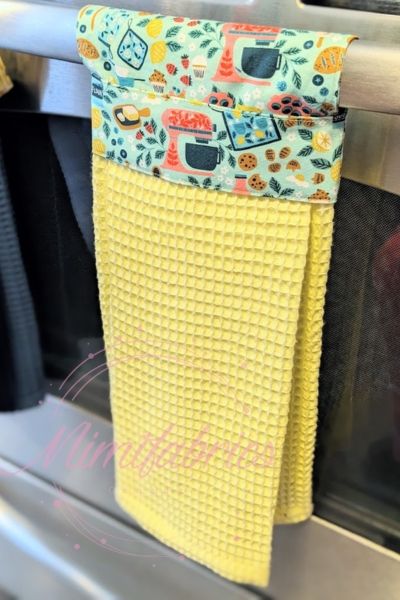
Do you like to keep a tea towel handy at your oven door, only for it to slip and fall off?
Then this tutorial is perfect for you.
I have started sewing these towels and never want to go back to my old ones. Not only are they functional but also super pretty in your kitchen.
This is a simple project you can sew using your sewing machine at home, only straight stitches are needed for this project.
What you’ll need:
- For the top - Fat Quarter of Cotton Fabric
- For the bottom - Towelling W19” x H13”
- Needles and Thread to match
- Optional: Basting Glue, Flatter Spray, Iron
We have created some pretty hanging towel bundles for you HERE
Before you begin:
Pre-wash and dry your fabric the way you would wash your towels after use to ensure shrinkage of fabric is done before cutting.
- Seam Allowance of ¼ “ is included in the measurements
- Basting Allowance is ⅛ “
- 1” of fabric is included for towel hemming. Double fold ½ “
- Top Stitch at ⅛” or less
- Only straight stitching is required for this project
Instructions
STEP 1 - Cut your fabrics (Fig.1)
Towelling (Towel Fabric) - Cut a piece of towelling measuring W19” x H13”
If you are using a pre-hemmed towel or are planning on binding instead of hemming, only cut W17” x H12”.
TIP: When using a waffle towelling use the grid as a guide and cut your piece along the squares.
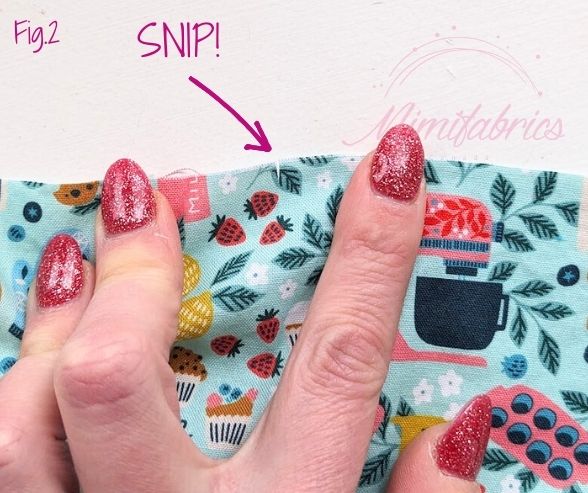
Top Piece (Cotton Fabric) - Cut one piece measuring W7” x H16”, when using a directional print make sure to have the correct orientation. The short edge is the top of the piece.
Mark the center of the top and the sides with a notch or marking pen(Fig. 2).
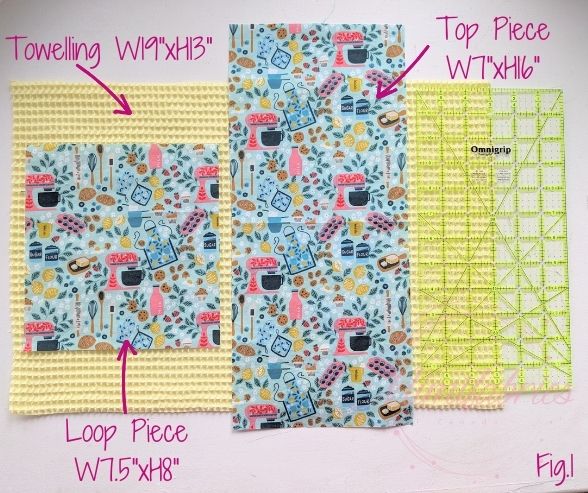
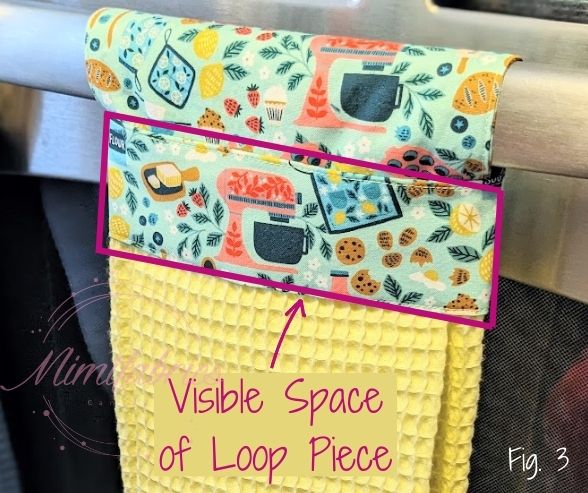
Loop Piece (Cotton Fabric) - Cut one piece measuring W7.5”x H8”. If you have a directional print the W7.5” edge should be the top and bottom of your piece.
Only a quarter of the print will shape the front side of the loop and will be visible (Fig. 3).
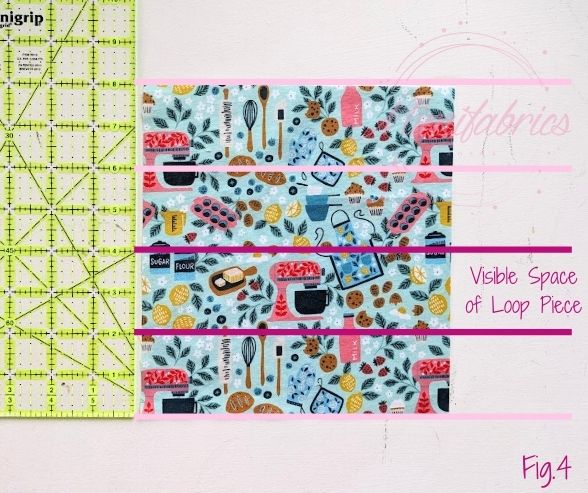
If you want to ensure a specific part of your print to appear in this area line it up to fit in the bottom quarter as highlighters in Figure 4. The piece has a total height of 8 inches, this means the desired image should fit between the 2” and 4” inch horizontal space (Fig. 4).
STEP 2 - Prepare the towelling
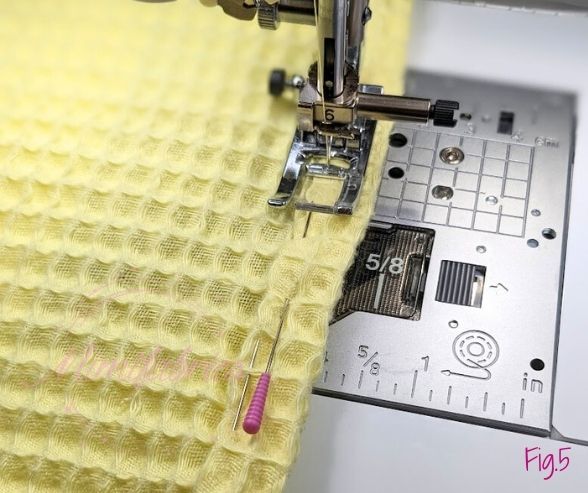
2a) Hemming
The towelling will be attached to the Top Piece on one of the long edges. The two shorter edges and the bottom long edge need to be finished with your preferred hemming method.
Here you can do a double fold, mitered edge or similar hemming technique.
For this fold the edge by ½ “ twice and top stitch in place (Fig. 5).
Your piece should now measure approximately W17” x H12” and have one unfinished edge.
You can also bind the edges with bias tape, in which case your towelling should measure 17” x 12” before binding.
2b) Fold and Baste
Divide your towelling into sections along the long unfinished edge as shown in Figure 6.
Determine your Center (A) by folding your towel in half and marking it with a pin with the wrong side facing up.
From there divide the right side between the Center (A) and the inner edge of your hem into three equal sections of approximately 2 ¾ “ and place markers (B1,C1).
Repeat for the left side between Center (A) and left hem and place markers (B2, C2).
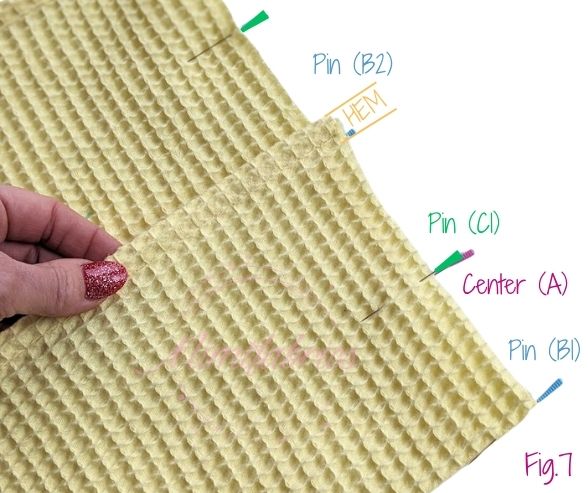
With the wrong side facing up, fold the right side of your towel by matching pin (C1) with Center (A). The fold line should be located at Pin (B1) (Fig.7).
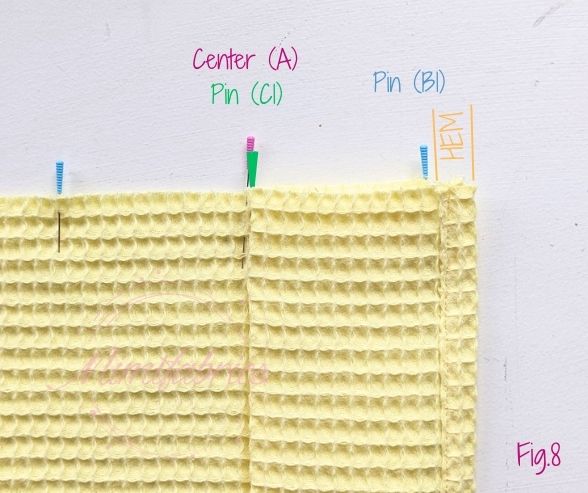
Fold the hem back towards the right, creating a fold line at Center (A). The inner edge of your hem should match up with Pin (B1) (Fig.8).

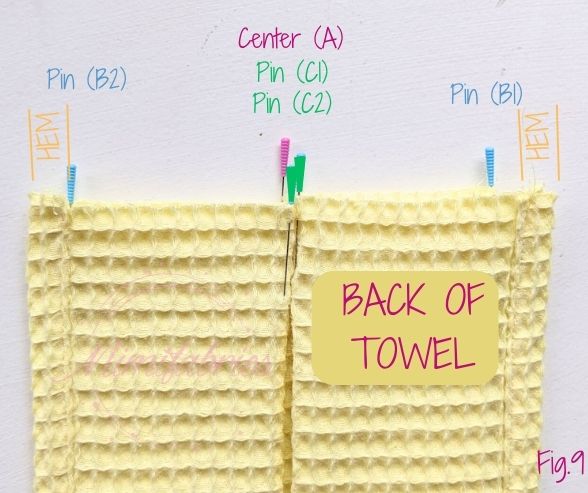
Repeat this folding technique for the left side of your towelling. Once complete you are looking at what will be the back side of your towel (Fig.9).
Turn your towel over to inspect the front side. You should have a flat middle section with the hem showing at both sides (Fig.10).

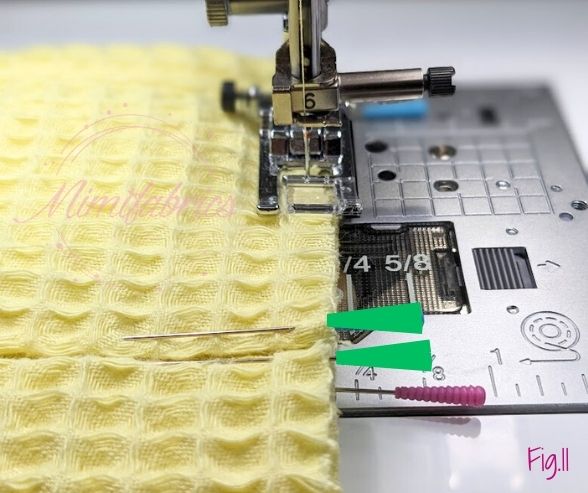
Baste your folds in place with a straight stitch at the top edge of the towelling (Fig 11).
STEP 3 - Prepare the Loop Piece
Fold the fabric in half by matching the top and bottom edge, wrong sides together and press.
Open the folded piece and fold the top edge to the center crease and press.
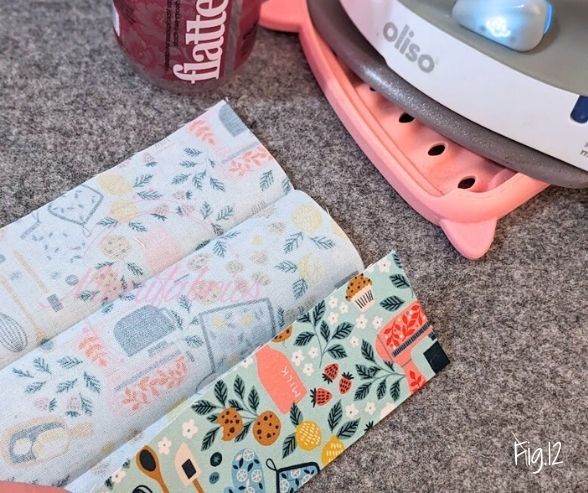
Fold the bottom edge to the center crease and press (Fig. 12).
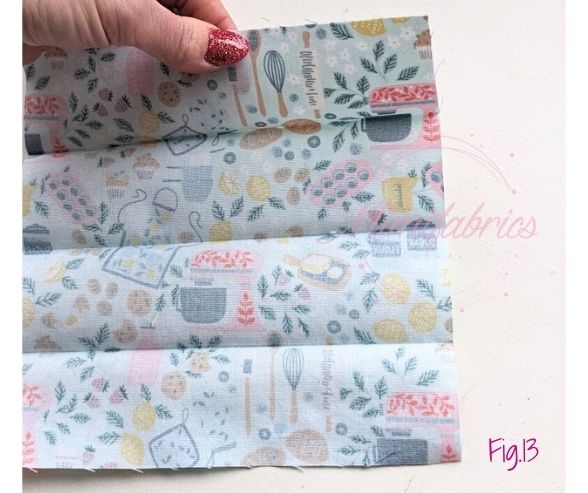
You now have four equal horizontal sections of 2” each (Fig. 13).
Tip: An ironing aid such as flatter spray, clapper and a wool pressing mat will help achieve a crisp and flat pressed edge.
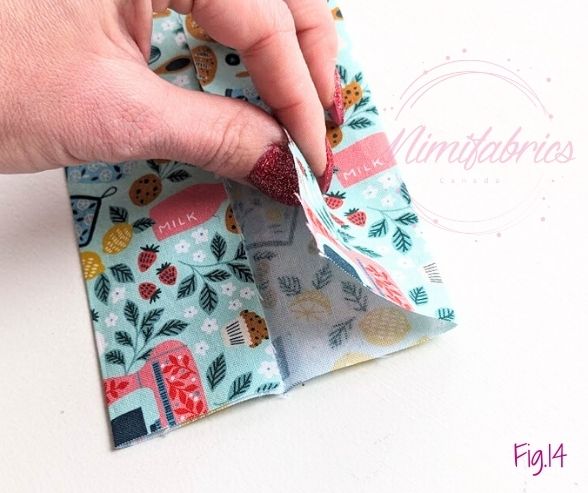
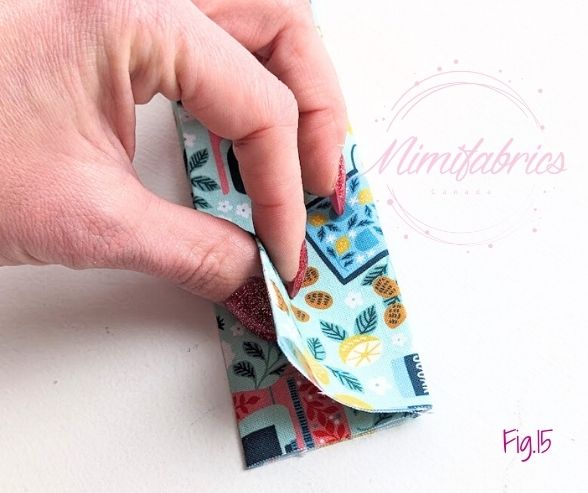
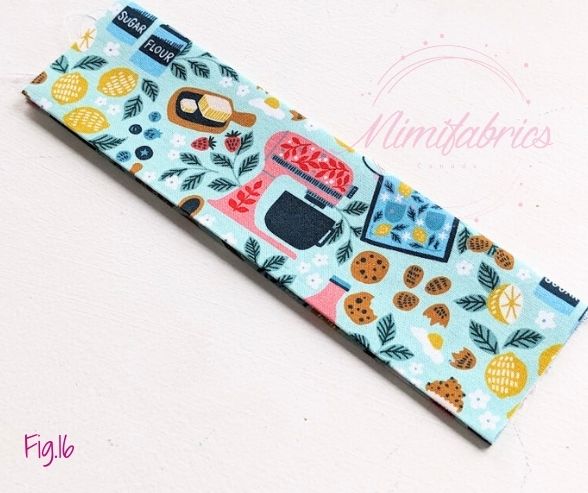
Fold the top and bottom sections down first towards the center crease (Fig. 14). Then fold the piece in half (Fig.15). This forms the final shape and size of your Loop Piece. If you have carefully cut your fabric to show a specific image, you should now be able to see it at the front of your Loop Piece (Fig 16).
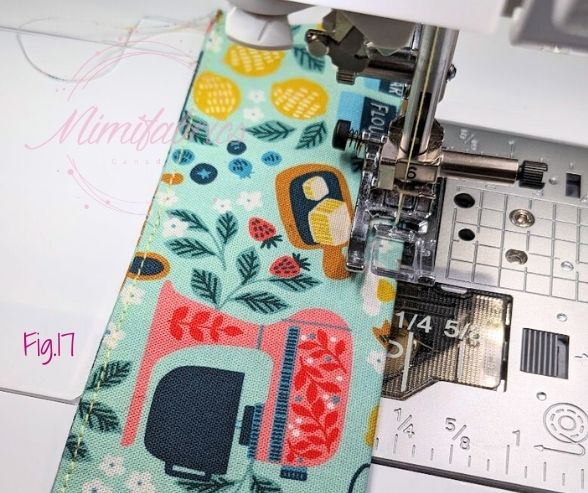
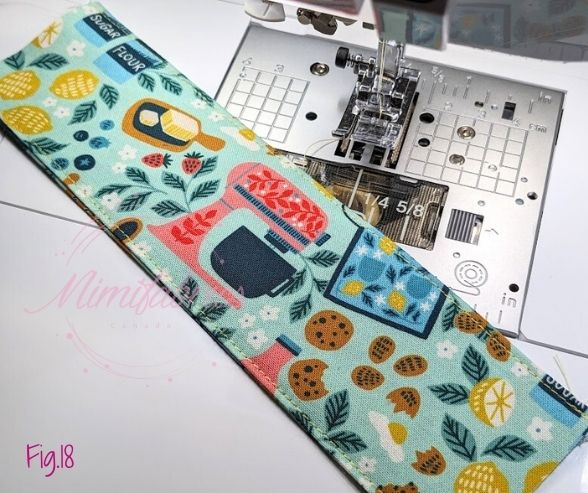
Stitch the Loop Piece closed along the bottom edge. Top stitch the top edge to match (Fig. 17,18)
STEP 4 - Assembly
4a) Attach Loop Piece
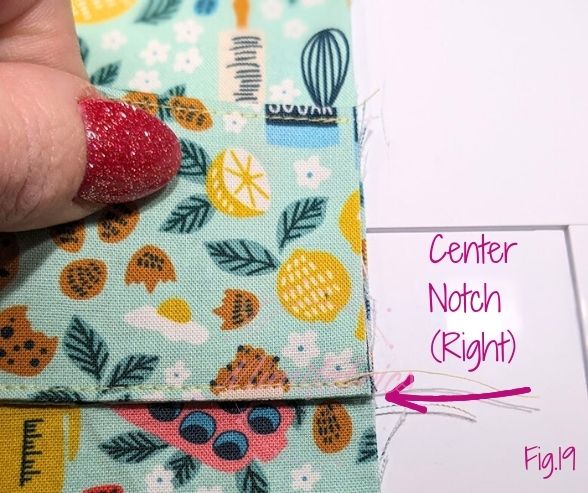
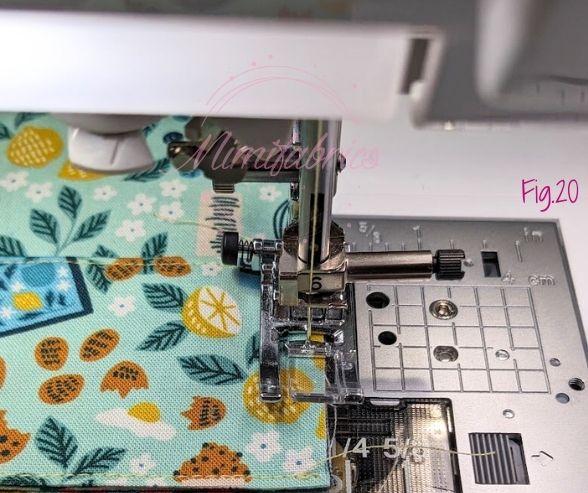
Place the Loop Piece with the right side up onto the right side of the Top Piece Fabric, aligning the bottom edge of the Loop Piece with the center notch of the Top Piece (Fig. 19).
Baste the Loop Piece in place (Fig. 20).
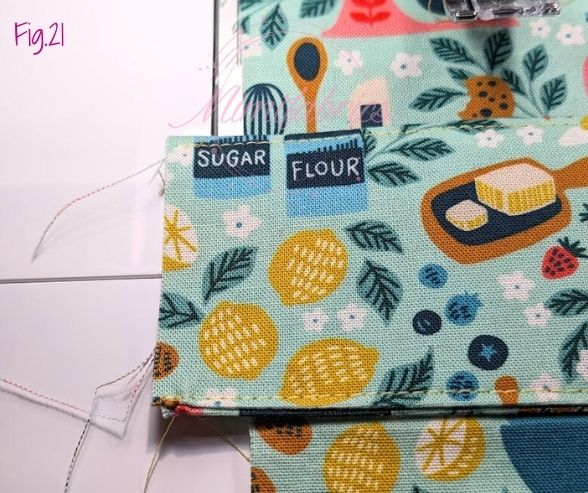
Note: If you have a fabric with a directional print, make sure both pieces are oriented correctly.
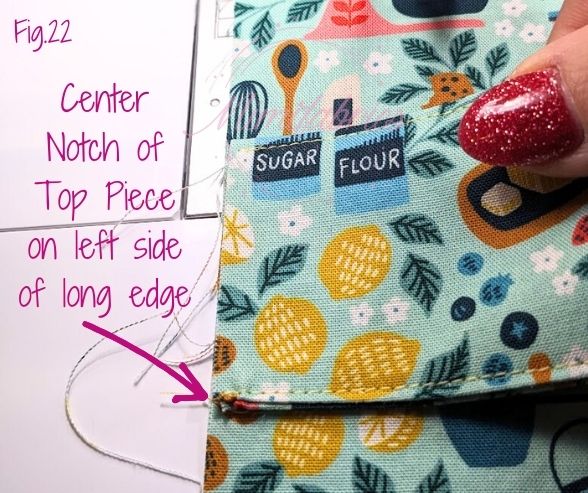
When laying your piece flat the left side of your Loop Piece should be longer than the Top Piece (Fig. 21). Match the left side of the Loop Piece with the left edge of the Top Piece, aligning the bottom edge of the Loop Piece with the center left notch of the Top Piece (Fig. 22) and baste in place.
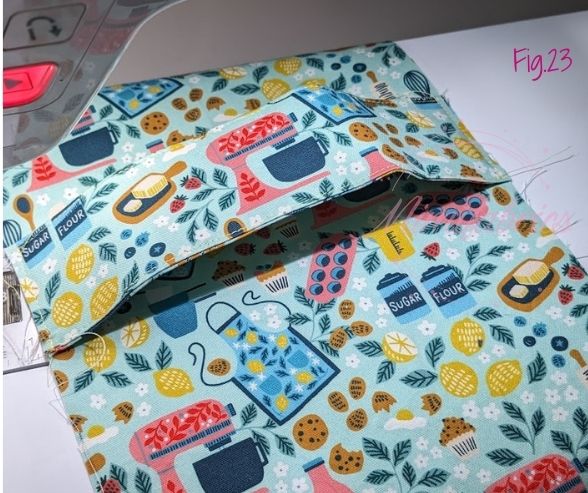
Your work should now look like Figure 23 below with the Loop Piece creating a space between itself and the Top Piece.
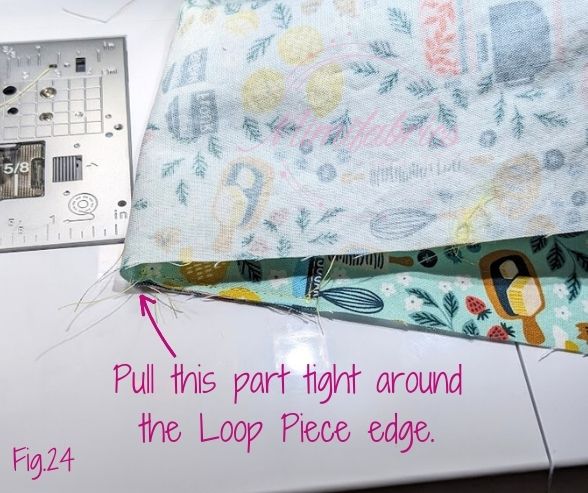
4b) Close side seam with Loop Piece
Fold the Top Piece short edges and right sides together. Pull the fabric tightly around the edge of the Loop Piece which is now sandwiched in between (Fig. 24)
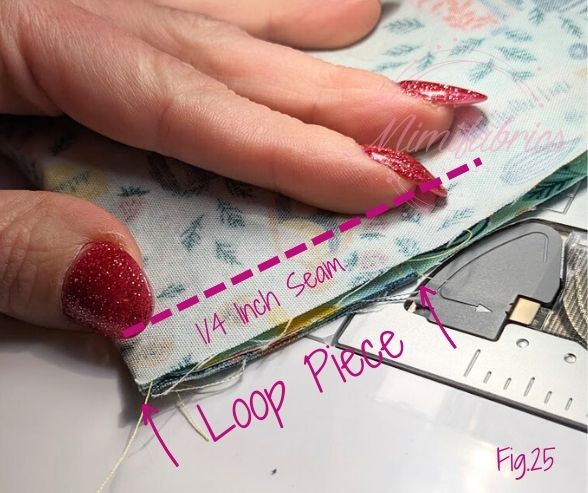
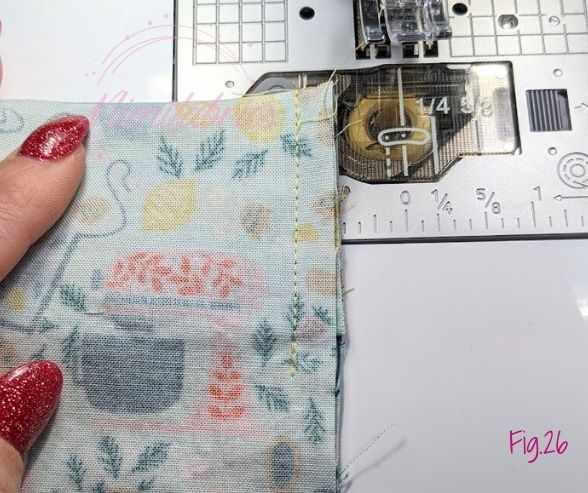
Sew over the sides where the Loop Piece is located with ¼ “ seam allowance, ending a little further from the edge of the Loop Piece on both sides (Fig. 25, 26) Do not close the edge entirely!
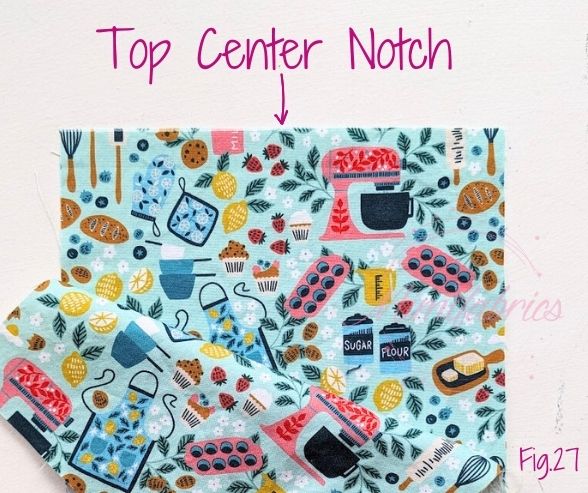
4c) Attach Toweling
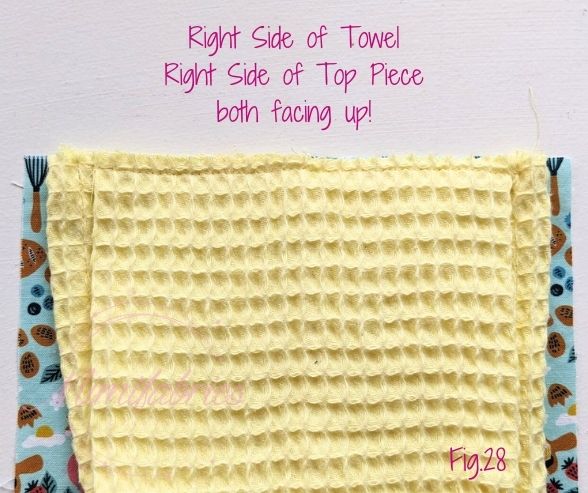
Fold your top piece open and locate the top short edge notch from at the center of the short edge (Fig. 27). This is important when your design is directional so it will be right side up when your towel is finished.
Center your towel piece on top of the Top Piece, both right sides facing up (Fig. 28). Baste the Towel Piece and the Top Piece together (Fig. 29).

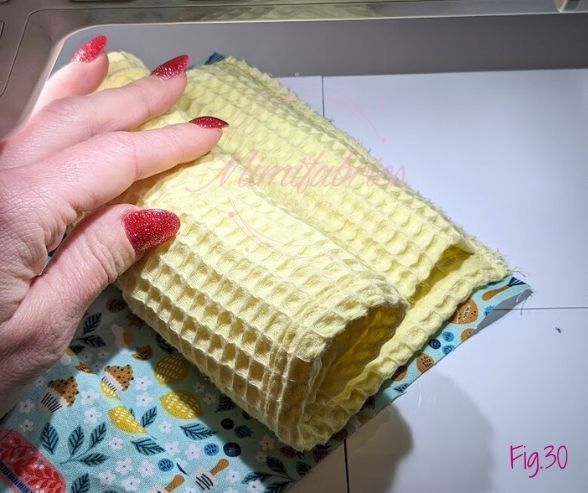
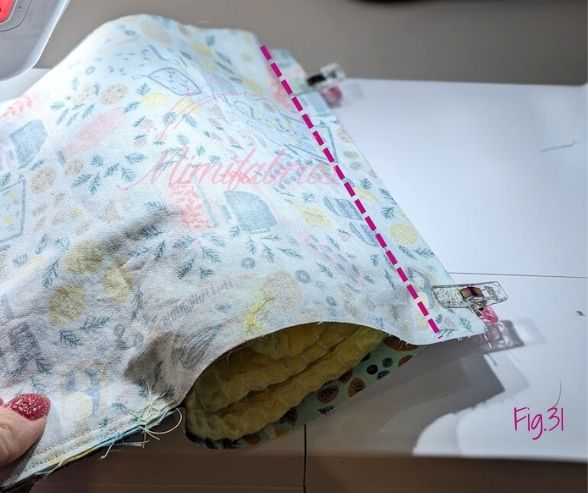
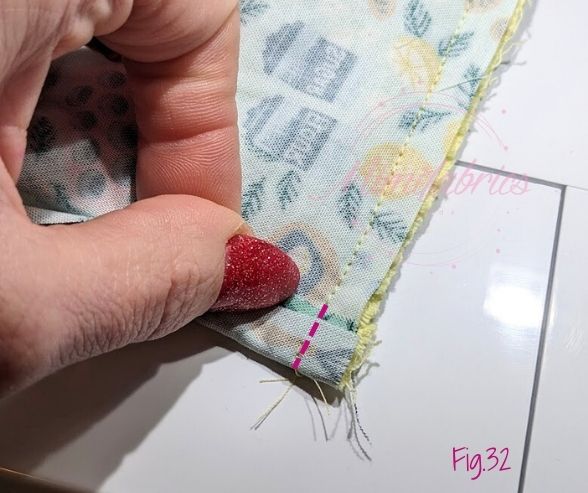
Roll up the Towel Piece so you can match the bottom edge of the Top Piece at the edge you just basted together (Fig. 30). Sew all layers together with a ¼ “ seam allowance. Make sure you backstitch at the beginning and end of your stitch lineFold the side seam allowance of your Top Piece over the Towel Piece tightly on both sides and stitch in place (Fig. 32)
Fold the side seam allowance of your Top Piece over the Towel Piece tightly on both sides and stitch in place (Fig. 32)
4d) Turn and Finish
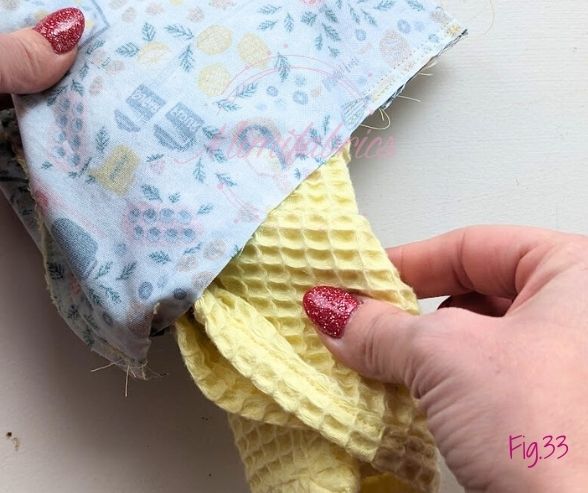
Pull the Towel Piece out through one of the side openings and turn the entire piece inside out (Fig. 33)
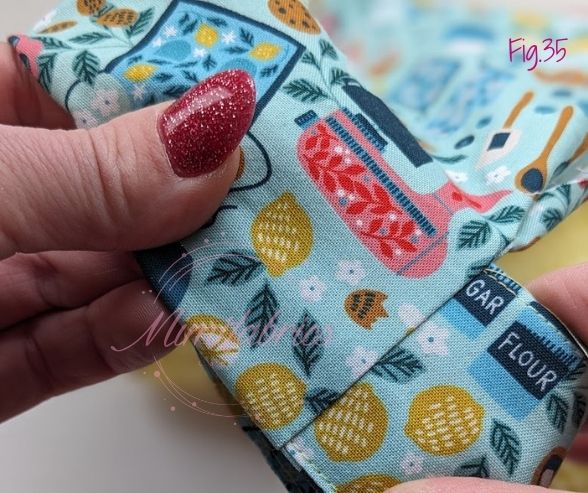
Make sure to tug on joins at the towel corners (Fig. 34) and loop corners (Fig. 35) to get a nice crisp look.

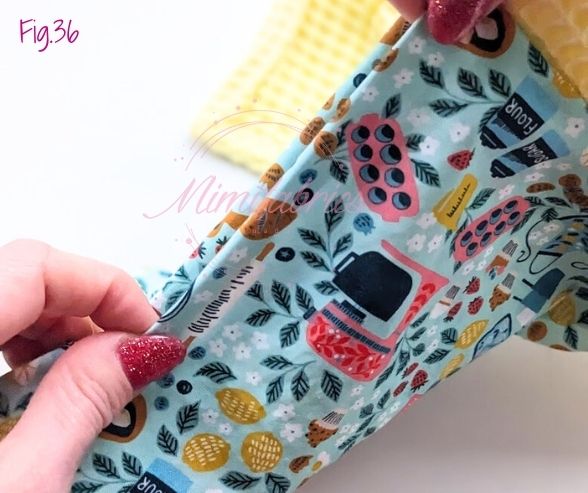
Fold in the seam allowance of the side openings and flatten with your fingers or press to lay flat (Fig. 36). These will be closed during the top stitching process.
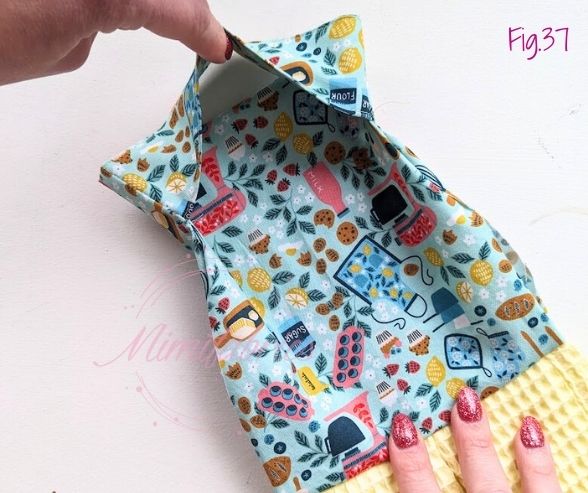
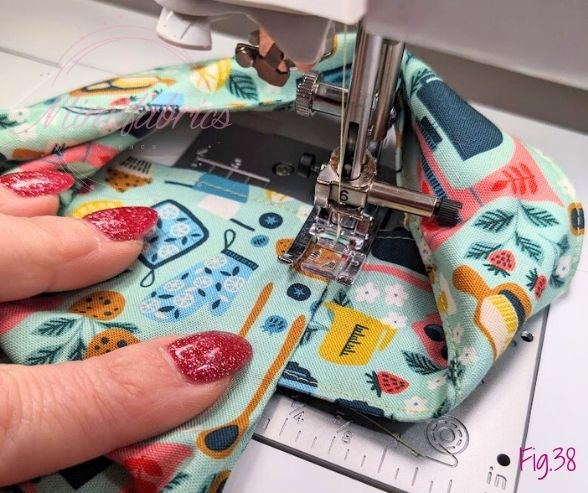
Top stitch around the entire outer edge of the top piece (Fig. 38). Start at the top center and pull the Loop Piece out of the way toward the top (Fig. 37) Finish with a backstitch.
Snip off all loose threads. Give your towel a final press and it’s ready to go!
Congratulations on your awesome new tea towel.